MongoDB Atlas is a fully managed cloud database service for MongoDB, designed to handle deployment, scaling, and infrastructure management. You can use Hevo Pipelines to replicate data from your MongoDB Atlas database to a Destination of your choice.
For supported versions, instance types, and oplog retention requirements, read MongoDB.
Prerequisites
-
The MongoDB version is 4.0.7 to 8.0.
-
You have the Organization Owner, Project Owner, or Project Database Access Admin role in Atlas to create custom roles and database users.
-
You have the Project Owner or Project Network Access Manager role in Atlas to edit the IP access list.
-
Hevo’s IP address(es) for your region are added to the MongoDB database IP Allowlist.
-
The cluster hostname of your MongoDB Atlas account are available.
Set up Permissions to Read MongoDB Atlas Databases
Create a database user for Hevo and grant it read access to the databases you want to replicate. You can grant access through a custom role or assign the roles directly to the user.
Hevo needs the following roles:
-
readAnyDatabaseon theadmindatabase, orreadon each database you want to replicate: To read your collections and their changes. -
clusterMonitoron theadmindatabase: To check your cluster’s configuration and health, such as its replica set status and shards.
1. Create a custom role
Perform the following steps to create a custom role:
-
Log in to the MongoDB Atlas console.
-
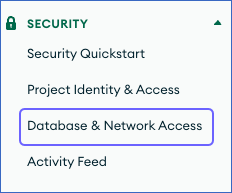
In the left navigation pane, under Security, click Database & Network Access.
-
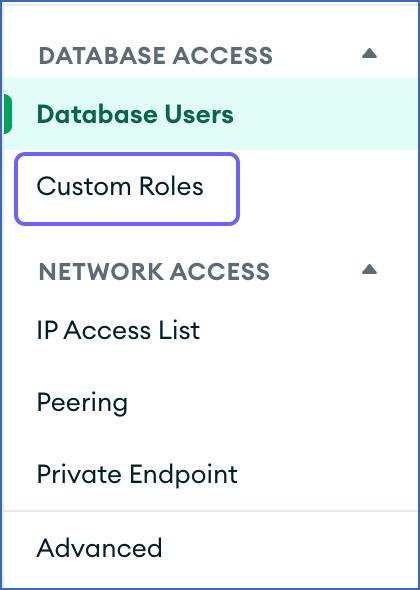
On the Database & Network Access page, under DATABASE ACCESS, click Custom Roles.
-
Click + ADD NEW CUSTOM ROLE.

-
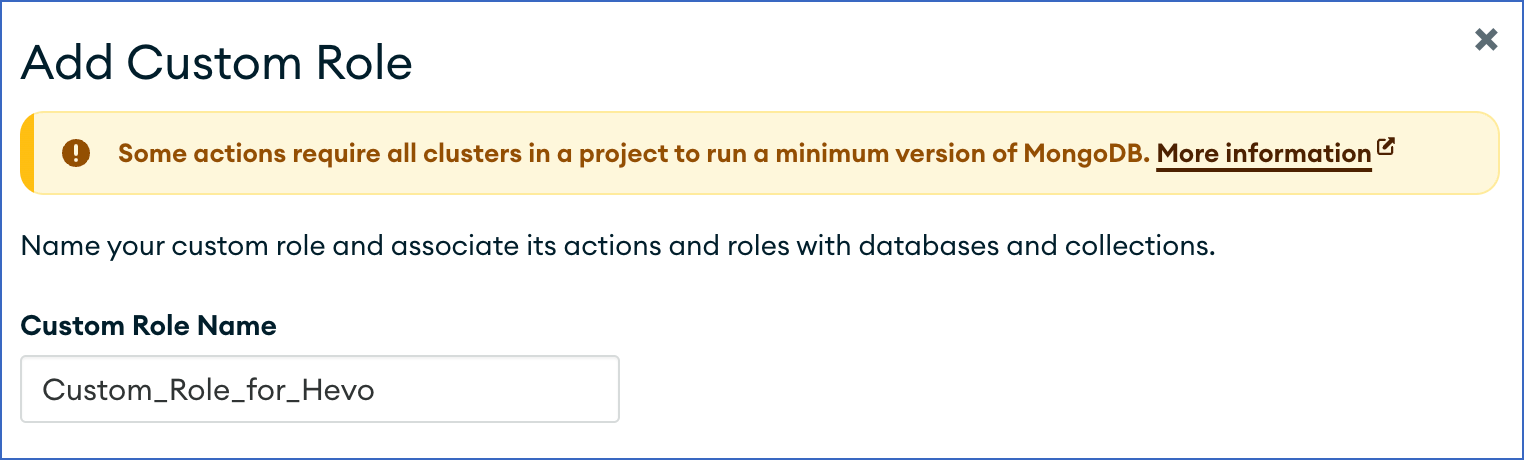
In the Add Custom Role pop-up window, specify the Custom Role Name.
-
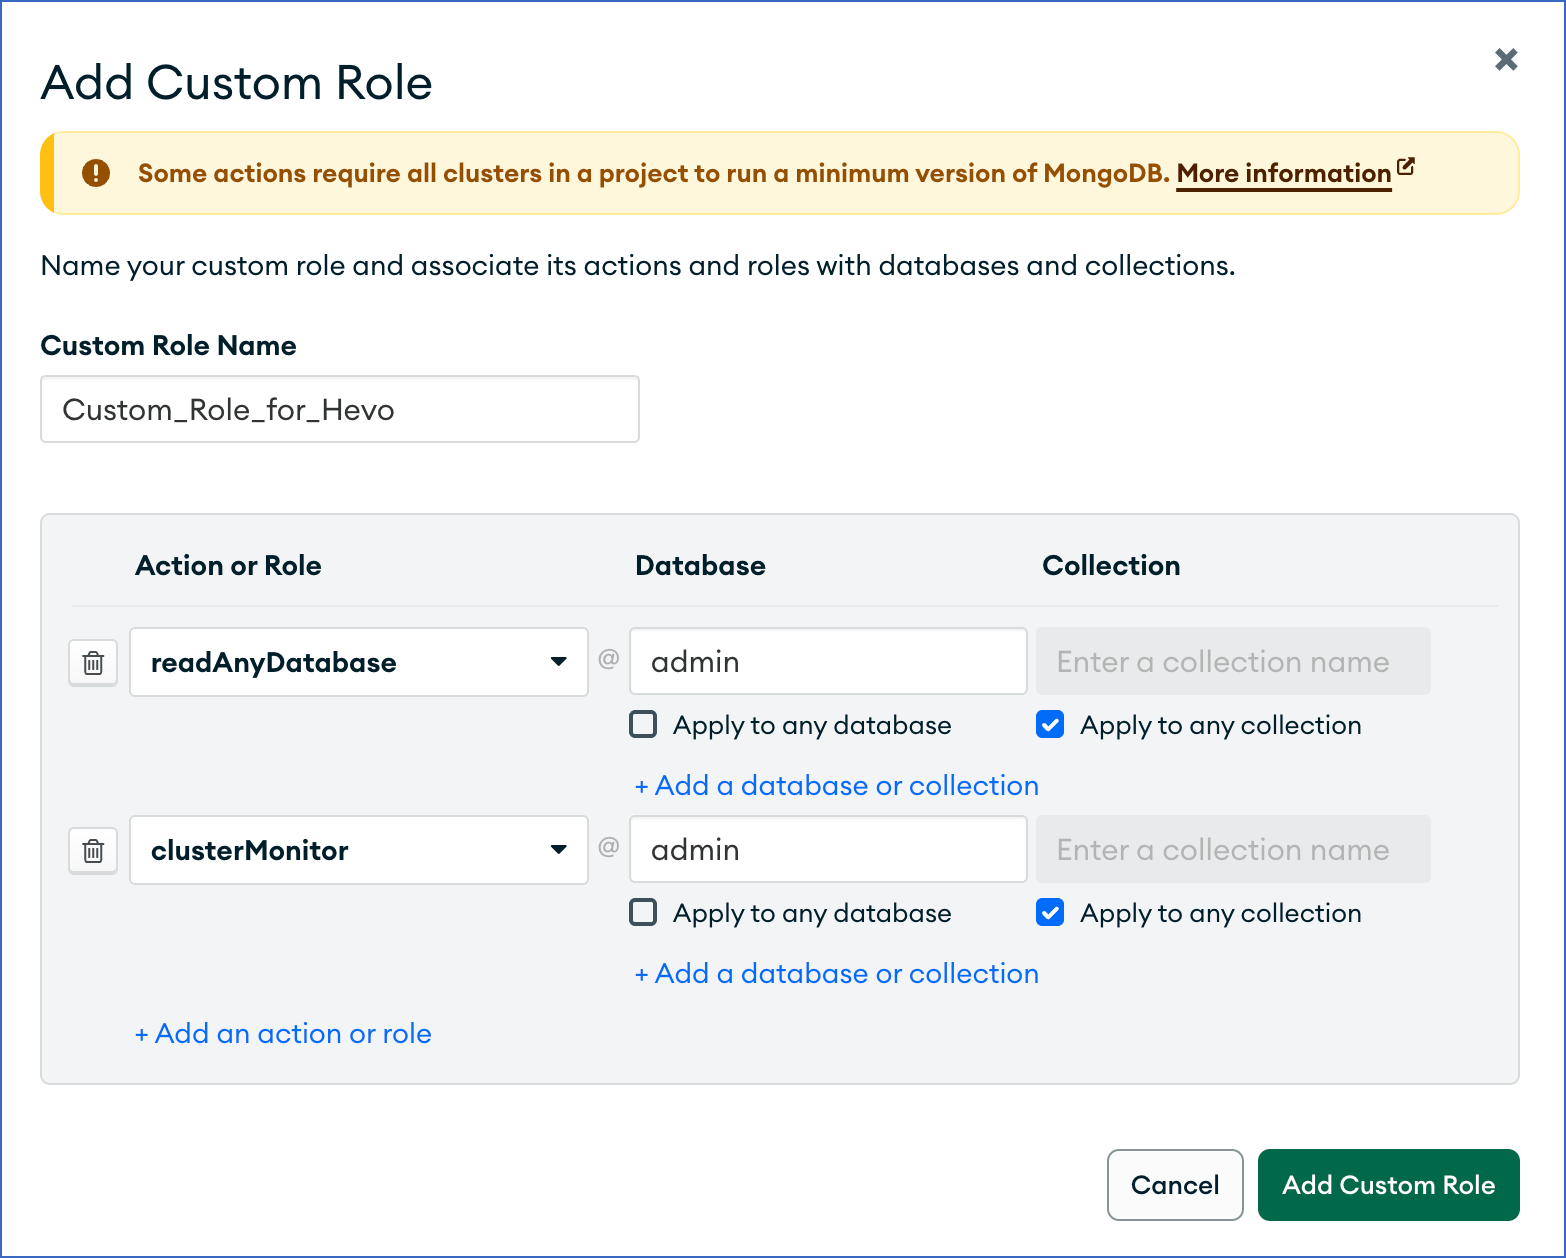
Assign the required roles:
-
Assign either the
readrole on the database(s) you want to ingest, or thereadAnyDatabaserole on theadmindatabase. -
Assign the
clusterMonitorrole on theadmindatabase.
-
-
Click Add Custom Role.
2. Create a database user
Perform the following steps to create a database user:
-
Log in to the MongoDB Atlas console.
-
In the left navigation pane, under Security, click Database & Network Access.
-
On the Database Users page, click + ADD NEW DATABASE USER.

-
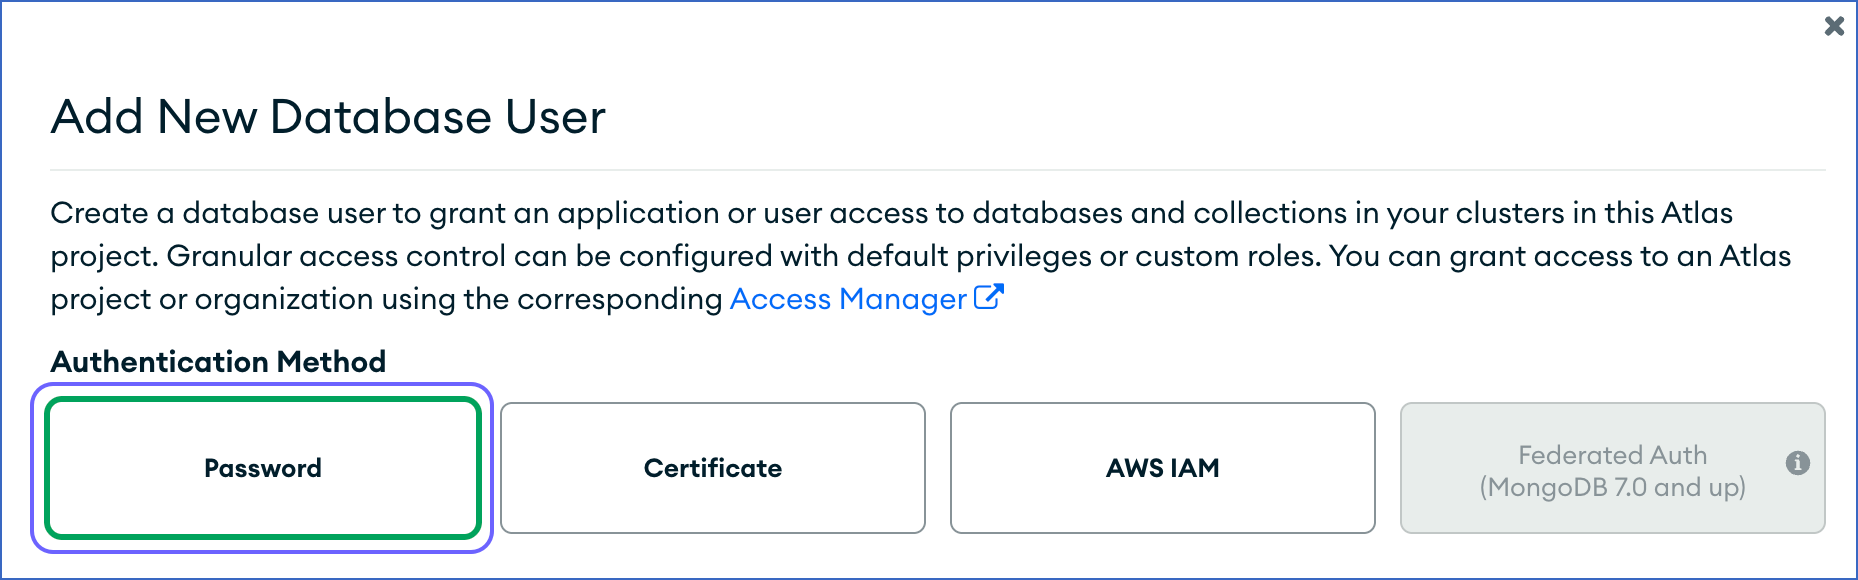
In the Add New Database User pop-up window, select Password as the Authentication Method.
-
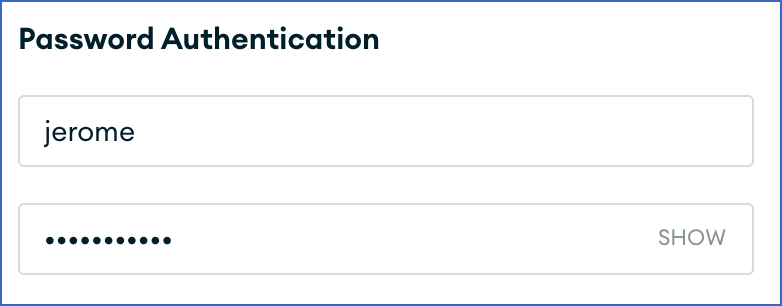
Under Password Authentication, specify the username and password.
-
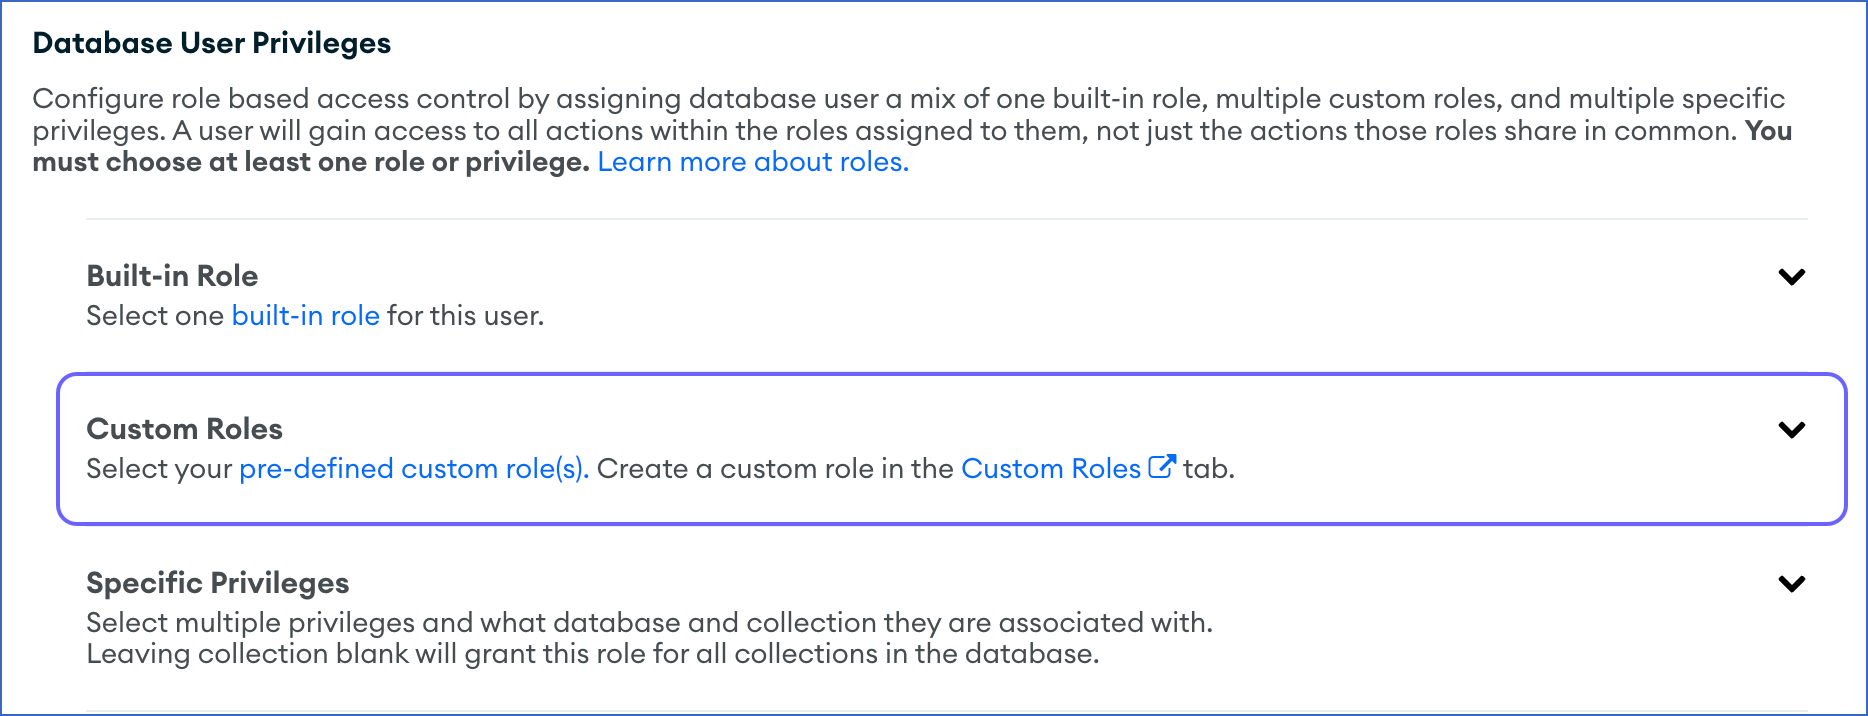
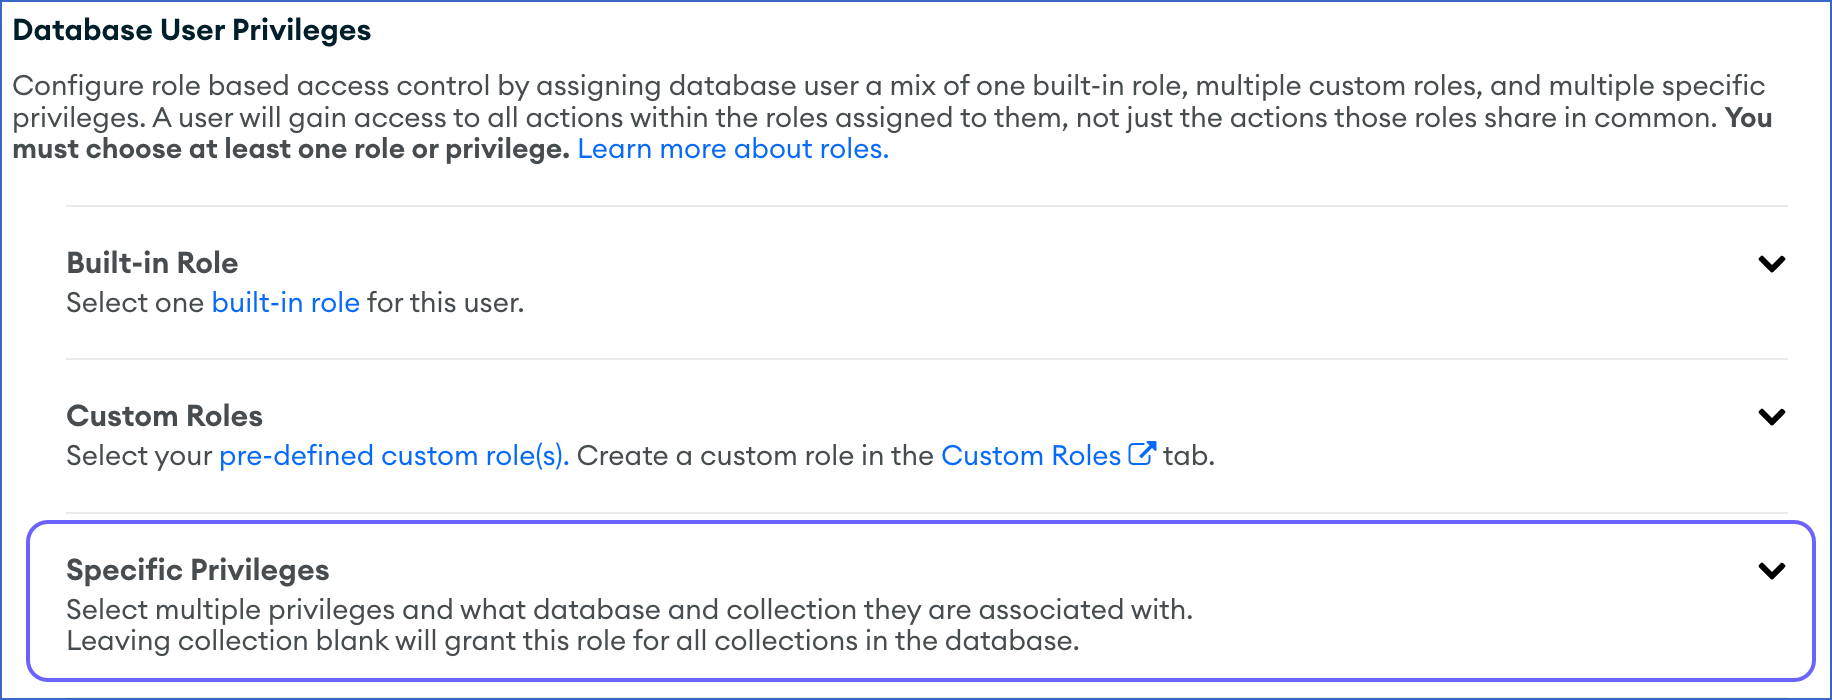
In the Database User Privileges section, do the following:
-
For custom roles created in the previous step:
-
Click Custom Roles.
-
Click Add Custom Role and select the role that you created above.
-
-
To assign roles directly, without a custom role:
-
Select Specific Privileges.
-
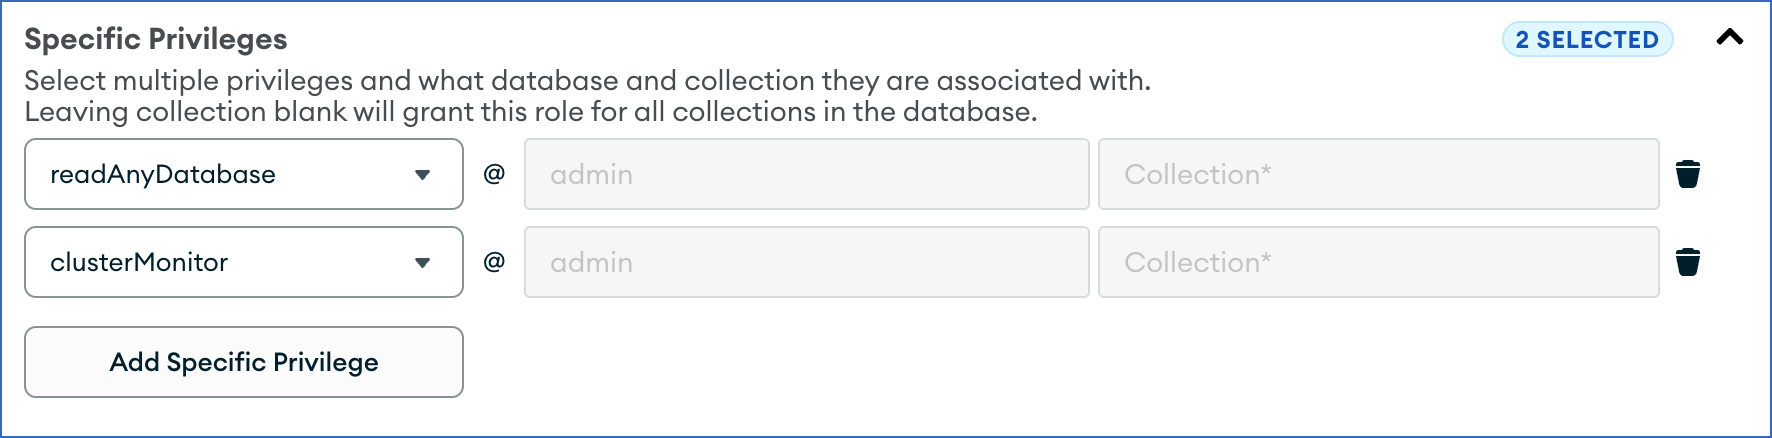
Click Add Specific Privilege, and do the following:
-
Assign either the
readrole on the database(s) you want to ingest, or thereadAnyDatabaserole on theadmindatabase. -
Assign the
clusterMonitorrole on theadmindatabase.
-
-
-
-
Click Add User.
Allowlist Hevo IP Addresses for your Region
You must add Hevo’s IP address for your region to the database IP allowlist, enabling Hevo to connect to your MongoDB database. To do this:
-
Log in to the MongoDB Atlas console.
-
In the left navigation pane, under Security, click Database & Network Access.
-
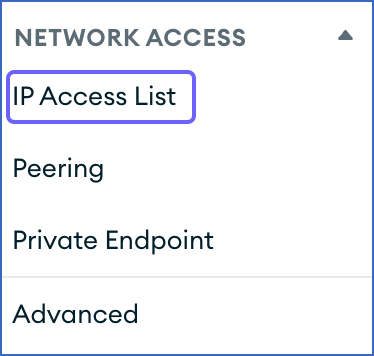
In the left navigation pane, under NETWORK ACCESS, click IP Access List.
-
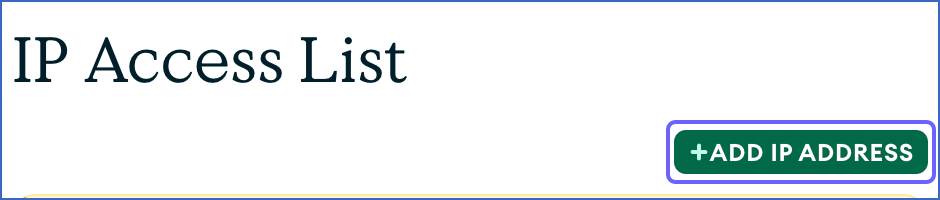
On the IP Access List page, click + ADD IP ADDRESS.
-
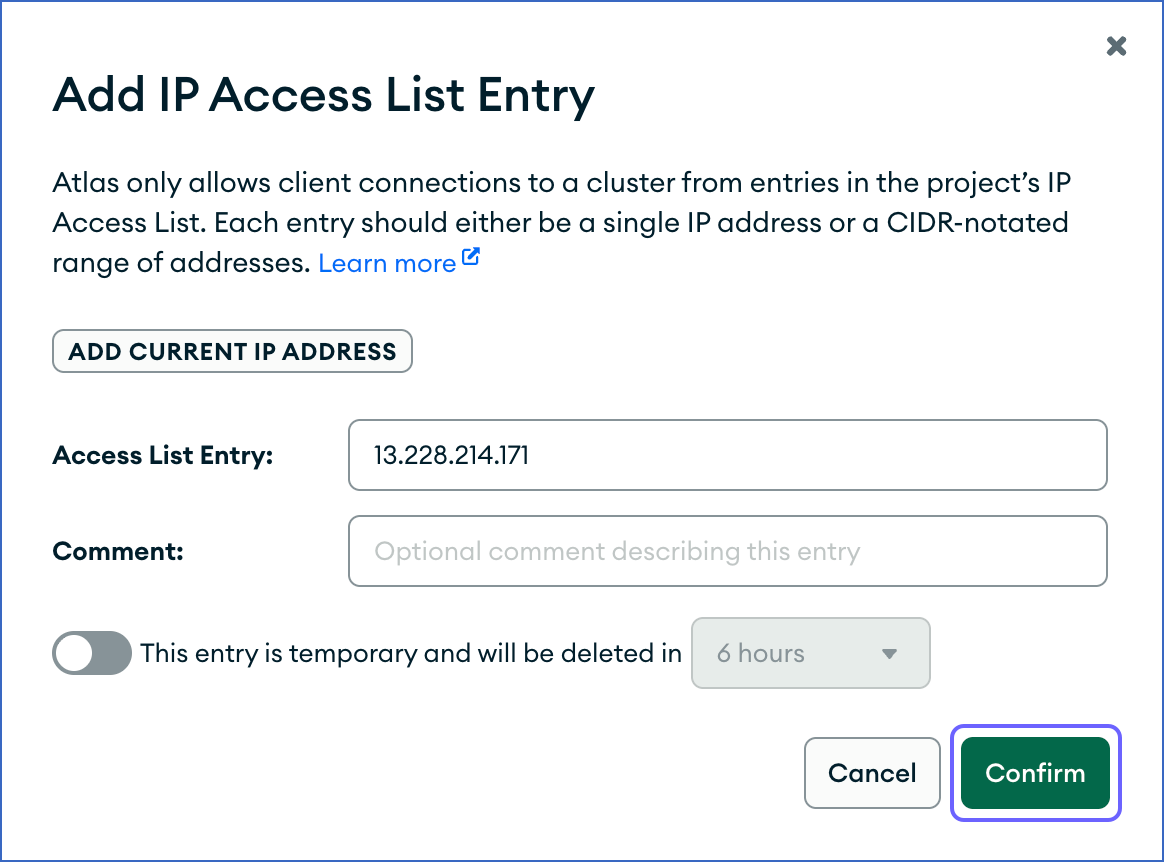
In the Add IP Access List Entry pop-up window, enter the Hevo IP address you want to allowlist in the Access List Entry field. Repeat this step to allowlist multiple Hevo IP addresses.
-
Click Confirm.
Retrieve the Cluster Hostname
Perform the following steps to retrieve your cluster hostname:
-
Log in to the MongoDB Atlas console.
-
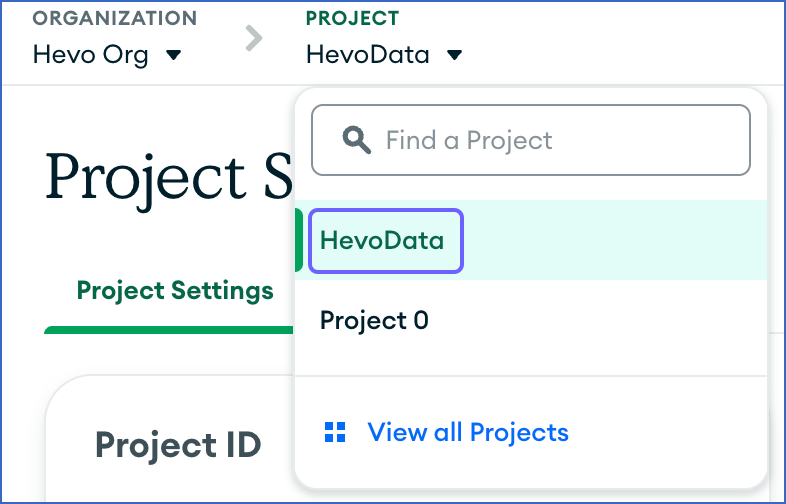
At the top of the page, from the PROJECT drop-down, select the project for which you want to replicate the data.
-
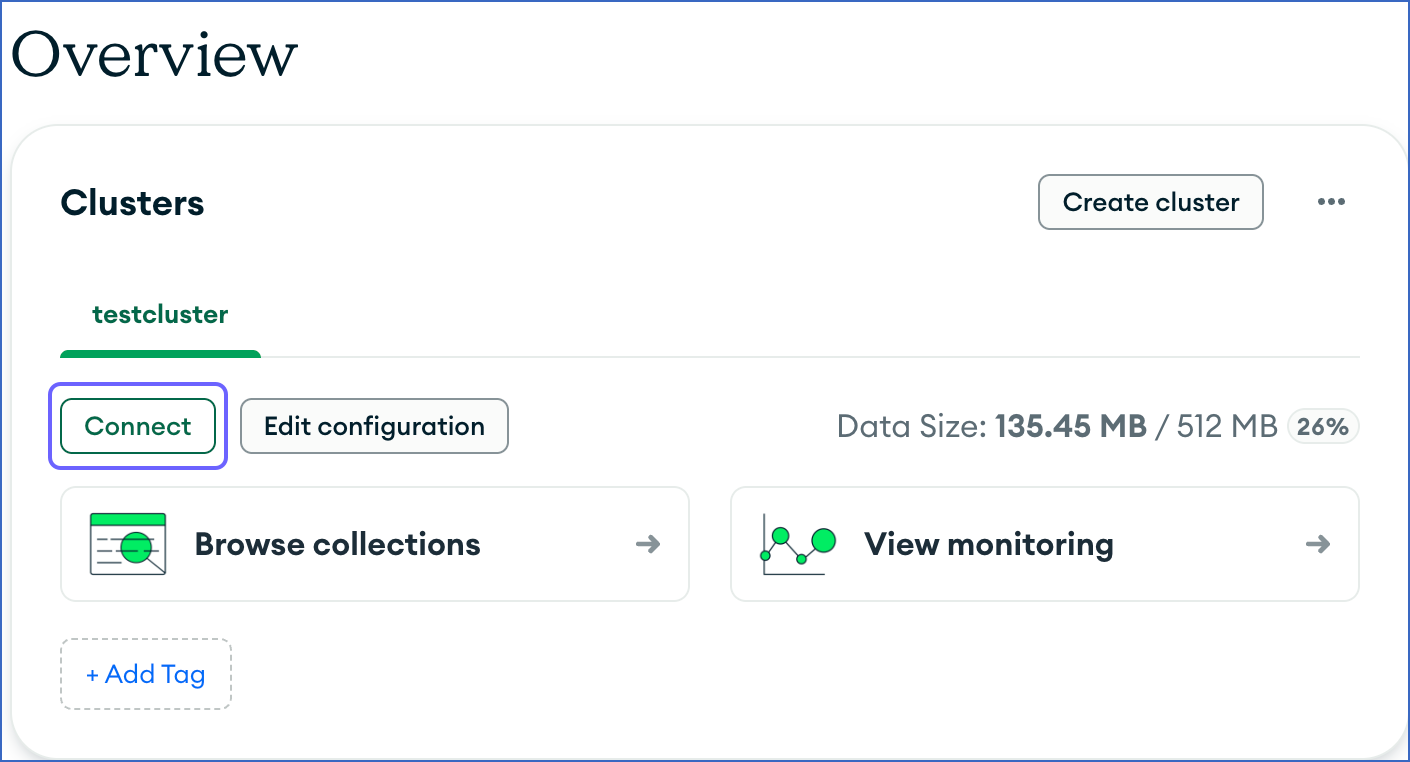
On the Overview page, Clusters section, click Connect.
-
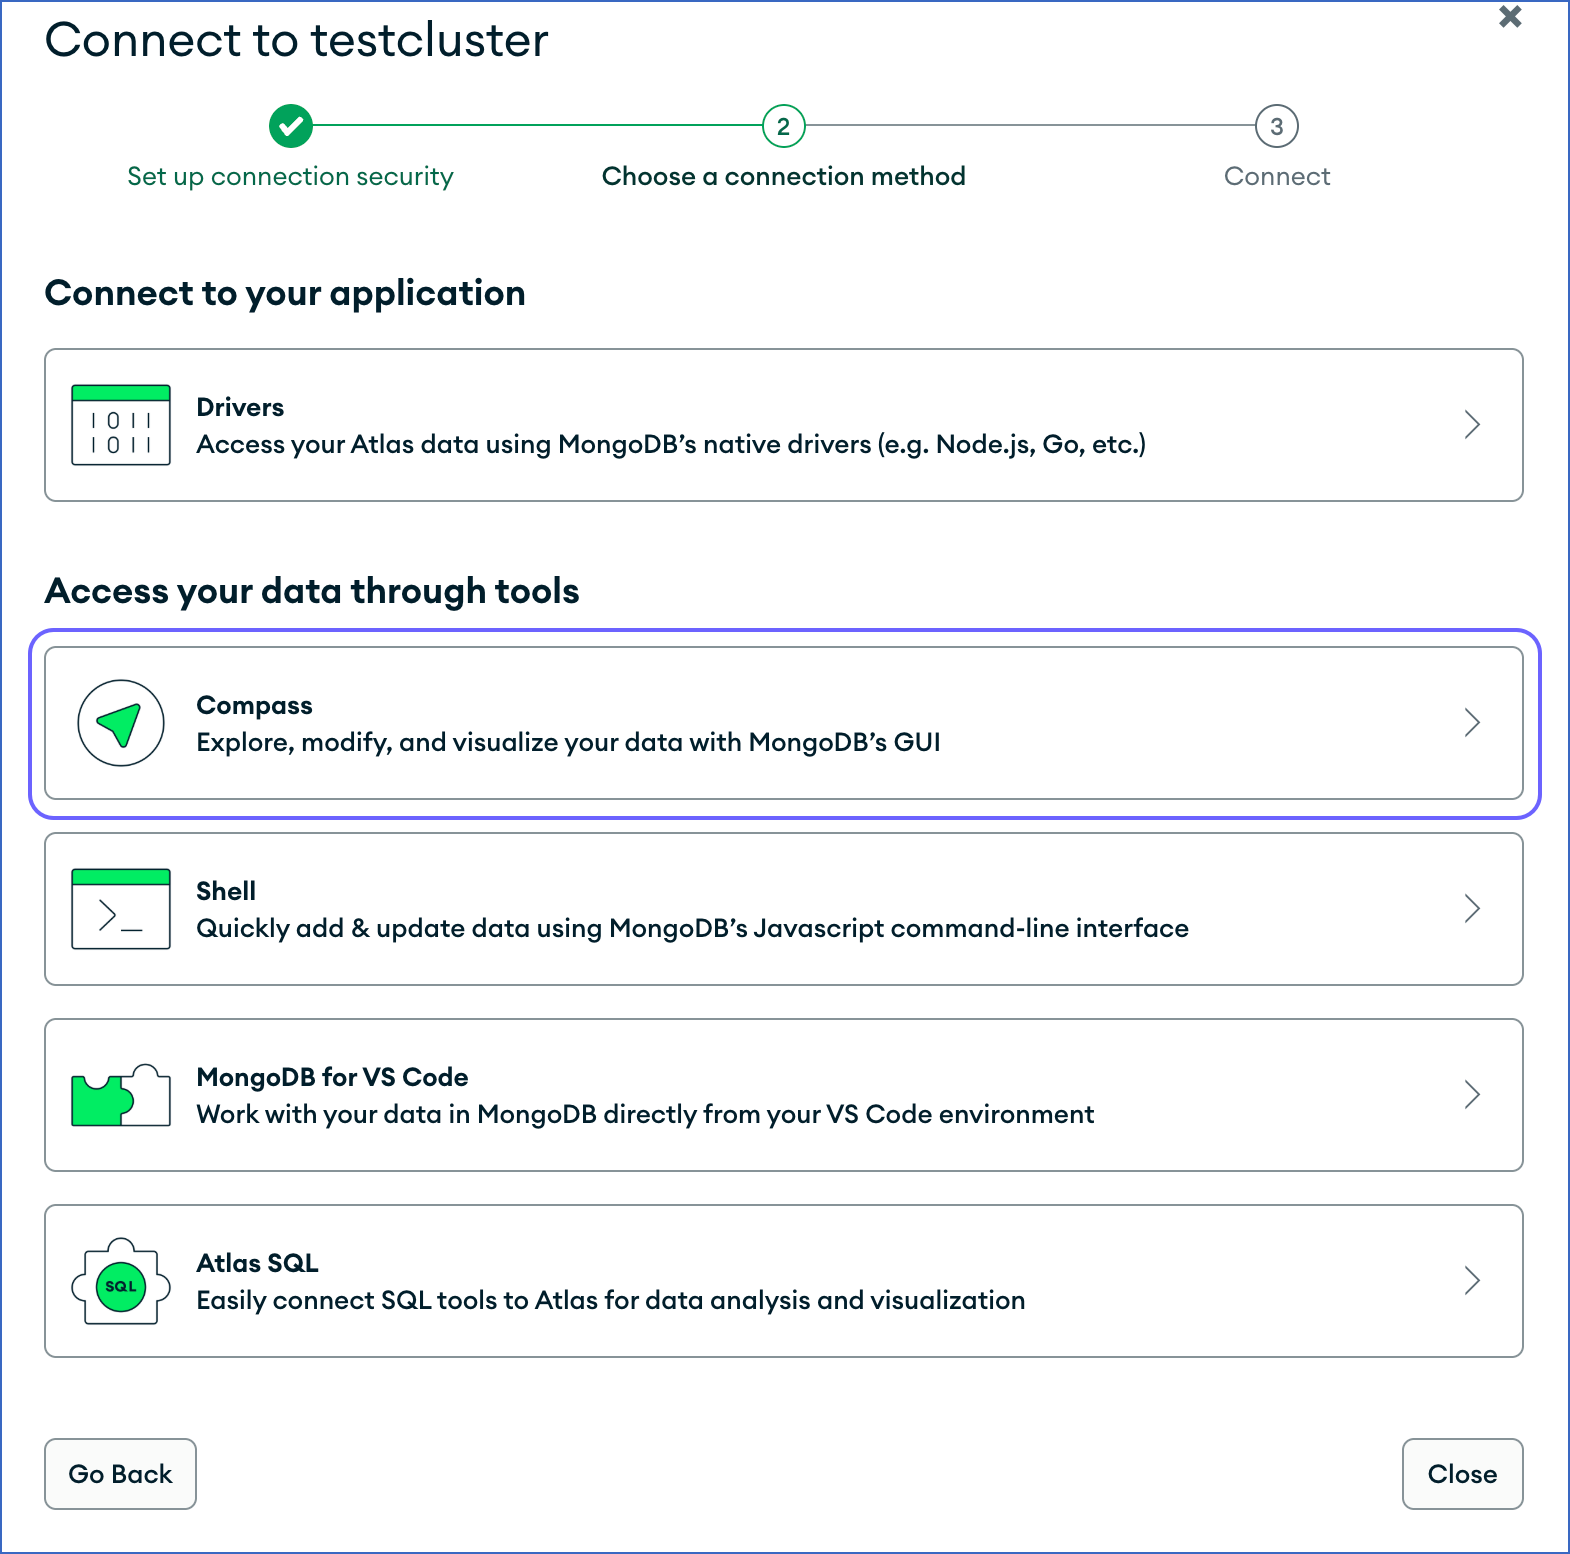
In the Connect to <Cluster Name> pop-up window, under Access your data through tools, click Compass.
-
In the Connecting with MongoDB Compass section, do the following:
-
Click I have MongoDB Compass Installed.
Note: Select this option even if you do not have MongoDB Compass. You do not need MongoDB Compass to configure MongoDB Atlas as a Source in Hevo.

-
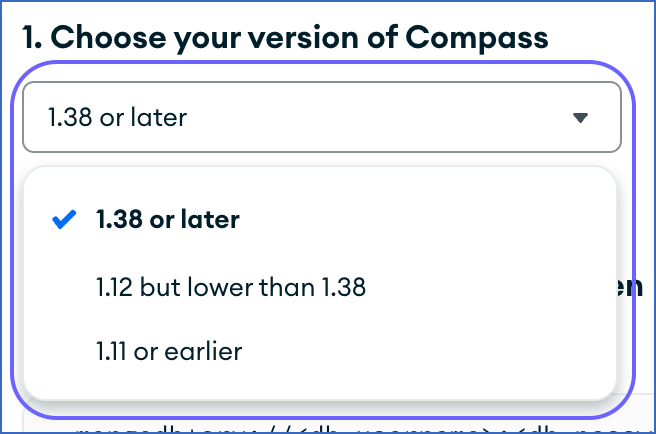
Select the version of the MongoDB Compass application. If you do not have Compass installed, select the latest version.
-
-
Copy the connection string that appears in the code block. The connection string varies as per the Compass version you select.
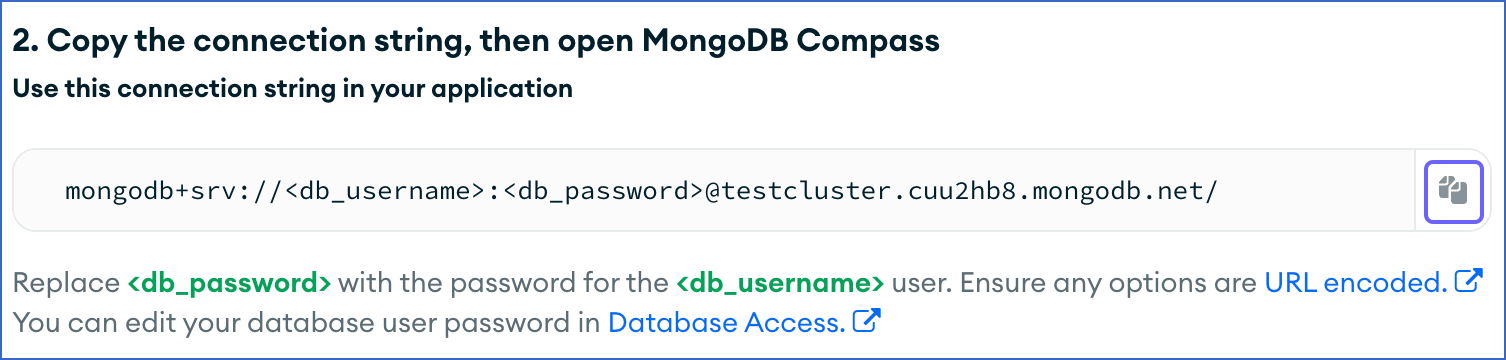
The connection string contains the database username and password, followed by
@, the database host, and optional connection options after/. To get the host, remove everything before and including the@symbol, and everything from the first/after the host onward.For example, if the connection string is
mongodb+srv://<db_username>:<db_password>@testcluster.cuu2hb8.mongodb.net/?retryWrites=true&w=majority&appName=TestCluster, usetestcluster.cuu2hb8.mongodb.netas the host while configuring your MongoDB Atlas Source in Hevo.
Configure MongoDB Atlas as a Source in your Pipeline
Perform the following steps to configure MongoDB Atlas as a Source in Hevo:
-
Click Pipelines in the Navigation Bar.
-
Click + Create Pipeline in the Pipelines List View.
-
On the Select Source Type page, select MongoDB Atlas.
-
On the Select Destination Type page, select the type of Destination you want to use.
-
On the page that appears, do the following:
-
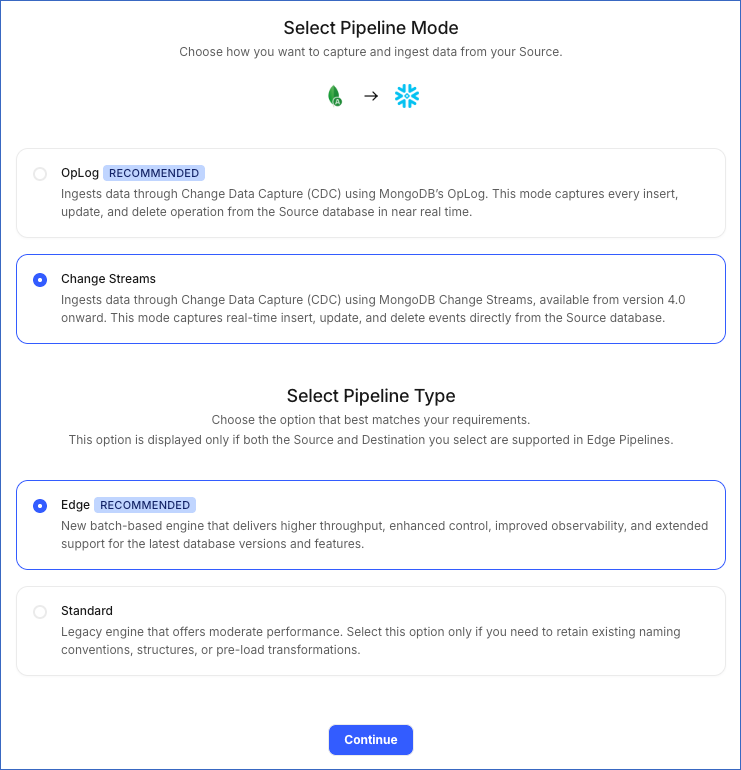
Select Pipeline Mode: Choose Change Streams. Hevo supports only this mode for Edge Pipelines created with MongoDB Atlas Source. If you choose any other mode, you can proceed to create a Standard Pipeline.
-
Select Pipeline Type: Choose the type of Pipeline you want to create based on your requirements.
-
If you select Edge, skip to step 6 below.
-
If you select Standard, read MongoDB Atlas to configure your Standard Pipeline.
-
-
This option is displayed only if all the following conditions are met:
-
The selected Destination type is supported in Edge.
-
The Pipeline mode is set to Change Streams.
-
Your Team was created before September 15, 2025, and has an existing Pipeline created with the same Destination type and Pipeline mode.
-
-
For Teams that do not meet the above criteria, if the selected Destination type is supported in Edge and the Pipeline mode is set to Change Streams, you can proceed to create an Edge Pipeline. Otherwise, you can proceed to create a Standard Pipeline. Read MongoDB Atlas to configure your Standard Pipeline.
-
-
Click Continue.
-
In the Configure Source screen, specify the following:
-
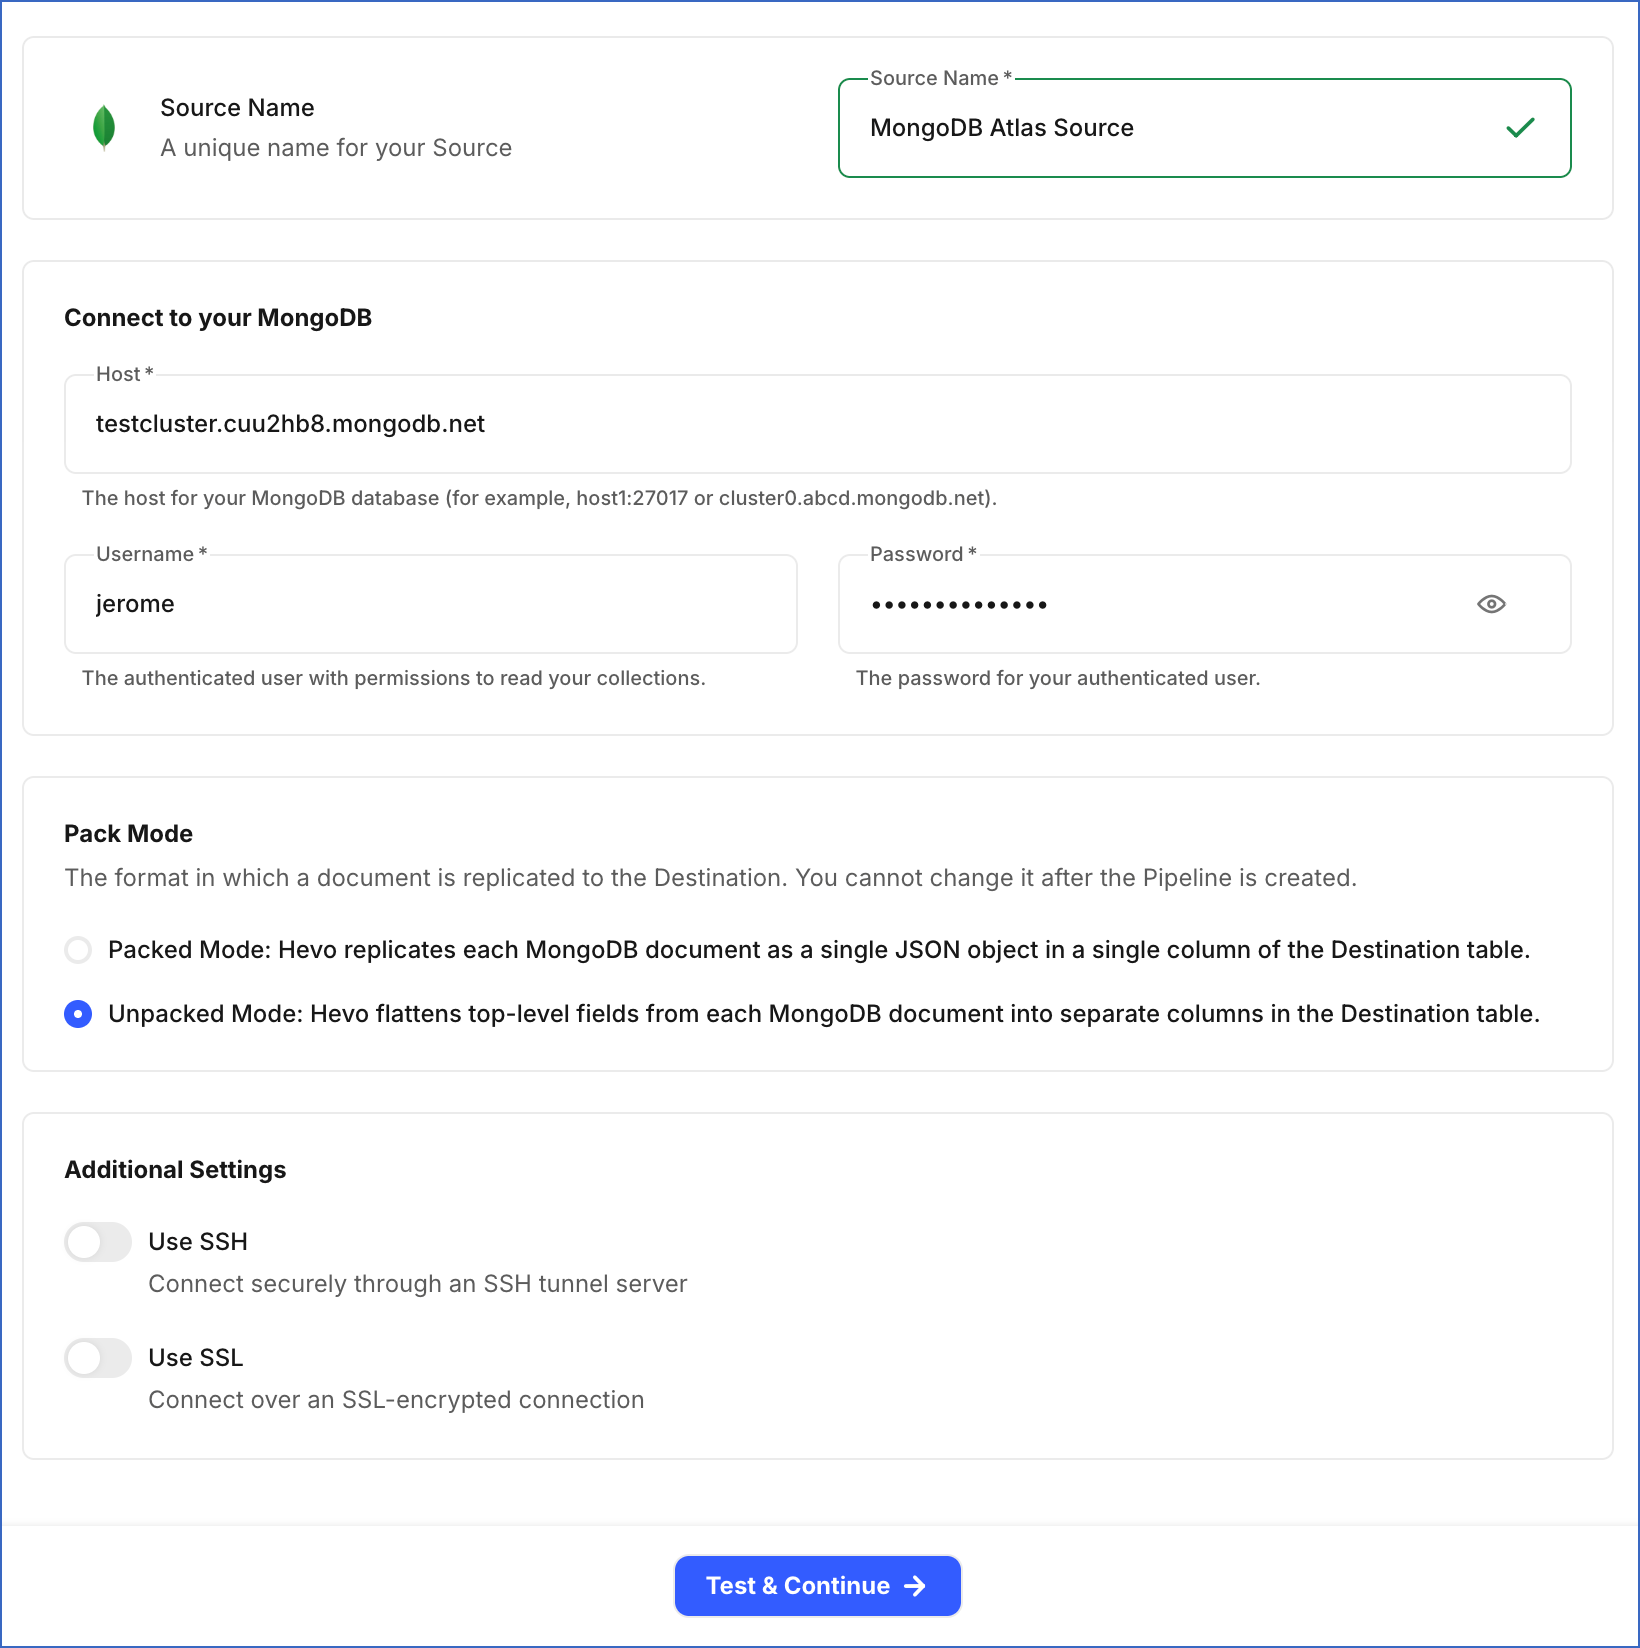
Source Name: A unique name for your Source, not exceeding 255 characters. For example, MongoDB Atlas Source.
-
Host: The hostname of your Atlas cluster that you obtained from the Retrieve the Cluster Hostname section.
-
Username: The authenticated user who has permission to read collections in your database. For more information, read Set up Permissions to Read MongoDB Atlas Databases.
-
Password: The password for the database user.
-
Pack Mode: The format in which a MongoDB document is replicated to the Destination. This cannot be changed after the Pipeline is created. Default Value: Unpacked Mode.
-
Packed Mode: Hevo stores each document as a single JSON column.
-
Unpacked Mode: Hevo creates one column for each top-level field in the document.
For more information, read Document Packing Modes.
-
-
Additional Settings:
-
Use SSH: Enable this option to connect Hevo to your MongoDB database using an SSH tunnel instead of directly connecting to your database host. This provides an additional level of security to your database by not exposing your MongoDB setup to the public.
If this option is turned off, you must configure your Source to accept connections from Hevo’s IP address.
-
Use SSL: Enable this option to use an SSL-encrypted connection. Specify the following:
-
CA File: The file containing the SSL server certificate authority (CA).
-
Client Certificate: The client’s public key certificate file.
-
Client Key: The client’s private key file.
-
-
-
-
Click Test & Continue to test the connection to your MongoDB Atlas Source. Once the test is successful, you can proceed to set up your Destination.
Additional Information
Read the detailed Hevo documentation for the following related topics:
Data Type Mapping
Hevo maps each MongoDB data type to a Hevo data type, as shown in the following table. Hevo then maps the Hevo data type to the corresponding Destination data type.
| MongoDB Data Type | Hevo Data Type |
|---|---|
| - DOUBLE - DECIMAL128 |
DOUBLE |
| - STRING - OBJECT_ID - JAVASCRIPT CODE - CODE WITH SCOPE |
VARCHAR |
| - ARRAY - EMBEDDED DOCUMENT - OBJECT |
JSON |
| - BINARY - BINARY (UUID) |
BYTEARRAY |
| - BOOLEAN | BOOLEAN |
| - DATE - TIMESTAMP |
DATETIME |
| - INT32 | INTEGER |
| - INT64 - LONG |
LONG |
Note:
-
Hevo infers the data type of STRING values from their content. For example, a STRING value of “42” is mapped to INTEGER.
-
Hevo does not support data types that aren’t listed in the table. Fields with unsupported data types are dropped from the ingested record and are not replicated to the Destination.