Webhook
We have migrated our webhooks infrastructure for better scalability and throughput. As a result, the old Webhook URLs are deprecated and will stop working soon. Please migrate to the new webhook URL (provided in the Set up Webhook section of your Pipeline Overview page) to avoid disruption in your data loading operations. 
You can use Webhook to push data from your Source to Hevo in real-time. The Hevo Pipeline then replicates this data to your Destination database or data warehouse.
A Webhook-based Pipeline is useful when new data is actively generated in your Source. Instead of Hevo checking for updates at specific intervals, you can configure the URL provided by your Webhook Pipeline in the application and directly send the data to Hevo as soon as it is generated. You can also configure your Webhook Pipeline using the Hevo API and send one or more files up to 16 MB each in an API call.
Source Considerations
- Webhook only supports JSON files up to 16 MB in size.
Limitations
- Hevo does not load data from a column into the Destination table if its size exceeds 16 MB, and skips the Event if it exceeds 40 MB. If the Event contains a column larger than 16 MB, Hevo attempts to load the Event after dropping that column’s data. However, if the Event size still exceeds 40 MB, then the Event is also dropped. As a result, you may see discrepancies between your Source and Destination data. To avoid such a scenario, ensure that each Event contains less than 40 MB of data.
See Also
Revision History
Refer to the following table for the list of key updates made to this page:
| Date | Release | Description of Change |
|---|---|---|
| Nov-07-2025 | NA | Updated the document as per the latest Hevo UI. |
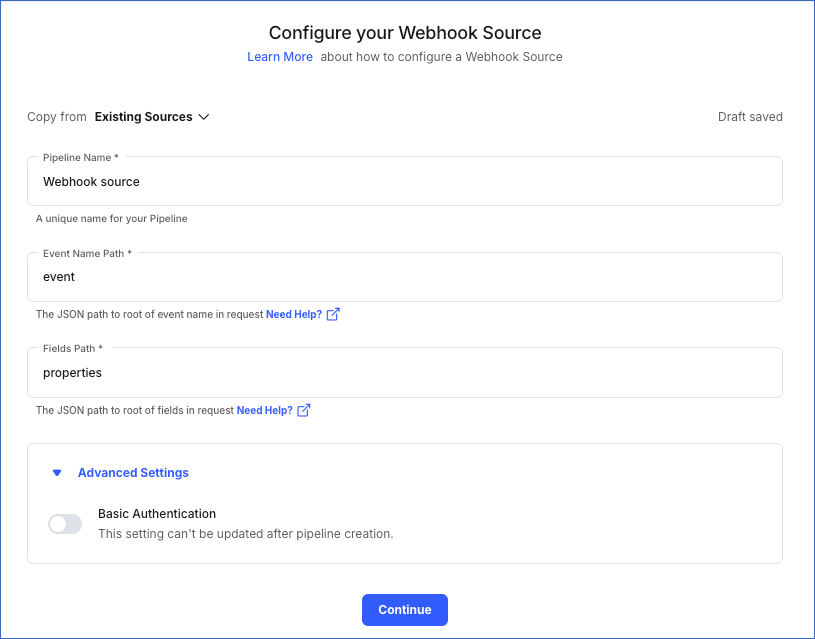
| Sep-18-2025 | NA | Updated section, Configure your Webhook Source as per the latest UI. |
| Jul-07-2025 | NA | Updated the Limitations section to inform about the max record and column size in an Event. |
| Jan-07-2025 | NA | Added a limitation about Event size. |
| Sep-07-2023 | NA | Added section, Source Considerations. |
| Mar-16-2023 | NA | Updated the page overview to add information about file size in an API call. |
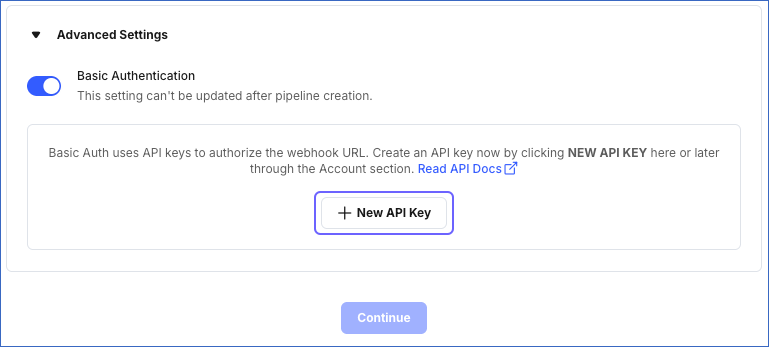
| Mar-09-2023 | 2.09 | - Updated section, Configure your Webhook Source to add information about the toggle option to enable or disable Basic Authentication. |
| Dec-19-2022 | 2.04 | Added information about support for the Basic Authentication method to securely send data to Hevo. |


