Auto Mapping Event Types
Hevo provides you an option to automatically map Event Types and fields from your Source to the corresponding tables and columns in the Destination, thereby eliminating the need for any human intervention. You can enable Auto Mapping at the Pipeline or the Event Type level. For example, you can disable Auto Mapping for the entire Pipeline but enable it for just one Event Type or vice versa.

Once you configure the Source and Destination of a Pipeline and select Auto Mapping, Hevo replicates the Source schemas as is to the Destination table. It also handles any future schema changes that may occur in the Source data.
As part of Auto Mapping, Hevo:
-
Creates the respective tables and fields in the Destination with the appropriate schema if these are not present already.
-
Maps all the Source Event Types automatically to the tables in the Destination.
If multiple Pipelines are configured to ingest data from objects with the same name in the Source(s) to a common Destination, then, once a corresponding table is created or mapped in the Destination for the first Pipeline, Auto Mapping picks up the same Destination table for the remaining Pipelines too. This can cause the data in the Destination table to be overwritten every time any of these Pipelines run. In such a scenario, you can do the following:
-
Provide a different Destination prefix during each Pipeline setup so that a different table is created each time in the Destination.
-
Disable Auto Mapping while creating the Pipelines, and manually map the desired table in the Destination. Subsequently, you can enable Auto Mapping for the Pipeline or the object.
The following table describes how Auto Mapping handles different data scenarios:
| Sr. No. | Data Scenario | Auto-Mapping On | Auto-Mapping Off |
|---|---|---|---|
| 1 | New Event Types are added in the Source. | No user intervention is required. Hevo creates and maps the respective Destination tables with the selected Event Types, and initiates the data replication process. | You need to create and map the respective tables manually to the selected Event Types before being able to sync the data with the Destination. |
| 2 | Skipped Event Types are included for data replication to the Destination. | No user intervention is required. Hevo creates and maps the respective Destination tables with the selected Event Types, and initiates the data replication process. | You need to create and map the respective tables manually to the selected Event Types before being able to sync the data with the Destination. |
| 3 | New fields are added to the existing Event Types in the Source. | No user intervention is required. Hevo creates the respective columns in the Destination. Note: No columns are created if the fields contain null values or if there is no data available in the Source for those fields. |
You need to map the respective columns manually to the Event Types field before being able to load the data to the Destination. |
| 4 | Fields are deleted from the existing Event Types in the Source. | No user intervention is required. Hevo does not load any data further in the respective columns. | No user intervention is required. Hevo does not load any data further in the respective columns. |
| 5 | Fields data types are changed to compatible data types in the Source. | No user intervention is required if data type promotion is supported for the Destination, else Hevo sidelines the affected Events. In such a case, you can use Transformations, or you can create and map the table again. | Hevo sidelines the affected Events until mappings are resolved. You can use Transformations, or you can create and map the table again. |
| 6 | Fields data types are changed to incompatible data types in the Source. | Hevo sidelines the affected Events until mappings are resolved. You can use Transformations if possible, else you need to create and map the table again. | Hevo sidelines the affected Events until mappings are resolved. You can use Transformations if possible, else you need to create and map the table again. |
| 7 | Tables are deleted in the Destination. | No user intervention is required. Hevo recreates the deleted tables and loads the Events in the Destination. | You need to re-create and map the deleted tables manually before being able to sync the data with the Destination. |
| 8 | Columns are deleted in the Destination. | No user intervention is required. Hevo recreates the deleted columns and loads the Events in the Destination. | You need to re-map the deleted columns manually before being able to sync the data with the Destination. |
| 9 | Fields are renamed in the Source. | Hevo treats the renamed field as a new field and adds a new column in the Destination table. This column is populated only for incremental Events going forward. To align historical data with the new schema, you must do the following: - Map the renamed field to the new column - Drop the Destination table - Restart historical load |
You need to map the respective columns to the Event Types field before you can load the data to the Destination. |
When you disable Auto Mapping for an Event Type, its current mapping is retained, but its status changes from Auto Mapped to Mapped. Any subsequent change made to its schema in the Source, for example, change in the data type of a field or addition or deletion of columns, is not automatically made in the Destination table moving forward. Read Modifying Schema Mapping for Event Types to know how you can modify or delete the mapping for such Event Types.
Changes to the Source data or its mapping are reflected in the Destination only when the changed Events are next ingested. For example, suppose a field is created in an object in the Source. Now, whether Auto Mapping is enabled or not, the corresponding column is created in the Destination table only when Hevo ingests an Event containing a non-null value for that field.
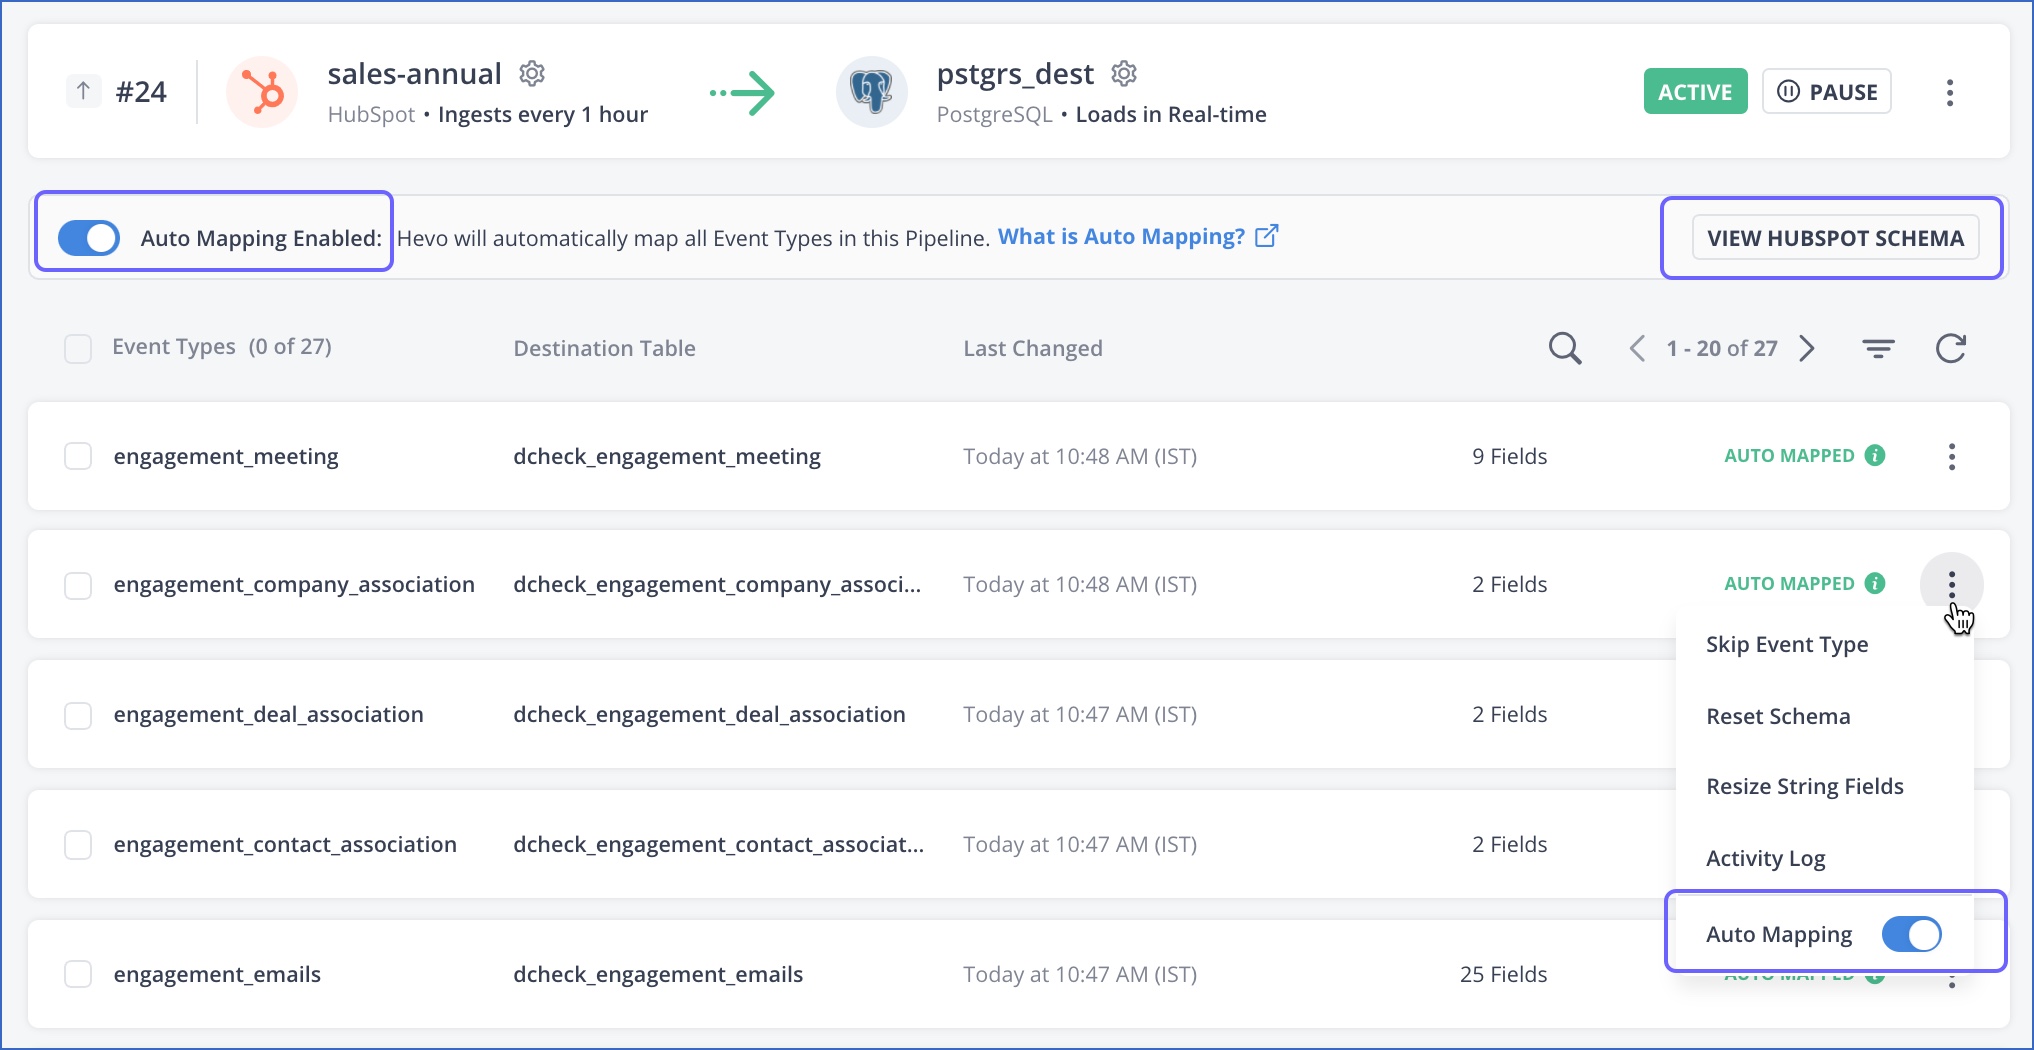
Click the VIEW SCHEMA button below the Pipeline Summary Bar to see the Source schema details such as the list of objects synced and data types of the fields pertaining to each object.
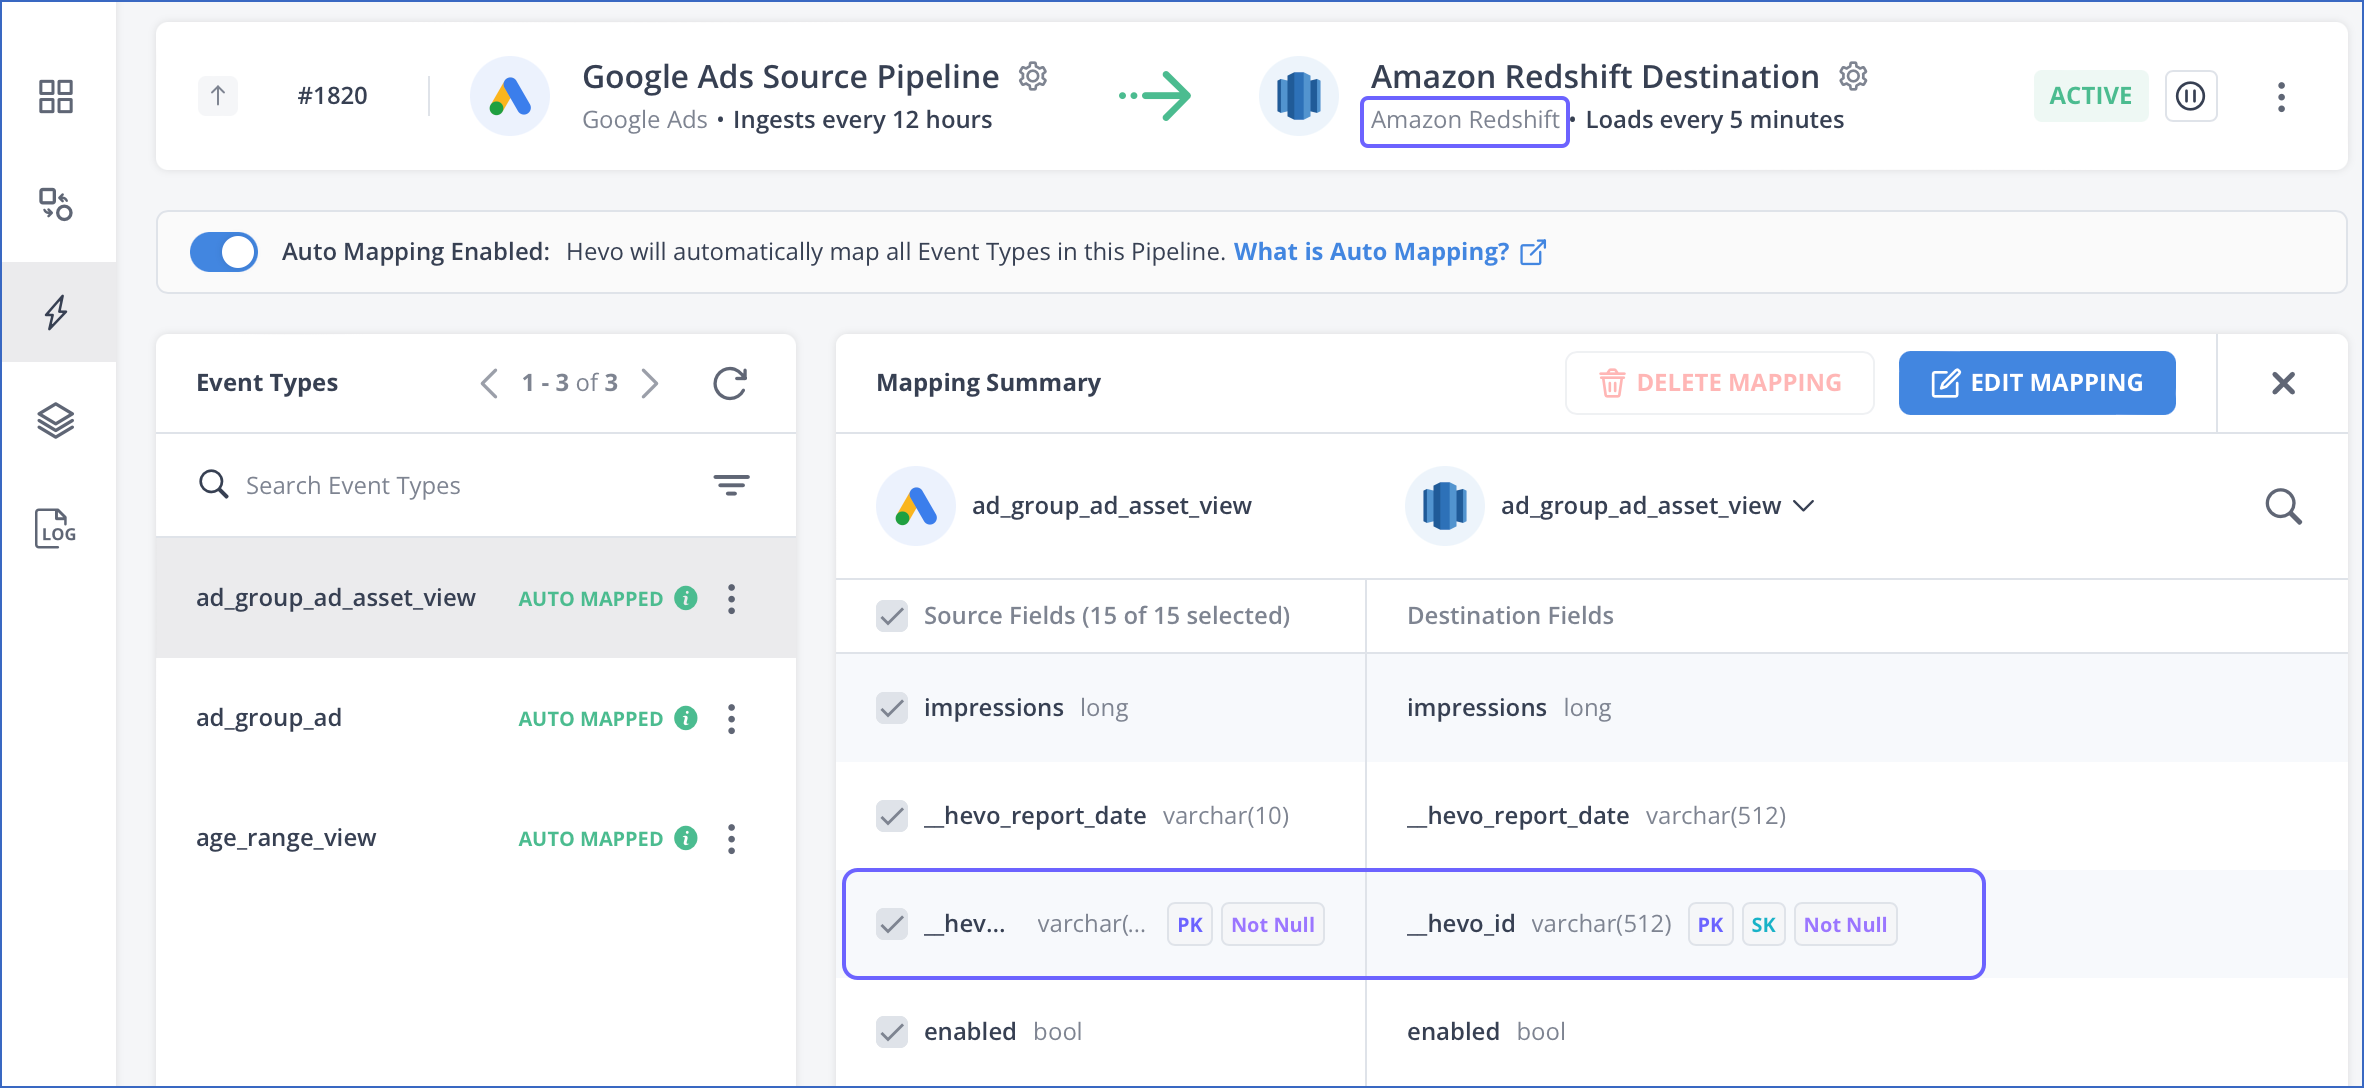
When tables are created in the Destination for the first time based on the Source schema, any primary keys defined in the Source are retained in the Destination tables during Auto Mapping. In addition, for the Amazon Redshift data warehouse, sort keys are automatically created on the primary keys defined for the respective tables. This is similar to the functionality offered in manual schema mapping.

As of Release 1.69, for existing tables in the Destination, the primary keys from the Source schema are mapped if a primary key is not already defined for the table. If the Destination table already contains duplicate Events, those are not deleted as part of this mapping; only the new Events are de-duplicated.
Note: A sort key defines the column by which data is sorted in a table. Availability of sorted data improves the query efficiency during loading of Events as number of scans required to identify the location of update are substantially reduced. Consequently, job performance is improved.
Disabling Auto Mapping
You can disable Auto Mapping for your Pipeline either during or after its creation, or for specific Event Types post-Pipeline creation. However, any subsequent changes made to the Source schema are not automatically made in the Destination tables. Read Modifying Schema Mapping for Event Types to know how you can modify or delete the mapping for such Event Types.
Refer to the following sections for the steps to disable Auto Mapping for your Pipeline during, or after its creation or for specific Event Types post-Pipeline creation.
Disabling Auto Mapping during Pipeline creation
When you disable Auto Mapping during Pipeline creation, the Source Event Types are not mapped to a Destination table and remain in the UNMAPPED state. To disable Auto Mapping for your Pipeline during its creation, you must disable the Auto Mapping option in the Configure Destination page, and click CONTINUE.

Disabling Auto Mapping post-Pipeline creation
When you disable Auto Mapping for an Event Type or the entire Pipeline, the current mapping of the Event Type(s) is retained, but the status changes from Auto Mapped to Mapped. Perform the following steps to disable Auto Mapping:
Note: You must be assigned the Team Administrator, Team Collaborator, Pipeline Administrator, or Pipeline Collaborator role in Hevo, to disable Auto Mapping.
-
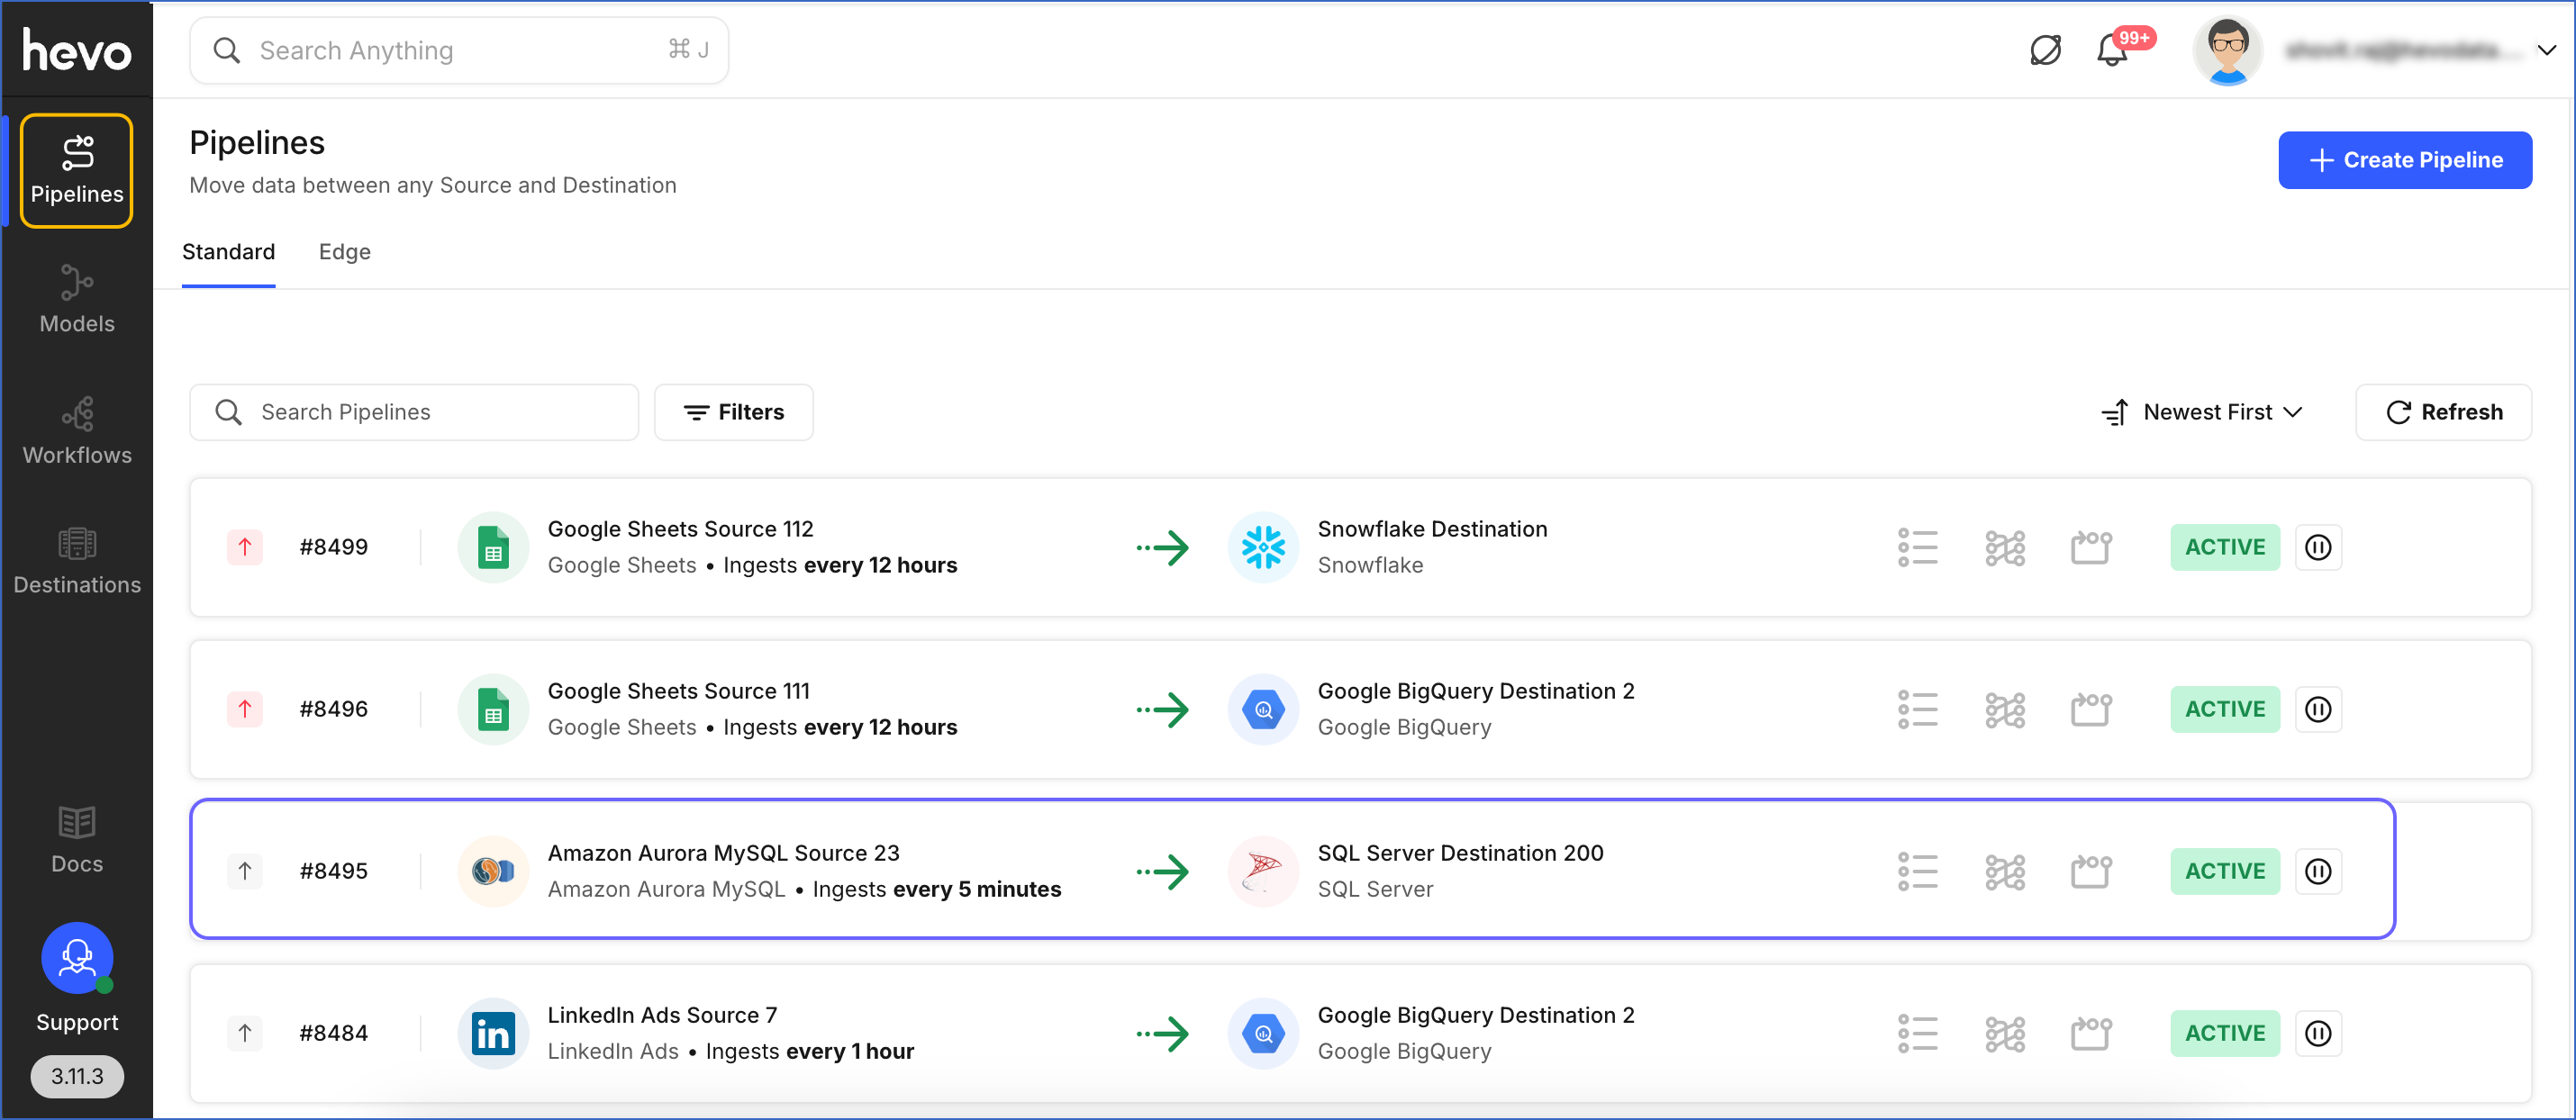
Click Pipelines in the Navigation Bar, and select the Pipeline for which you want to disable Auto Mapping.

-
Click Schema Mapper to view all the Events in your Pipeline.

-
In the Schema Mapper page, do one of the following:
-
Disable Auto Mapping for the Pipeline: Click the Auto Mapping Enabled option in the banner.

-
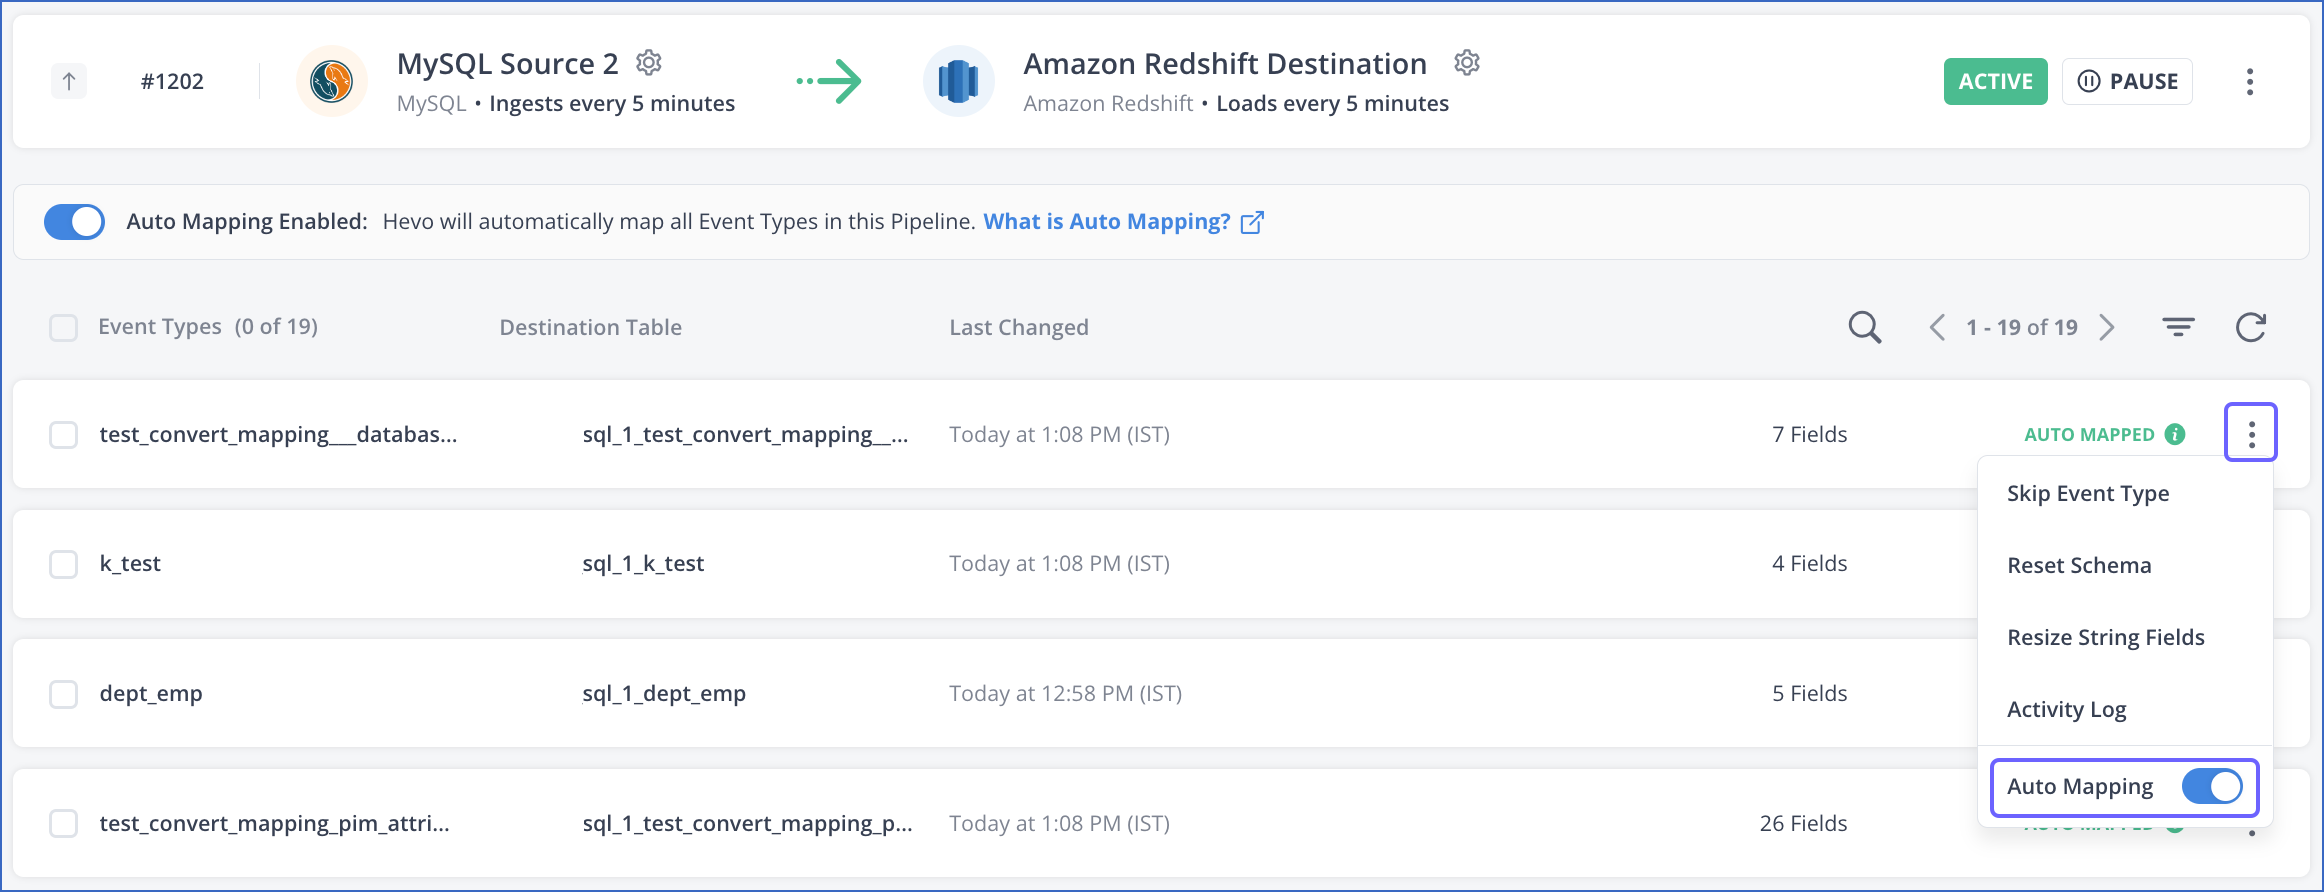
Disable Auto Mapping for specific Event Types: Click the More (
 ) icon corresponding to an Event Type, and disable the Auto Mapping option.
-
-
Select the check box next to the appropriate reason and click DISABLE AUTO MAPPING.
