Snowflake offers a cloud-based data storage and analytics service, generally termed as data warehouse-as-a-service. Companies can use it to store and analyze data using cloud-based hardware and software.
In Snowflake, you can create both data warehouses and databases to store your data. Each data warehouse can further have one or more databases, although this is not mandatory. Snowflake provides you one data warehouse automatically when you create an account.
For Hevo to access your data, you must assign the required permissions. Snowflake uses Roles to assign permissions to users. You need ACCOUNTADMIN, SECURITYADMIN or SYSADMIN privileges to create the required roles for Hevo. Read more about Roles in Snowflake.
The data from your Pipeline is staged in Hevo’s S3 bucket before being finally loaded to your Snowflake warehouse.
Prerequisites
-
An active Snowflake account.
-
The user has
ACCOUNTADMINorSECURITYADMINprivileges in Snowflake to create a role for Hevo. -
The user must have
ACCOUNTADMINorSYSADMINprivileges in Snowflake, if a warehouse is to be created. -
Hevo is assigned
USAGEpermissions on data warehouses. -
Hevo is assigned
USAGEandCREATE SCHEMApermissions on databases. -
Hevo is assigned
ALLpermissions on the current and future schemas.
Perform the following steps to configure your Snowflake Destination:
Create and Configure your Snowflake Warehouse
Hevo provides you a ready-to-use script to configure the Snowflake warehouse you intend to use as the Destination.
Follow these steps to run the script:
-
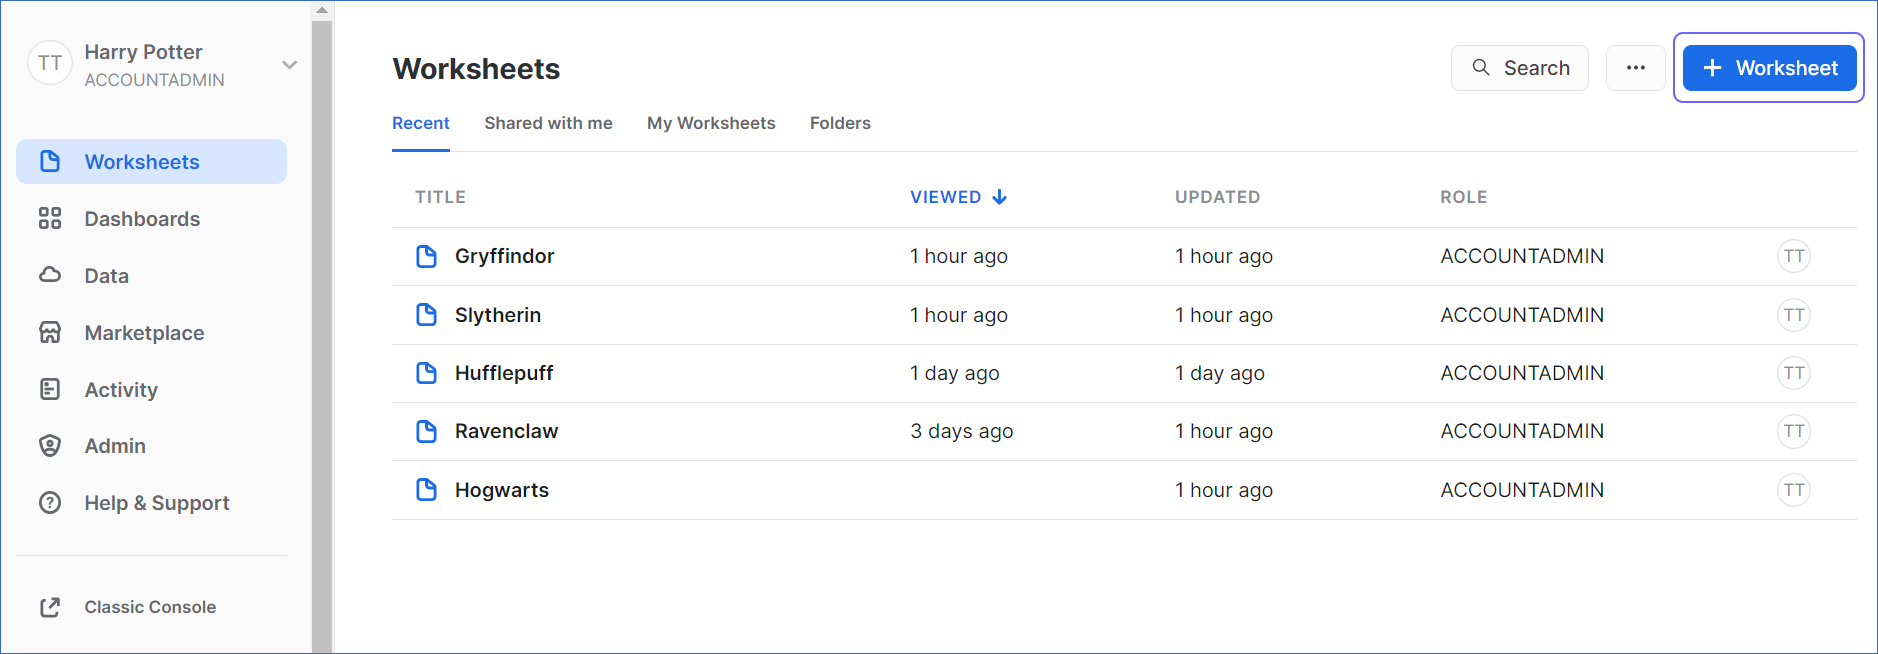
Log in to your Snowflake account.
-
In the Worksheets tab, click +Worksheet to create a new worksheet.
-
Paste the following script in the worksheet. The script creates a new role for Hevo in your Snowflake Destination. Keeping your privacy in mind, the script grants only the bare minimum permissions required by Hevo to load the data in your Destination.
-- create variables for user / password / role / warehouse / database (needs to be uppercase for objects) set role_name = 'HEVO'; -- Replace "HEVO" with your role name set user_name = 'HARRY_POTTER'; -- Replace "HARRY_POTTER" with your username set user_password = 'Gryffindor'; -- Replace "Gryffindor" with the user password set warehouse_name = 'HOGWARTS'; -- Replace "HOGWARTS" with the name of your warehouse set database_name = 'RON'; -- Replace "RON" with the name of your database set schemaName = 'DARK_ARTS'; -- Replace "DARK_ARTS" with the database schema name set db_schema = concat($database_name, '.', $schemaName); begin; -- change role to securityadmin for user / role steps use role securityadmin; -- create role for HEVO create role if not exists identifier($role_name); grant role identifier($role_name) to role SYSADMIN; -- create a user for HEVO create user if not exists identifier($user_name) password = $user_password default_role = $role_name default_warehouse = $warehouse_name; -- Grant access to the user grant role identifier($role_name) to user identifier($user_name); -- change role to sysadmin for warehouse / database steps use role sysadmin; -- create a warehouse for HEVO, if it does not exist create warehouse if not exists identifier($warehouse_name) warehouse_size = xsmall warehouse_type = standard auto_suspend = 600 auto_resume = true initially_suspended = true; -- create database for HEVO create database if not exists identifier($database_name); -- grant HEVO role access to warehouse grant USAGE on warehouse identifier($warehouse_name) to role identifier($role_name); -- grant HEVO access to database grant CREATE SCHEMA, MONITOR, USAGE, MODIFY on database identifier($database_name) to role identifier($role_name); use role accountadmin; CREATE SCHEMA IF not exists identifier($db_schema); GRANT USAGE, MONITOR, CREATE TABLE, CREATE EXTERNAL TABLE, MODIFY ON SCHEMA identifier($db_schema) TO ROLE identifier($role_name); commit; -
Replace the sample values provided in lines 2-7 of the script with your own to create your warehouse. These are the credentials that you will be using to connect your warehouse to Hevo. You can specify a new warehouse, role, and or database name to create these now, or use pre-existing ones to load data into.
Note: The values for
role_name,user_name,warehouse_name,database_nameandschemaNamemust be in upper case. -
Press CMD+return (Mac) or CTRL + Enter (Windows) to run the script.
-
Once the script runs successfully, you can use the credentials from lines 2-7 of the script to connect your Snowflake warehouse to Hevo.
Obtain your Snowflake Account URL
The Snowflake data warehouse may be hosted on any of the following Cloud providers:
-
Amazon Web Services (AWS)
-
Google Cloud Platform (GCP)
-
Microsoft Azure (Azure)
The account name, region, and cloud service provider are visible in your Snowflake web interface URL.
For most accounts, the URL looks like https://account_name.region.snowflakecomputing.com.
For example, https://westeros.us-east-2.aws.snowflakecomputing.com. Here, westeros is your account name, us-east-2 is the region, and aws is the service provider.
However, if your Snowflake instance is hosted on AWS, US West region, the URL looks like https://account_name.snowflakecomputing.com.
Perform the following steps to obtain your Snowflake Account URL:
-
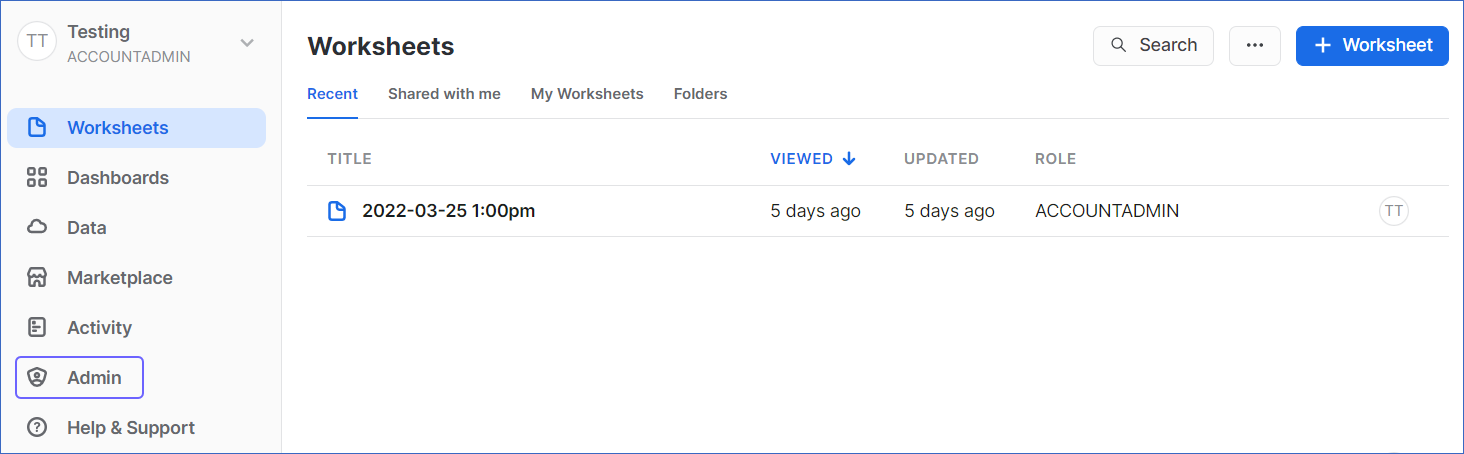
Log in to your Snowflake instance. Click Admin in the left panel.
-
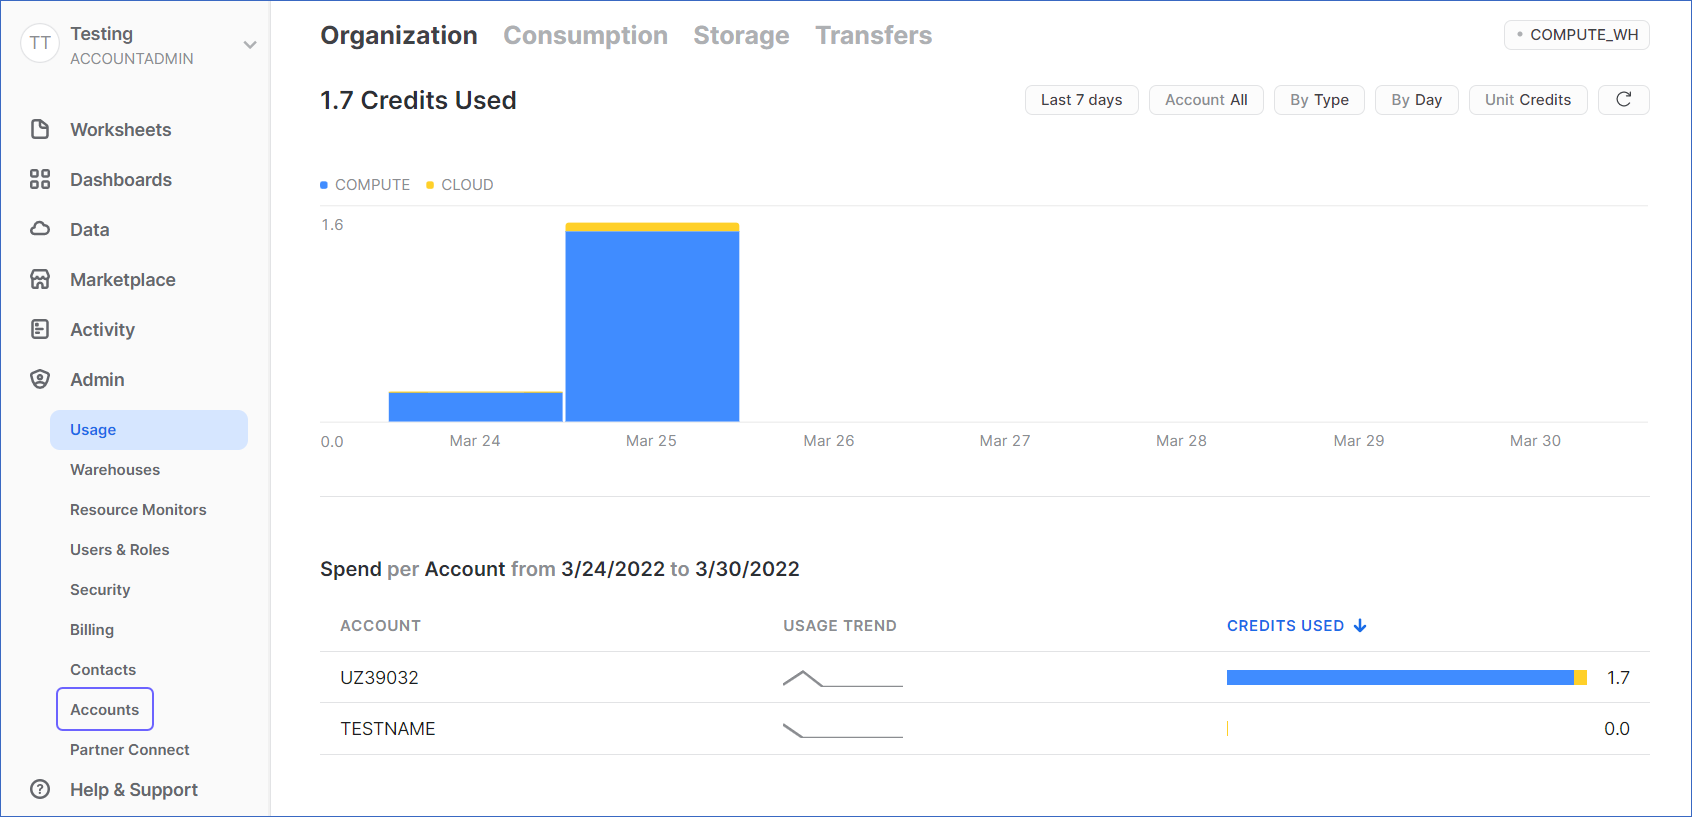
Under the Admin tab, click Accounts.
-
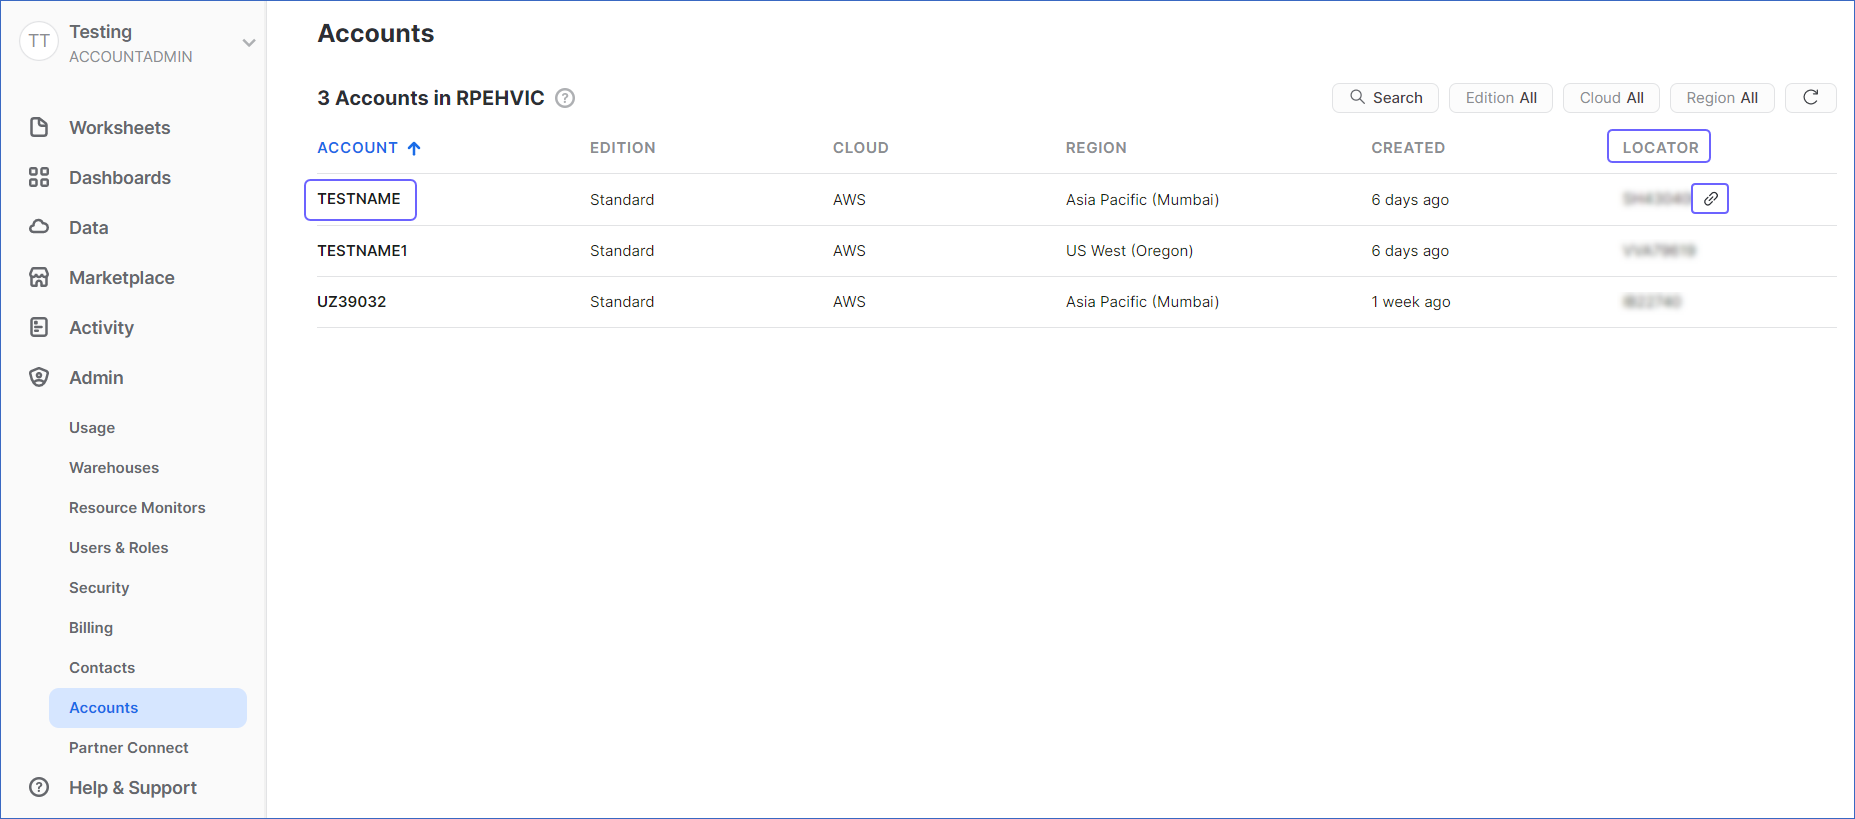
Hover the mouse on the LOCATOR field corresponding to the account for which you want to obtain the URL.
-
Click on the link icon to copy your account URL.
Configure Snowflake as a Destination
-
Click DESTINATIONS in the Navigation Bar.
-
Click + CREATE DESTINATION in the Destinations List View.
-
In the Add Destination page, select Snowflake as the Destination type.
-
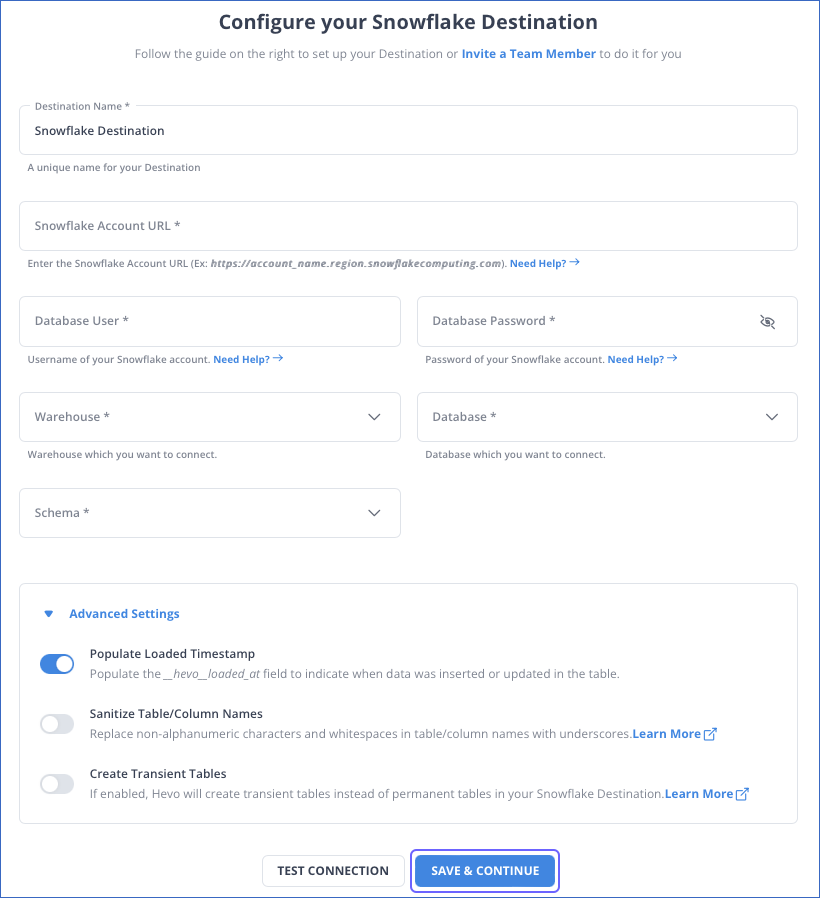
In the Configure your Snowflake Warehouse page, specify the following:
-
Destination Name: A unique name for your Destination.
-
Snowflake Account URL: The account URL that you retrieved in Step 2 above.
-
Database User: The username that you specified in Step 1 above.
-
Database Password: The password of the database user.
-
Warehouse: The Snowflake warehouse associated with your database, where the SQL queries and Data Manipulation Language (DML) operations are performed.
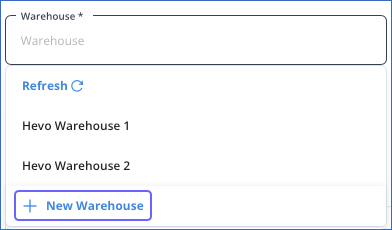
Hevo fetches the list of all the warehouses in your Snowflake account. From this list, you must select the warehouse where you run your queries. Optionally, you can also choose to create a new warehouse by clicking + New Warehouse, specifying a name for the warehouse, and clicking the Tick (
 ) icon.
Note: You must have the ACCOUNTADMIN or SYSADMIN privileges to create a warehouse in Snowflake.
-
Database: The Destination database to which you want to load your data.
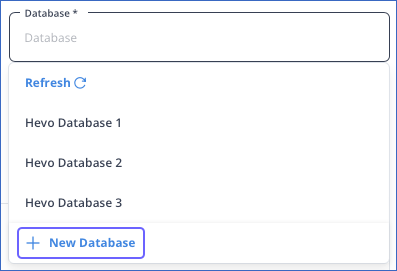
Hevo fetches the list of all the databases in your Snowflake account. From this list, you must select the database that you want to use to load your data. Optionally, you can also choose to create a new database by clicking + New Database, specifying a name for the database, and clicking the Tick (
) icon. -
Database Schema: The schema in the Destination database where the data is to be loaded. Hevo fetches the list of all the schemas available for your database. From this list, you must select the schema that you want to use to load your data.
-
Advanced Settings:
-
Populate Loaded Timestamp: Enable this option to append the
__hevo_loaded_atcolumn to the Destination table to indicate the time when the Event was loaded to the Destination. Read Loading Data to a Data Warehouse. -
Sanitize Table/Column Names: Enable this option to sanitize your table or column names. Hevo replaces all non-alphanumeric characters and spaces in a table or column name with an underscore. Names are sanitized while mapping a Source Event Type to a table in Snowflake using Auto Mapping, or when you try to create a table manually using the Hevo UI. Read Name Sanitization.
-
Create Transient Tables: Enable this option to create transient tables. Transient tables have the same features as permanent tables minus the Fail-safe period. The fail-safe feature allows Snowflake to recover the table if you were to lose it, for up to seven days. Transient tables allow you to avoid the additional storage costs for the backup, and are suitable if your data does not need the same level of data protection and recovery provided by permanent tables, or if it can be reconstructed outside of Snowflake. Read Transient Tables.
-
-
-
Click TEST CONNECTION.
-
Click SAVE & CONTINUE.
Handling Source Data with Different Data Types
For teams created in or after Hevo Release 1.58, Hevo automatically modifies the data type of a Snowflake table column to accommodate Source data with a different data type. Data type promotion is performed on tables that are less than 50GB in size. Read Handling Different Data Types in Source Data.
Note: Your Hevo release version is mentioned at the bottom of the Navigation Bar.
Limitations
- Hevo replicates a maximum of 4096 columns to each Snowflake table, of which six are Hevo-reserved metadata columns used during data replication. Therefore, your Pipeline can replicate up to 4090 (4096-6) columns for each table. Read Limits on the Number of Columns.