Using Hevo Activate, you can create Activations to synchronize data from your Activate Warehouse with a Target CRM application. Activations are incremental in terms of the data that is synchronized. You can schedule an Activation to run at a pre-defined frequency. However, you can also restart an (incremental) Activation or use the Run Now option to run it on-demand.
Prerequisites
- A CRM database is configured as the Target system.
Creating an Activation
Perform the following steps to create an Activation:
Select the Warehouse to load data from
-
In the Navigation Bar, click ACTIVATE.
-
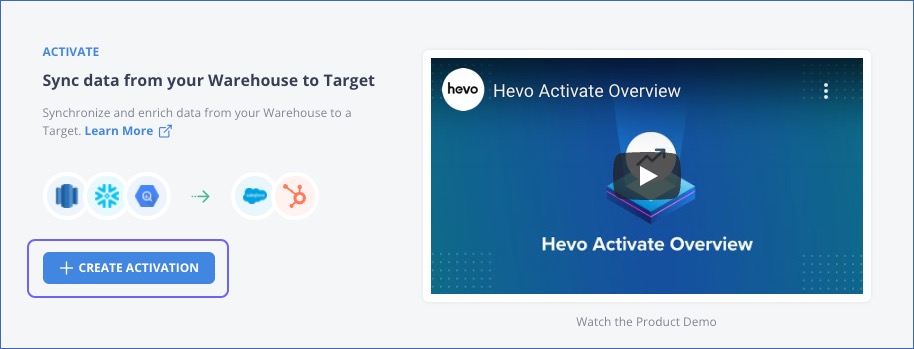
If you are creating your first Activation, click +CREATE ACTIVATION on the Activate home page.

Else, click + CREATE ACTIVATION in the Activations List View.

-
On the Select Warehouse page, do one of the following:

-
Select an existing data warehouse that holds the data to be activated. This could be an Activate Warehouse or a data warehouse configured as a Destination for Hevo Pipelines. Hevo supports Amazon Redshift, Google BigQuery, and Snowflake as Activate Warehouses.
Hevo validates the permissions granted to the configured database user in the selected Warehouse. If the database user does not have the necessary permissions to access the selected Warehouse, then an error as shown in the following image is displayed:

-
Click +ADD WAREHOUSE to configure a new data Warehouse.
-
Read Activate Warehouses for detailed steps to configure the data warehouses.
Specify the Target details
On the Select a Target page, select a Target CRM application with which you want to synchronize the data. Alternatively, click + ADD TARGET to configure one now.

Read Activate Targets.
Select the Data to be Synchronized
On the Select the Data to Synchronize page:

-
Create the SQL QUERY to fetch data from one or multiple tables of your data warehouse. When selecting the columns in your SQL query, you should ensure that the column names do not contain any special characters or reserved keywords, as this may cause the Activation run to fail. However, if your selected Warehouse allows special characters in the column names, to include those columns in your SQL query, you must alias the column names. Read Common Issues Seen in Activation Runs for the steps to do this or your data warehouse documentation.
In the case of Amazon Redshift and Google BigQuery data warehouses, you must prefix the dataset name to the table name. For example, in the image above, the dataset name is demo.
Note: The UNVERIFIED CHANGES label is displayed on the SQL QUERY dialog if you modify a saved query until the changes are validated and saved.
-
In the right pane, select the Target object. You can select from the displayed STANDARD or CUSTOM objects. For the selected objects, verify that it contains the fields to which you want to map the corresponding Activate Warehouse fields.
Note: If you have added a new field to your Target object from the user interface of your Target application, click the Refresh (
 ) icon to see the updated list. For Salesforce objects, read Salesforce Target Considerations if newly added fields are not visible even after a refresh.
 -
Click TEST QUERY to validate the query.
Note: For a Google BigQuery data warehouse, you must have an active Google service account.
-
After the query is successfully tested, click TEST & MAP FIELDS.
Map Warehouse fields to Target fields
Perform the following steps to map the Warehouse fields with the Target fields. For some Targets, the Field Mapping page may differ. Read the respective Target’s Field Mapping section for the specifics.
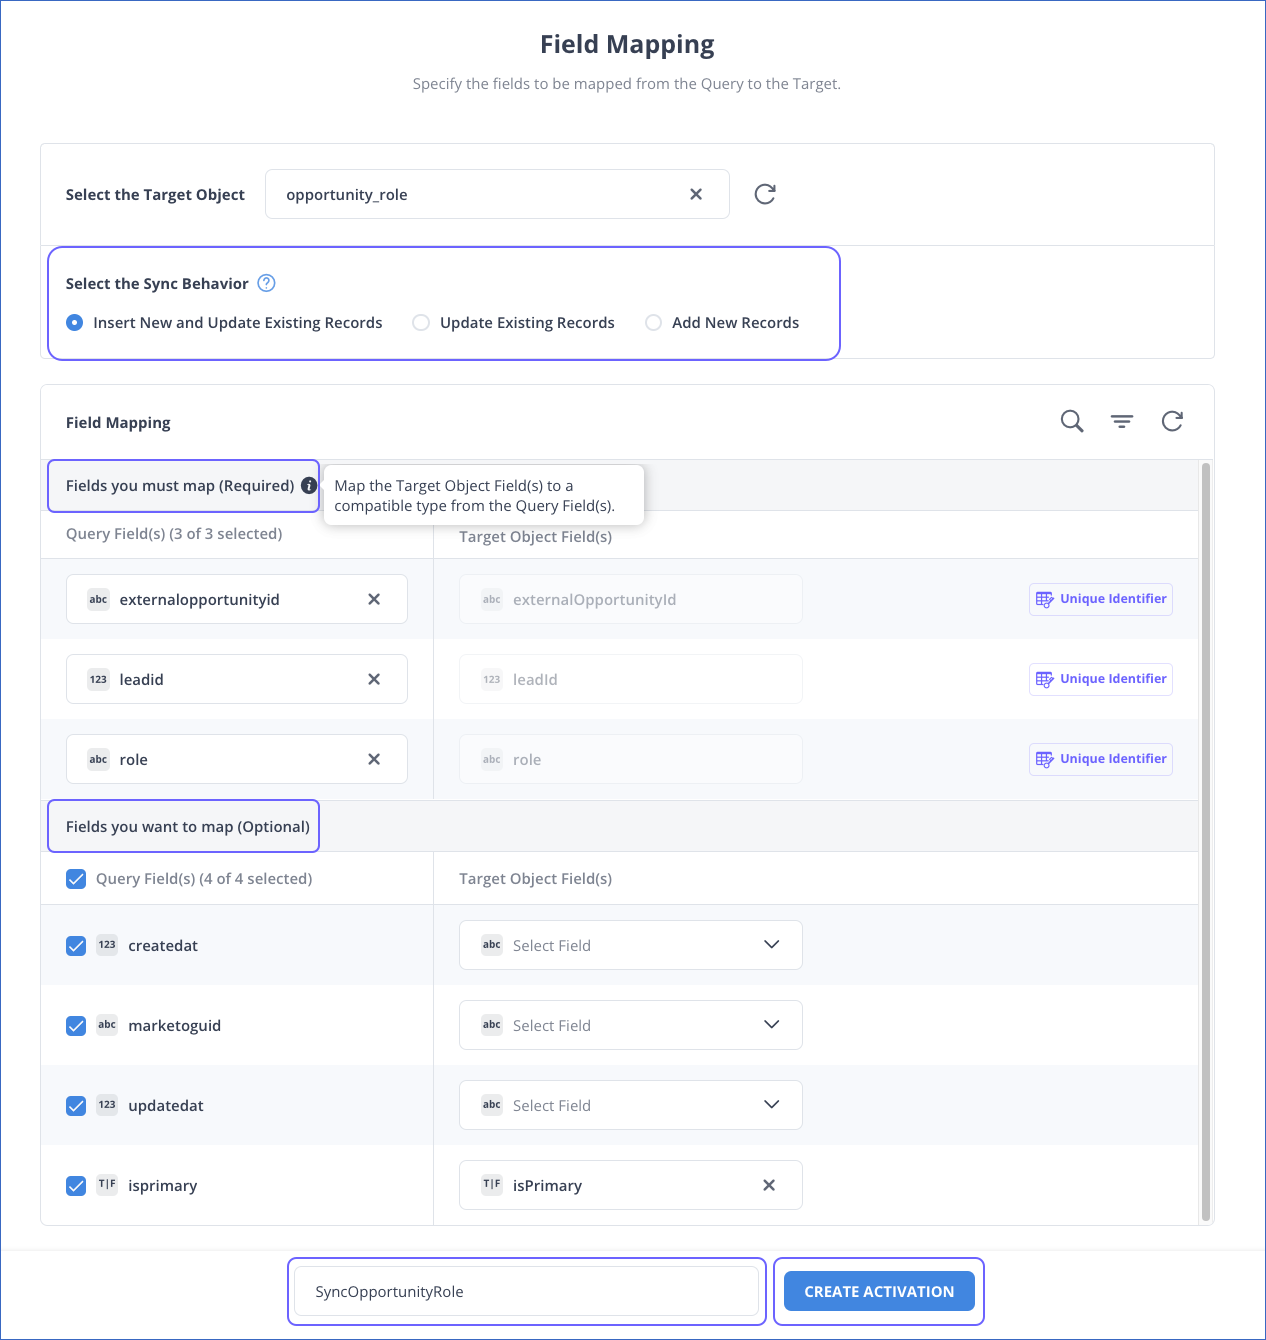
On the Field Mapping page, specify the following:

-
Select the Target Object: Select the Target object to synchronize data with. You can select from the displayed STANDARD or CUSTOM objects. Once you do this, the synchronization behaviors get enabled for selection. If you had selected a Target object in the Select the Data to be Synchronized step, the same object is displayed here. You can change this value. If you have added a new custom object from the user interface of your Target application, click Refresh to see the updated list.
-
Select the Sync Behavior: Select an option to define how the data must be synchronized.
-
Query Field(s): Select the check box next to the fields to be mapped. All mapped fields are automatically disabled for selection. Once the Activation is created, all unselected fields are dropped.
Note: In most Targets, for all sync behaviors except Insert, you must select at least one identifier field. Activate updates the records in the Target object based on these identifiers. The identifiers cannot be changed once the Activation is created and are disabled during the Update Existing Mapping action. Read the Data Model section of the respective Target for the identifiers that you can use.
-
Target Object Field(s): Select the respective fields to which you want to map the query fields. You must map the Target object fields to compatible query fields. The mapping categories are:
-
Fields you must map (Required): Map all the fields in this category. In the case of identifiers, whether unique or matching, and mandatory fields, the Target field(s) are automatically selected, and you must map them to compatible type(s) from the query field(s). You can select a field from the drop-down only if there is more than one identifier available for the selected object.
For example, to synchronize data with the Salesforce Contact object in the Upsert sync behavior, you can use the
IDorEmailfields. Therefore, both these fields will be available for selection from the drop-down. -
Fields you want to map (Optional): Select the check box next to the query fields that you want to map with the Target object fields. Custom fields created in your Target application are also displayed in the drop-down if Activate supports synchronizing data with them.
Note:
- Activate automatically selects the best matching Target object fields by default. However, you can change the selection from the drop-down.
- Once a Target field is mapped, it is disabled for further selection from the drop-down.
-
-
Specify a unique Activation Name.
-
Click CREATE ACTIVATION.