Working with SQL Models
Hevo has introduced important features in Models in Release 1.44, which help in improving the performance of the Model and making it easier for you to create them. All new Models use these features. Hevo continues to support the legacy Models, which were created prior to Release 1.44. However, to use the new features, you must update your legacy Models.
When you reset your Model, it is automatically updated with the new features. Read Models and Updating Legacy Models.
Prerequisites
-
The tables on which the SQL queries must be run exist in the Destination.
-
Working knowledge of SQL.
-
You are assigned the Team Administrator, Team Collaborator, Models and Workflows Administrator, or Models and Workflows Collaborator role in Hevo, to edit Models in Hevo.
Creating a Model
-
If this is the first Model you are creating in Hevo, perform the actions listed in this step, else, skip to Step 3.
-
Click + Create Model.

-
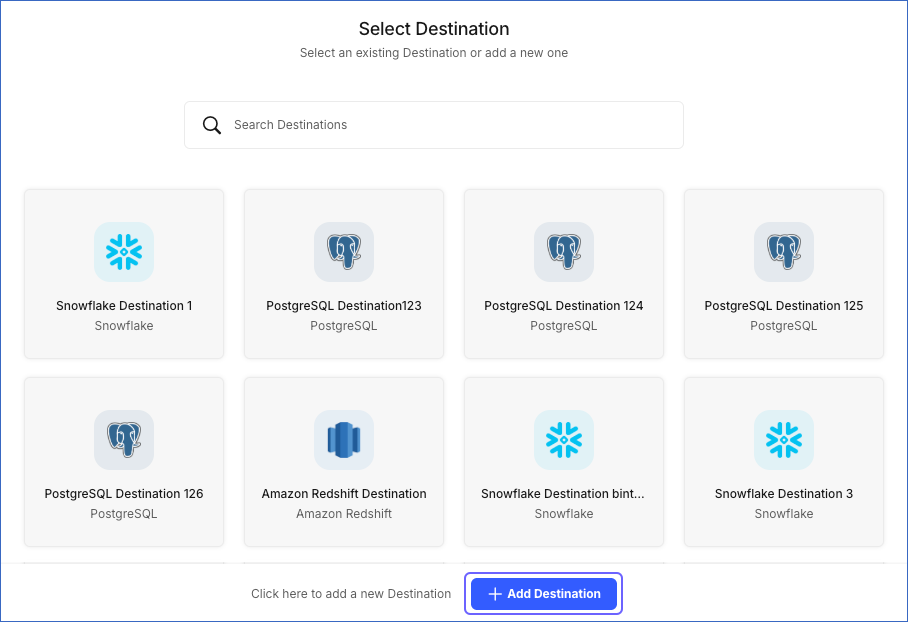
In the Select Destination page, do one of the following:
-
Select an existing Destination.
-
Click + Add Destination to configure a new Destination.
-
-
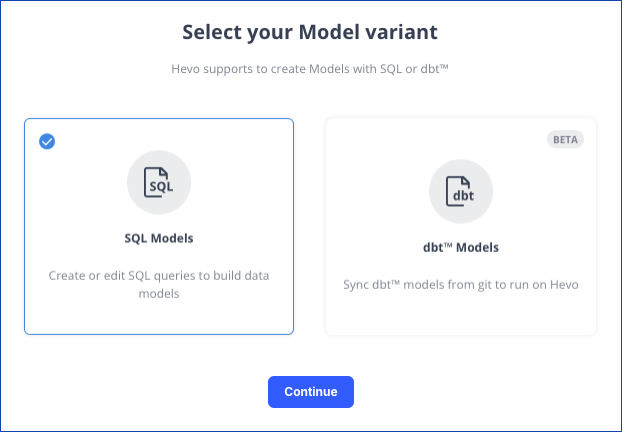
In the Select your Model variant page, select SQL Models, and click Continue.
A Model is created in the Draft state.
-
Skip to Step 3.
-
-
To create your SQL Model:
-
Click the SQL tab in the Models List View, and click + Create SQL Model.

-
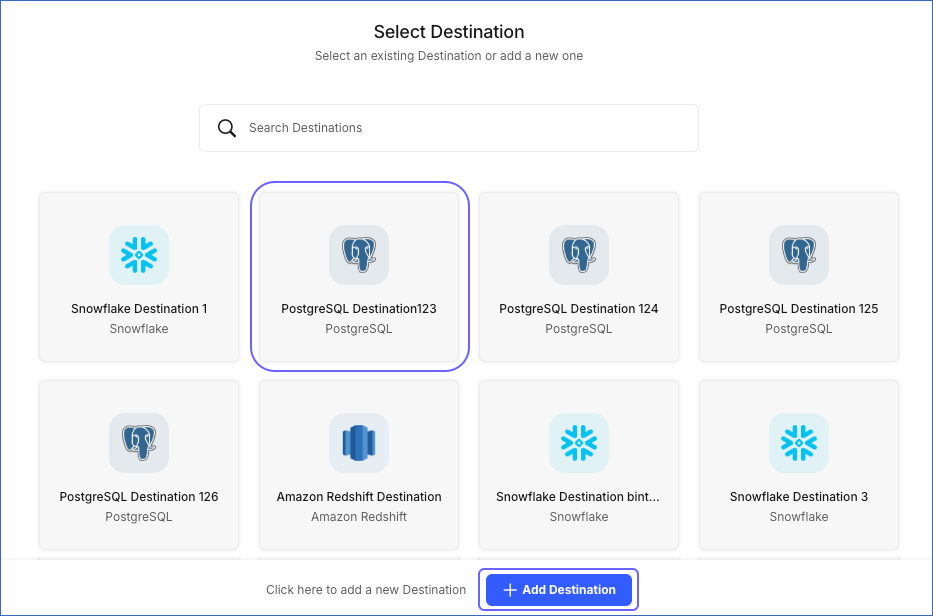
In the Select Destination page, do one of the following:
-
Select an existing Destination.
-
Click + Add Destination to configure a new Destination.
A Model is created in the Draft state.
-
-
-
Replace Untitled Model 1 with the name of the Model, and click Save.
-
In the SQL Query dialog, create the queries for the Model. You can also browse your Destination’s schema from the left pane.
Examples:
Scenario 1: Creating Models using simple SQL queries
Let us suppose you want to extract the ID, first name, and last name of employees born before Jan 01, 2000. The sample query would be:
select
  emp.id as emp_id,
  emp.first_name,
  emp.last_name
from
  emp
where
  emp.dob < '2000-01-01';
Scenario 2: Creating Models using SQL queries with Join clause
Let us suppose you want to extract the count of employees born before Jan 01, 2000, grouped by department. The sample query would be:
select dept.name as department_name, count(emp.id) as emp_count from emp join dept on emp.dept_id = dept.id where emp.dob < '2000-01-01' group by dept.name;Note:
-
It is not recommended to use the ORDER BY clause within a Common Table Expression (CTE) in your SQL query when creating Models for an Azure Synapse Analytics Destination. The ORDER BY clause is not supported in CTEs. Hevo runs a CREATE TABLE AS SELECT (CTAS) command to generate the Model and that may fail on this Destination if your SQL query has an ORDER BY clause.
-
When creating Models for an SQL Server Destination, ensure that the schema selected while configuring your Destination matches the default schema for your database user. When you reference a table in your query, Hevo checks for the specified table within the default schema. If the table is present in the schema, it is used in the Model; otherwise, an error is displayed. For data export, Hevo displays tables in your default schema, allowing you to export data to those tables or create a new one. For example, if you select hevo as the schema while configuring your Destination, it must be set as the default schema for your database user.
-
-
Click Test Query, and check the result.
Note: The Test Query action fails if the query ends with a comment. Make sure it ends with a valid SQL statement.
-
Click Export To, and in the Export Query Output dialog box, select one of the following options to export the query results:
-
Create New Table: Specify a unique name for the table. This table is created in the Destination.
-
Choose Existing Table: Select an existing Destination table, which has the same structure as the query output. The system displays a warning that the table will be recreated.
Note:
-
If you select this option, you lose the existing data in the table.
-
Ensure that the selected table contains all the columns specified in the Model’s SQL query.
-
-
Scheduling a Model
After successfully validating the queries, you must create a schedule for your Model to run.
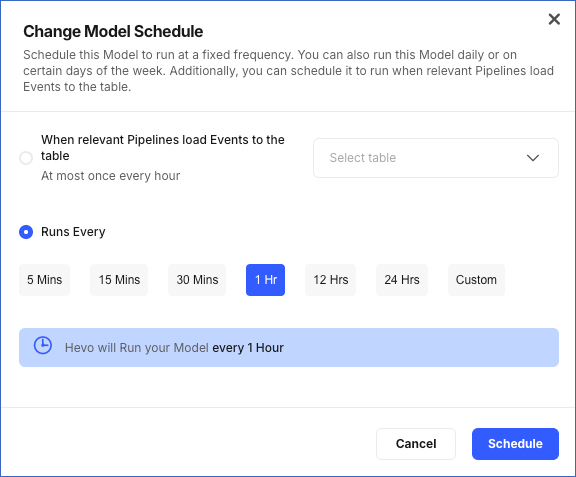
To do this, select from one of the following scheduling options:
-
When relevant Pipelines load Events to the table: Schedule the Model to run whenever a Pipeline loads data to a particular table in the Destination. As loads can be very frequent, Hevo runs the Models at the most once per hour, which might not provide you the data in real-time.
-
Runs Every: Schedule the Model to run at a fixed frequency. The highest frequency is 5 Mins and the lowest is 24 Hrs. To transform and load data in near real-time, you can schedule the Models to run at a higher frequency.
Note: A higher frequency may lead to increased Events quota consumption.
-
Custom: Select Custom in the Runs Every option to define a specific time for the Model run. The Run On drop-down provides the following options:
-
Fixed Interval of: Provide a time interval in hours, at which the Model must run. Let us suppose you specify the interval as 4 hours, and as per that, the Model is scheduled to run at noon, 4 PM (UTC), 8 PM (UTC), and so on. If you manually run the Model between these times, say at 5 PM (UTC), then the next run happens 4 hours after that, at 9 PM (UTC) and not 8 PM (UTC).
-
Daily: Schedule the Model to run daily at the specified time.
-
Weekly: Select the days of the week, and the time when you want the Model to run.
-
Click Schedule to set up the schedule. In the Summary Bar, click Change to change the schedule for an existing Model.

The Change option is visible only if the Model is not a part of any Workflow, with the Run Outside Workflow option disabled. Else, the Summary Bar shows the Workflow(s) that the Model is included in. Read Creating a Workflow.

Modifying a Model
Note: You cannot change the Destination table details while the Model is running.
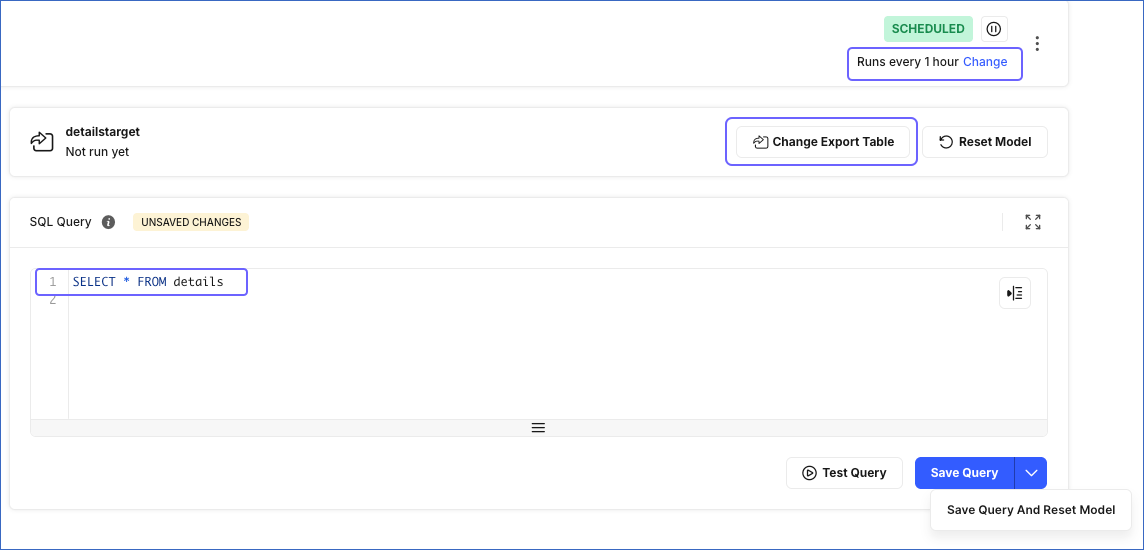
You can update a Model by modifying the SQL query to select another Destination table or by changing the output table for the query results. To do this:
-
In the Models List View, click the Model that you want to update.
-
In the Source Query tab of the Model, make any or all of the following changes, as required:
-
Change the schedule.
-
Change the table for exporting the results.
-
Modify the SQL query, and click Save Query to commit the changes. For incremental Models, you can also click the drop-down option of Save Query And Reset Model to recreate the output table.
Note: For incremental Models, if the modified SQL query changes the number or order of columns, you must reset the Model. This allows Hevo to recreate the output table with the updated schema.
-