Managing Jobs (Edge)
Once a job is created, you can manage its execution and configuration. When creating a job, you configure its run type, which determines how the job is triggered. For CI and merge jobs, the run type is fixed and cannot be changed. For deploy jobs, you can choose from three run types: Scheduled, On Demand, or On Pipeline Sync. The run type depends on the job type:

-
Continuous Integration (CI) job: It has only one run type.
- On Pull Request: Triggered automatically when a pull request is opened or updated against the target Git branch.
-
Merge job: It has only one run type.
- On Merge: Triggered automatically when changes are merged into the target Git branch.
-
Deploy job: This job supports three run types.
-
On Schedule: Triggered automatically at the scheduled time.
-
On Demand: Triggered manually from the UI or through an external orchestration tool, such as Apache Airflow.
-
On Pipeline Sync: Triggered automatically when a selected Pipeline finishes syncing.
-
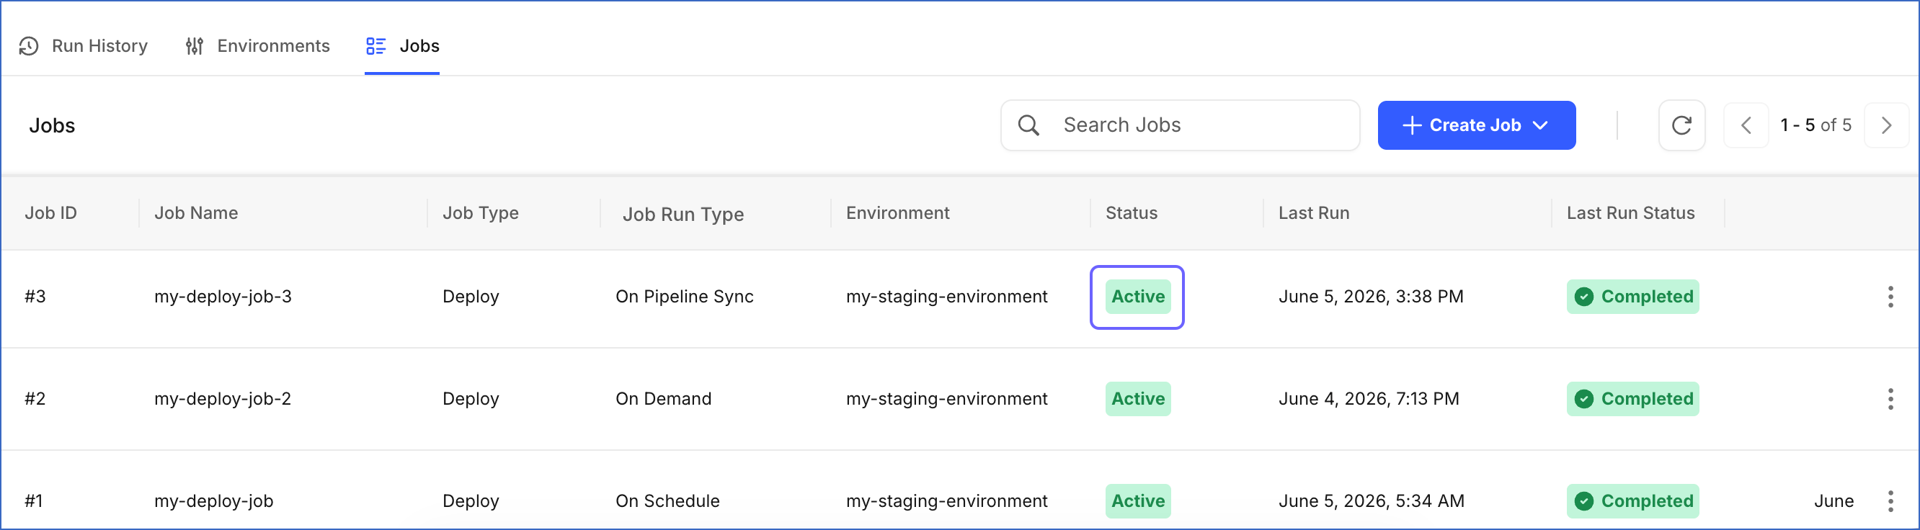
Depending on how a job is configured, you can perform the following actions to manage it:
Running a Deploy Job On Demand
You can manually run a deploy job at any time, regardless of its configured run type. This is useful when you want to process data immediately instead of waiting for a scheduled run or for a Pipeline sync to trigger the job.
Note: The Run Now option is only available for deploy jobs. CI and merge jobs are triggered automatically by GitHub events and cannot be triggered manually. If a run is already in progress, the new run will be skipped. You can view skipped runs in the job’s run history.
Perform the following steps to run a deploy job:
-
In the Navigation Bar, click Transformations.
-
On the Transformations page, select the project for which you want to run the deploy job.
-
In the Transformations Detailed View, click the Jobs tab.

-
Click the deploy job to open its run history.
-
On the slide-in page that appears, click Run Now.

-
In the Run Job dialog, click Run Now.
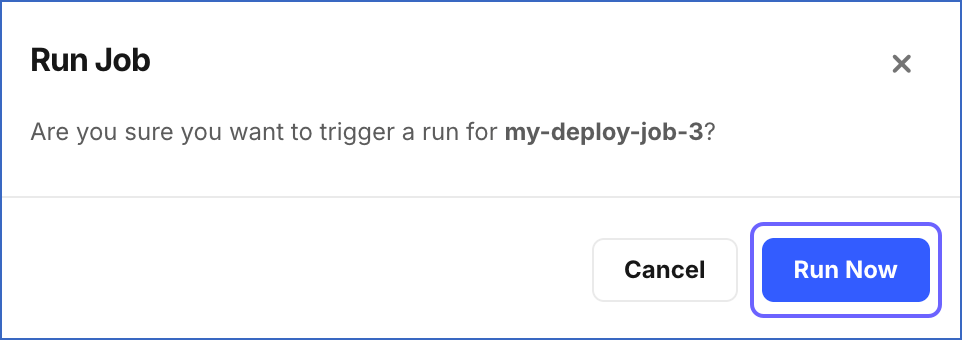
A notification is displayed to confirm that the job run has been triggered. The new run appears at the top in the Run History section with the trigger type On Manual Trigger.
Modifying a Job
You can modify a job after it is created to update its configuration. Some scenarios where you may want to modify a job:
-
The job schedule needs to be changed.
-
A different environment needs to be assigned to the job.
-
The dbt commands executed by the job need to be updated.
The fields available for modification depend on the job type:
Modifying a Continuous Integration (CI) Job
Perform the following steps to modify a CI job:
-
In the Navigation Bar, click Transformations.
-
On the Transformations page, select the project for which you want to modify a CI job.
-
In the Transformations Detailed View, click the Jobs tab.
-
Click the Actions (
 ) icon corresponding to the CI job you want to modify and select Edit Job.
-
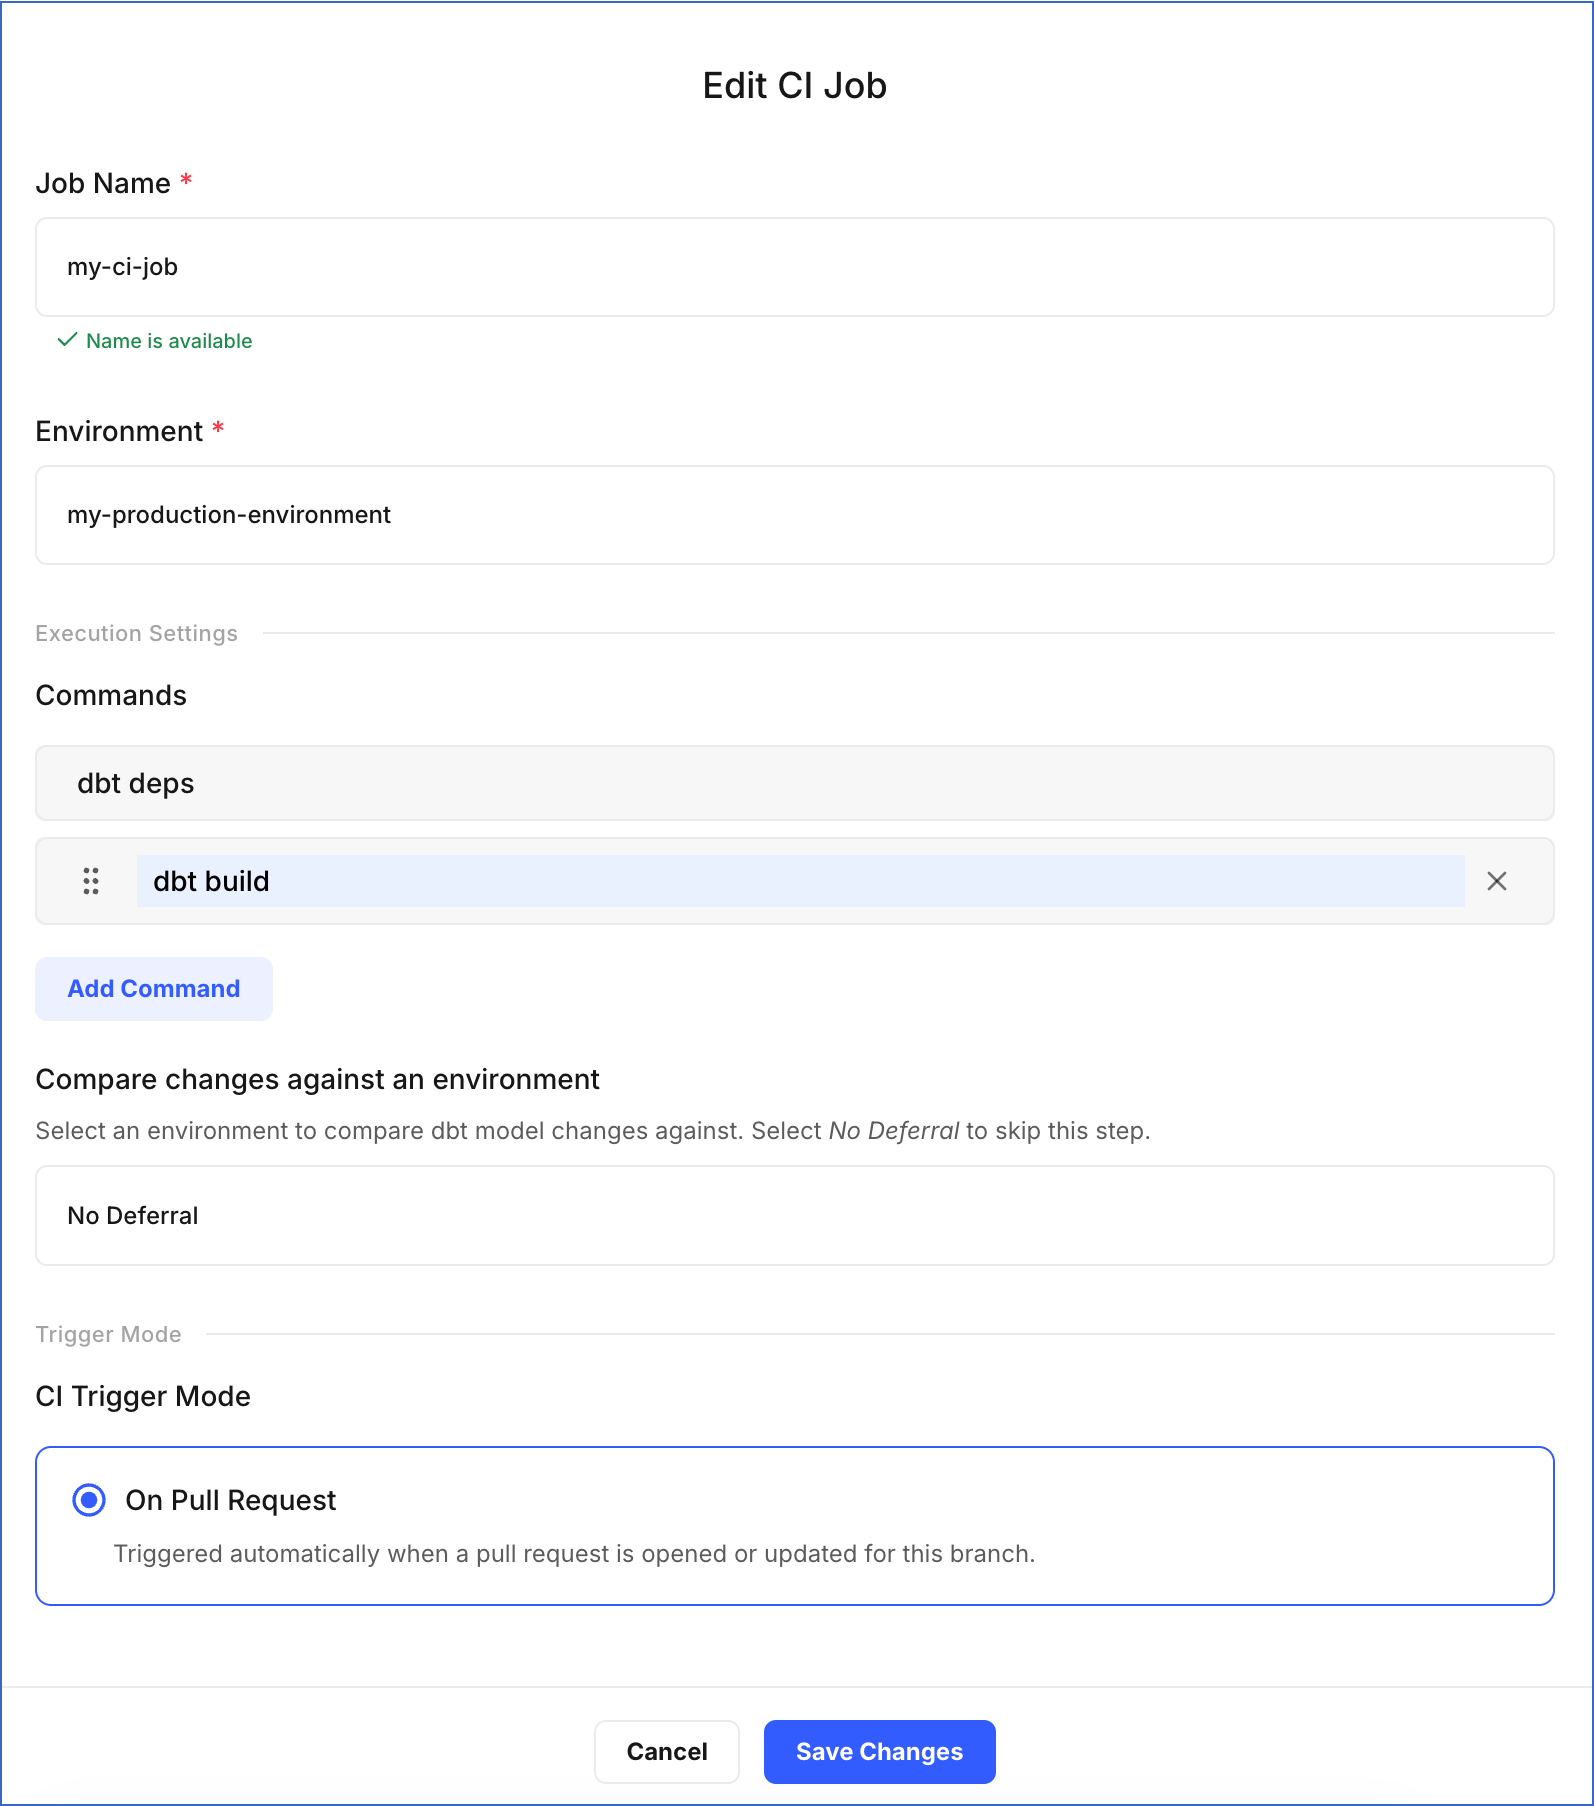
On the Edit CI Job page, update the required fields:
-
Job Name: Specify a new name for the job.
-
Environment: Select the environment that contains the target Git branch. The CI job validates pull requests that target this branch before the changes are merged.
-
In the Execution Settings section:
-
Commands: Click Add Command to specify more commands you want to execute during the job run, or click X to remove an existing command.
-
Compare changes against an environment: Select an existing environment to use as a reference when validating your changes. The CI job then validates only the models that differ from that environment, making the validation faster. Select No Deferral to validate all models from scratch instead.
-
-
Trigger Mode: On Pull Request is the only trigger mode available for CI jobs and cannot be changed.
-
-
Click Save Changes.
A notification is displayed to confirm that the job has been updated successfully.
Modifying a Merge Job
Perform the following steps to modify a merge job:
-
In the Navigation Bar, click Transformations.
-
On the Transformations page, select the project for which you want to modify a merge job.
-
In the Transformations Detailed View, click the Jobs tab.
-
Click the Actions (
) icon corresponding to the merge job you want to modify and select Edit Job.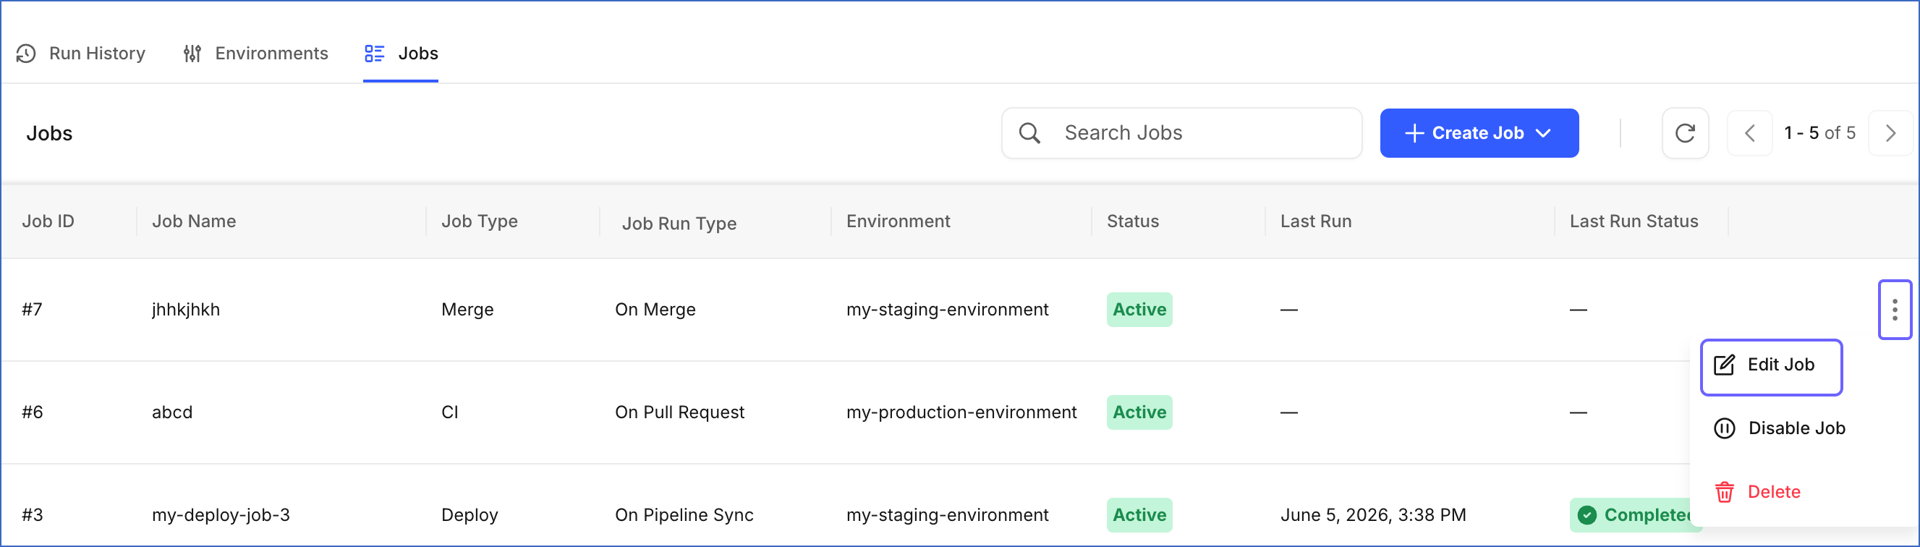
-
On the Edit Merge Job page, update the required fields:

-
Job Name: Specify a new name for the job.
-
Environment: Select the environment that contains the Git branch for merging changes.
-
In the Execution Settings section:
-
Commands: Click Add Command to specify more commands you want to execute during the job run, or click X to remove an existing command.
-
Compare changes against an environment: Select an existing environment as a deferred reference. The merge job builds only the models that differ from that environment, making the execution faster. Select No Deferral to build all models from scratch instead.
-
-
Trigger Mode: On Merge is the only trigger mode available for merge jobs and cannot be changed.
-
-
Click Save Changes.
A notification is displayed to confirm that the job has been updated successfully.
Modifying a Deploy Job
Perform the following steps to modify a deploy job:
-
In the Navigation Bar, click Transformations.
-
On the Transformations page, select the project for which you want to modify a deploy job.
-
In the Transformations Detailed View, click the Jobs tab.
-
Click the Actions (
) icon corresponding to the deploy job you want to modify and select Edit Job.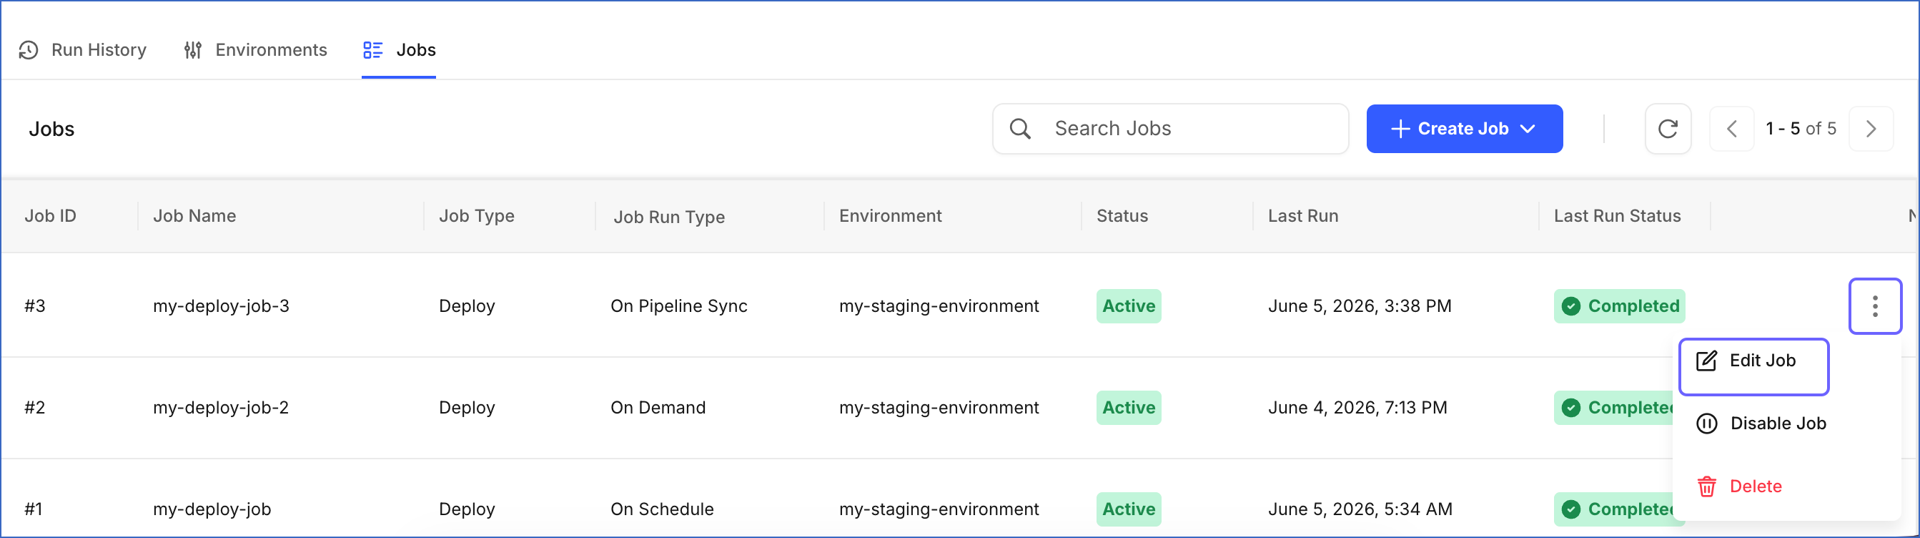
-
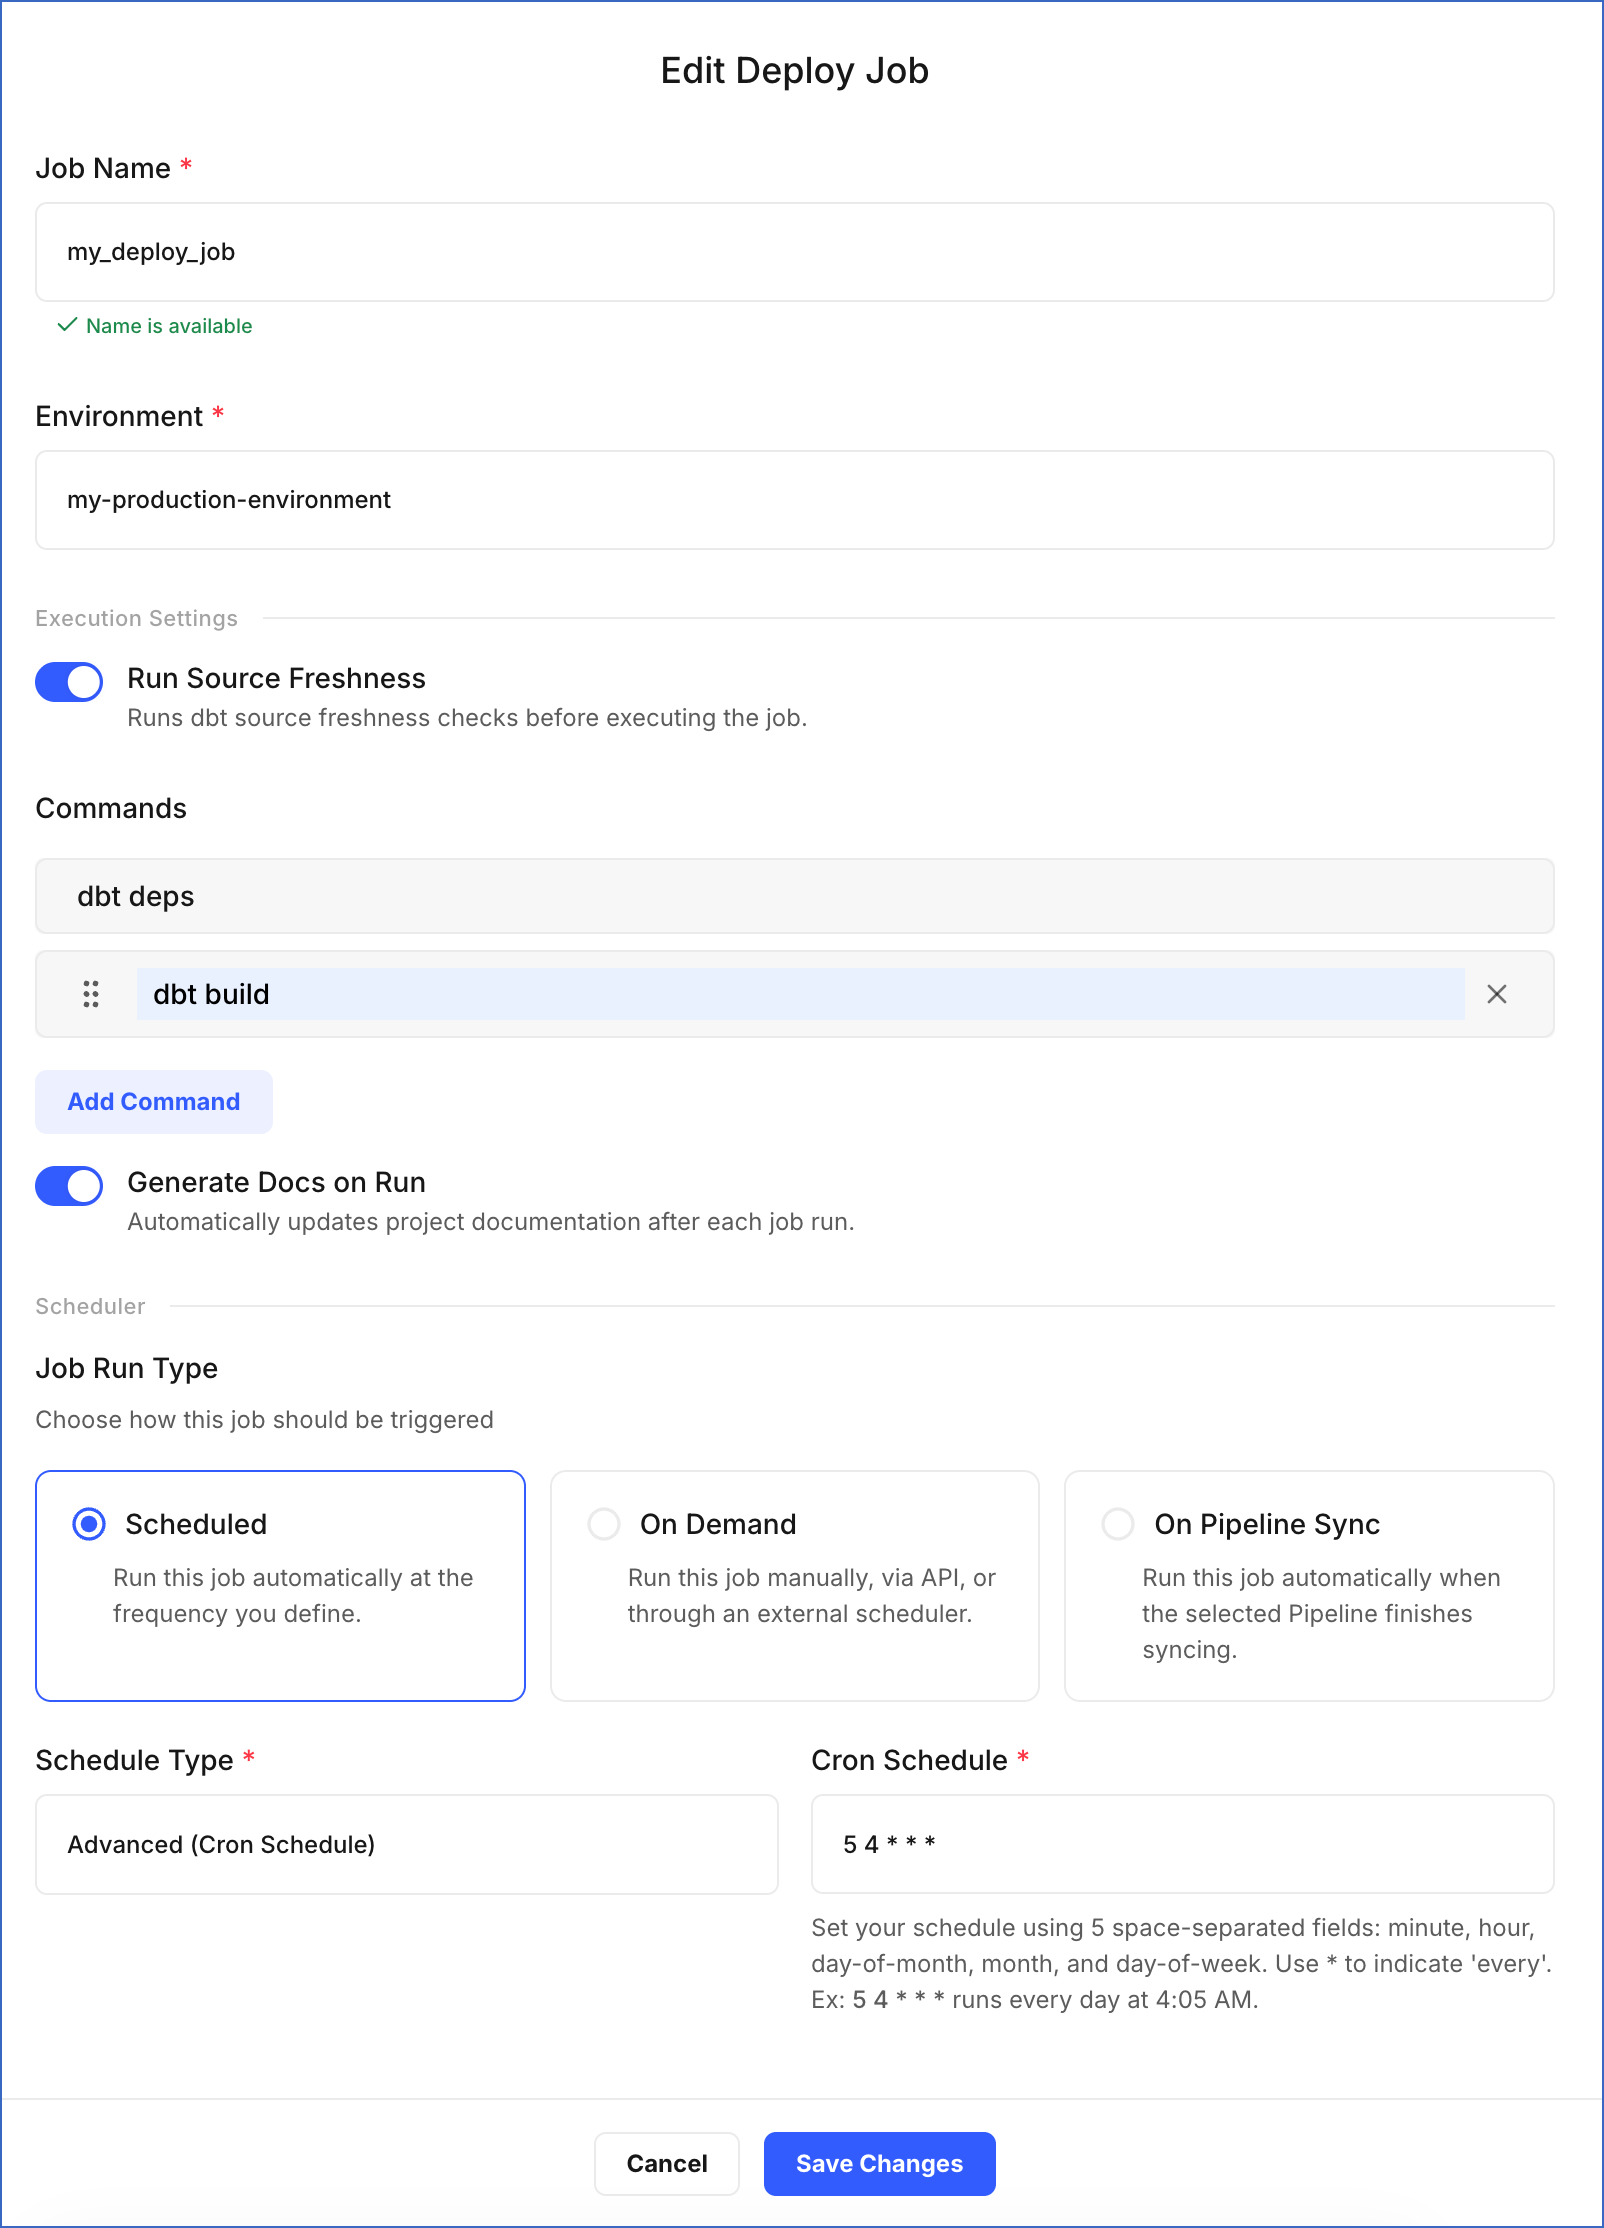
On the Edit Deploy Job page, update the required fields:
-
Job Name: Specify a new name for the job.
-
Environment: Select the environment in which the dbt models will run.
-
In the Execution Settings section:
-
Run Source Freshness: Enable or disable the toggle. This option allows the job to ensure that the data for your dbt models is up-to-date and reliable. If enabled, the dbt source freshness command is run before any other dbt commands.
-
Commands: Click Add Command to specify more commands you want to execute during the job run, or click X to remove an existing command.
-
Generate Docs on Run: Enable or disable the toggle. This option updates the documentation for your project in each run. If enabled, the dbt docs generate command is automatically invoked in each run.
-
-
In the Scheduler section, you can change how the job should be triggered:
-
Scheduled: Runs the job automatically based on the schedule you define. Select one of the following from the Schedule Type drop-down:
-
Advanced (Cron Schedule): Define a custom schedule using a cron expression.
- Cron Schedule: Specify the time and date at which the job must run. The cron expression must contain five fields, with each separated by a space to indicate the minute, hour, day of the month, month, and day of the week, respectively. Read Understanding Cron Schedules to learn how to write one.
-
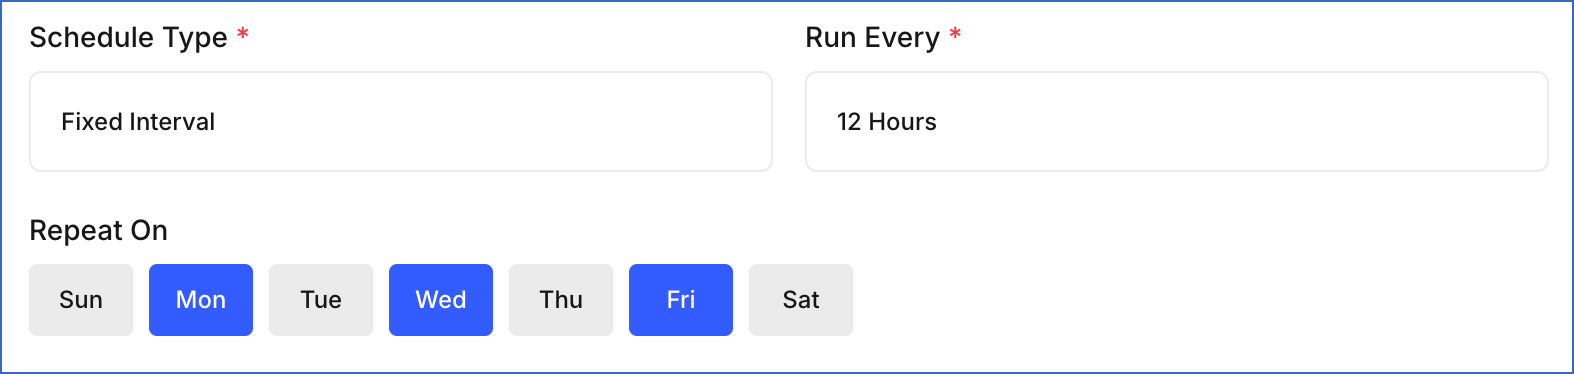
Fixed Interval: Runs the job repeatedly at a fixed time interval.
-
Run Every: Select the interval from the drop-down, such as 1 Hour, 2 Hours, or 12 Hours.
-
Repeat On: Select the days of the week on which the job should run.
-
-
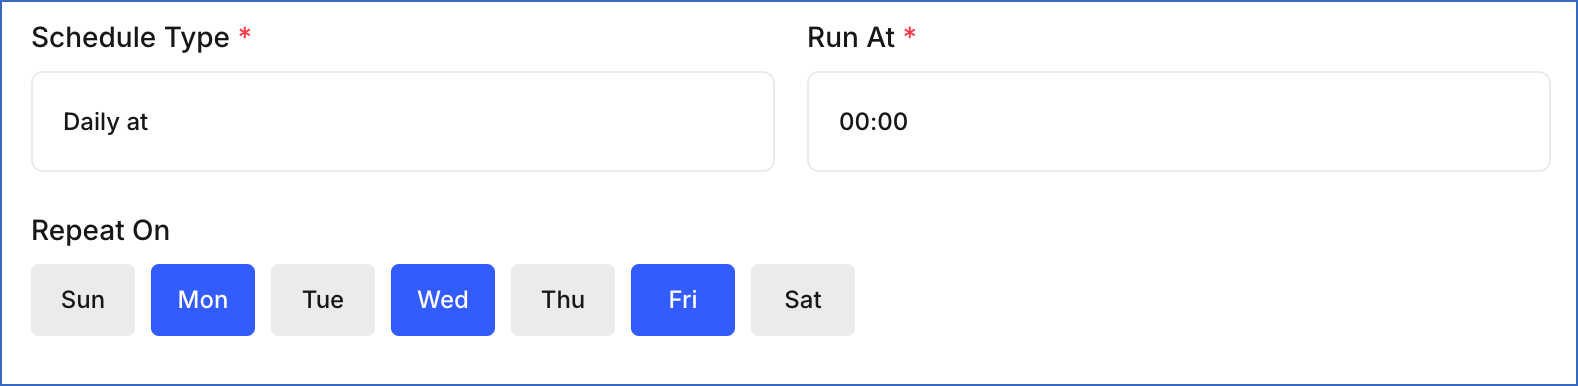
Daily at: Runs the job once per day at a specific time.
-
Run At: Select the time at which the job should run each day. Times are available in 30-minute intervals, from
00:00(12:00 AM) to23:30(11:30 PM). -
Repeat On: Select the days of the week on which the job should run.
-
-
-
On Demand: Runs the job manually from the UI or through an external orchestration tool such as Apache Airflow.
-
On Pipeline Sync: Runs the job automatically each time a selected Pipeline finishes syncing data into your Destination.
- In the Select Pipeline section, choose the Pipeline whose sync completion should trigger this job.
-
-
-
Click Save Changes.
A notification is displayed to confirm that the job has been updated successfully.
Disabling a Job
Disabling a job temporarily stops it from running. A disabled job does not execute on its configured schedule. You can re-enable it when you are ready to resume execution. Some scenarios where you may want to disable a job:
-
The dbt models in the job are under development and not ready for execution.
-
The job is failing due to a configuration issue and needs to be reviewed.
-
The job is not required for a period but may be needed later.
Perform the following steps to disable a job:
-
In the Navigation Bar, click Transformations.
-
On the Transformations page, select the project for which you want to disable a job.
-
In the Transformations Detailed View, click the Jobs tab.
-
Click the Actions (
) icon corresponding to the job you want to disable and select Disable Job.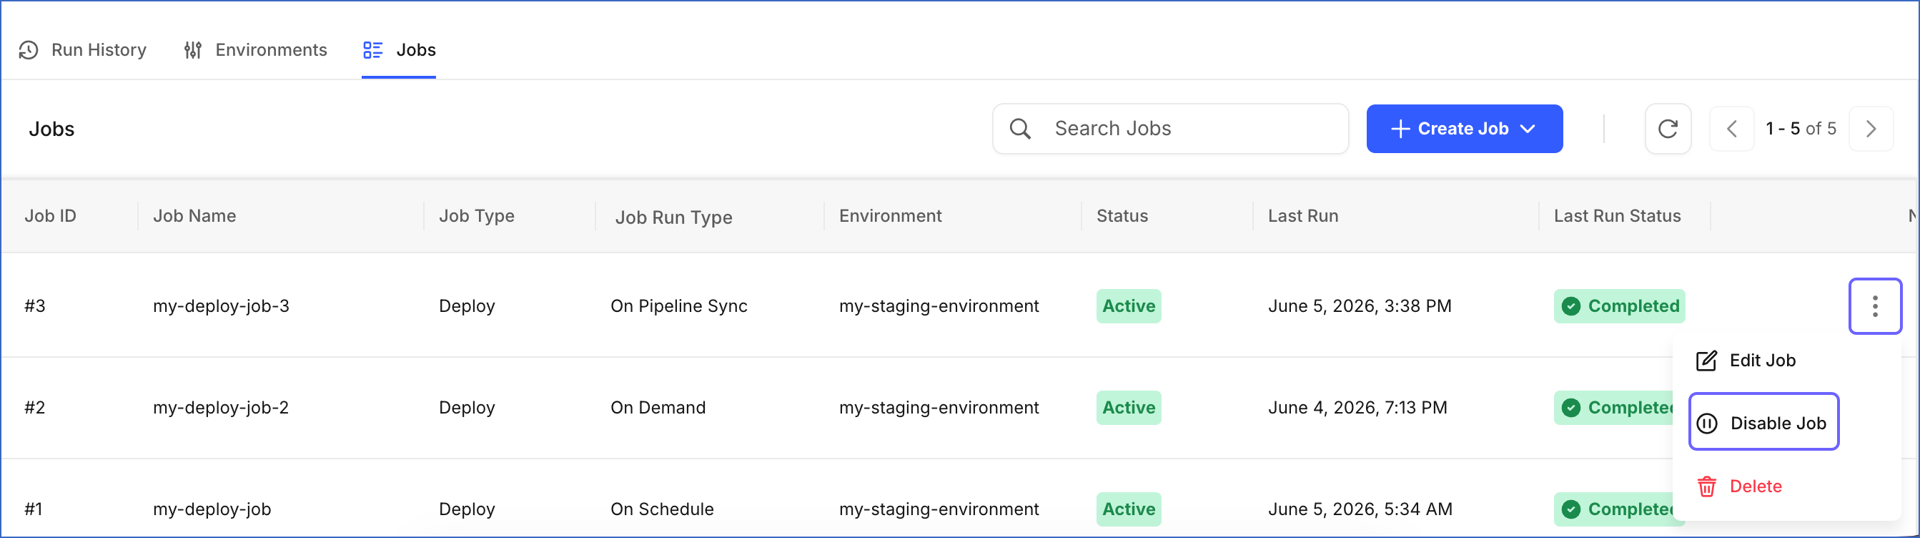
-
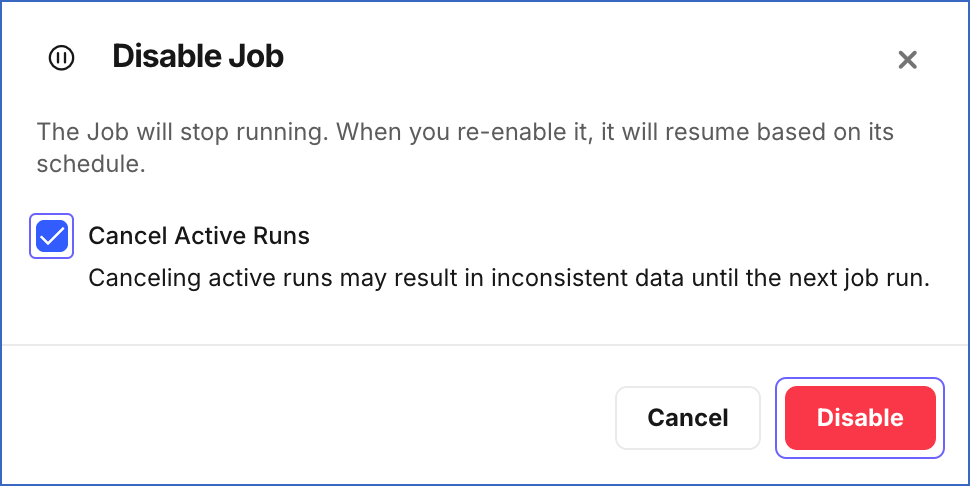
In the Disable Job dialog:
-
If you want Hevo to stop any runs currently in progress, select the Cancel Active Runs check box.
Note: Canceling active runs may result in inconsistent data until the next job run.
-
Click Disable.
-
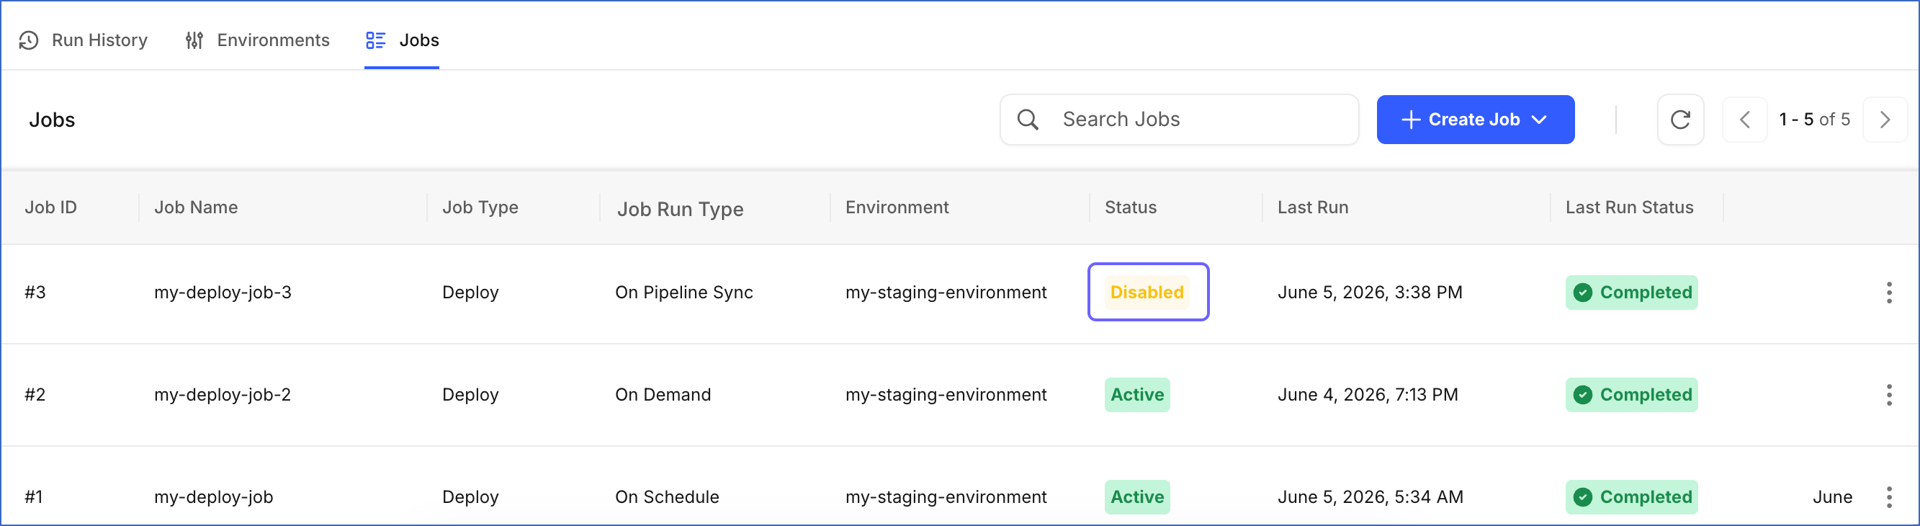
A notification is displayed to confirm that the job has been disabled. It will not execute until it is re-enabled. The status of the job changes to Disabled.
Enabling a Job
Enabling a job resumes its execution based on its configured run type. Enabling a job does not trigger an immediate run. The job will execute at the next scheduled time or trigger event.
Perform the following steps to enable a job:
-
In the Navigation Bar, click Transformations.
-
On the Transformations page, select the project for which you want to enable a job.
-
In the Transformations Detailed View, click the Jobs tab.
-
Click the Actions (
) icon corresponding to the job you want to enable and select Enable Job.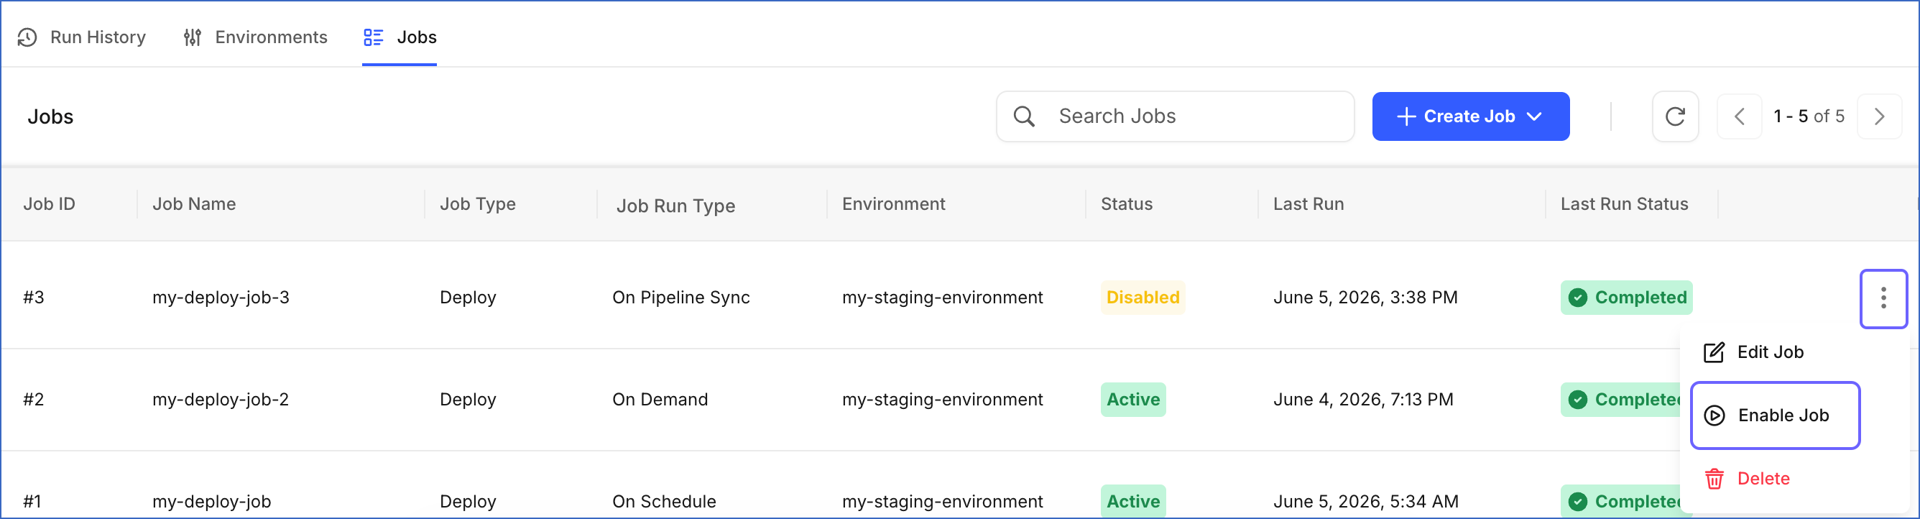
-
In the Enable Job dialog, click Enable.
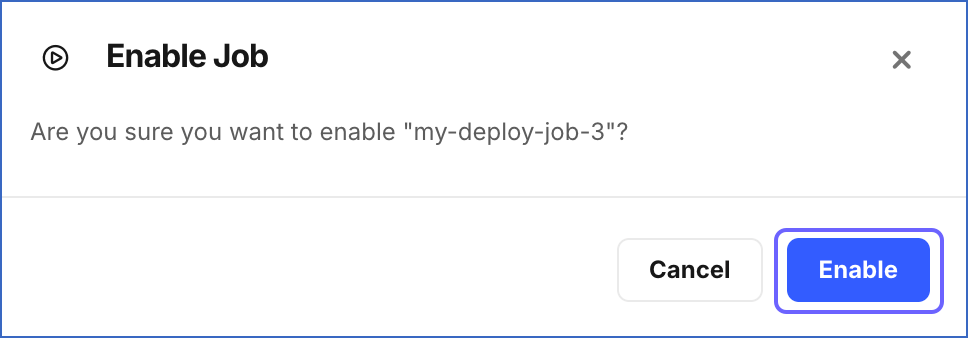
A notification is displayed to confirm that the job has been enabled. It resumes execution based on its configured run type. The status of the job changes to Active.
Deleting a Job
You can delete a job if it is no longer needed. Once deleted, a job cannot be restored and all its run history is permanently removed. Some scenarios where you may want to delete a job:
-
The job was created for testing and is no longer required.
-
The job was incorrectly configured.
-
The workflow has changed and the job is no longer part of the process.
Perform the following steps to delete a job:
-
In the Navigation Bar, click Transformations.
-
On the Transformations page, select the project for which you want to delete a job.
-
In the Transformations Detailed View, click the Jobs tab.
-
Click the Actions (
) icon corresponding to the job you want to delete and select Delete.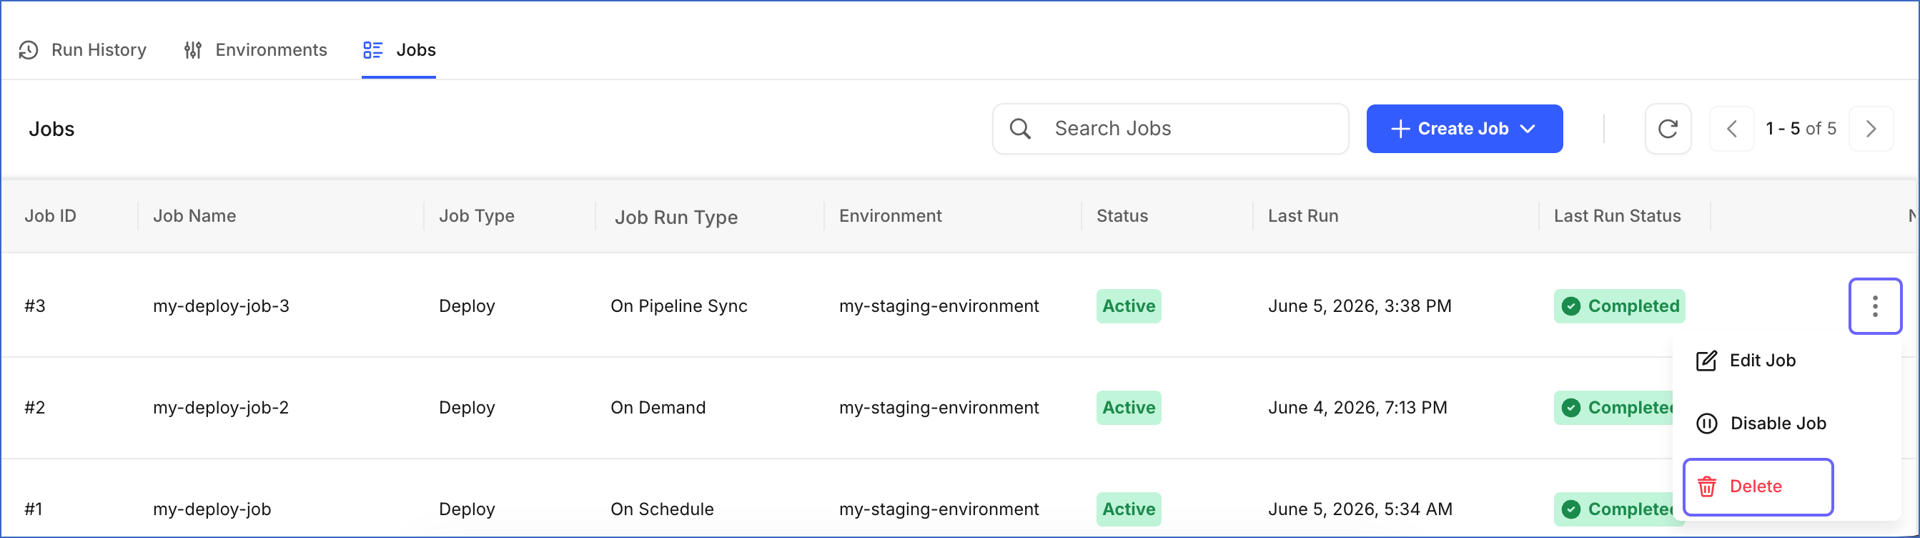
-
In the Delete Job dialog, type the exact name of the job in the field, and then click Delete.
A notification is displayed to confirm that the job has been deleted.