Creating a Workspace
Creating a Workspace for each client keeps their Pipelines, Destinations, and users separate from other clients on your account. Once a Workspace is created, you can invite users to it and manage the Workspace for the client.
Prerequisites
-
You are on the Business Critical plan in Hevo.
-
You must be assigned the Team Administrator role at the vendor level.
Perform the following steps to create a Workspace:
-
In the Navigation Bar, click the Settings (
 ) icon.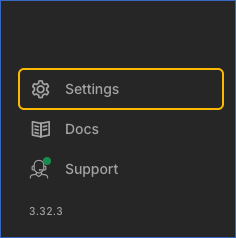
-
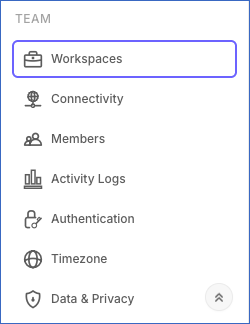
In the Settings sidebar, under TEAM, click Workspaces.
-
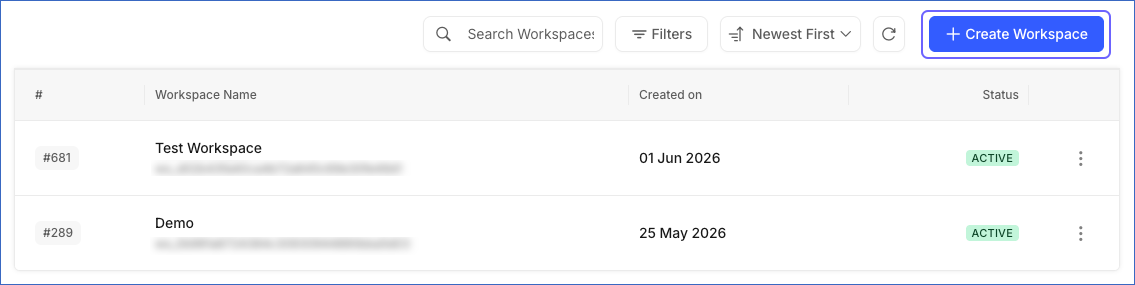
Click + Create Workspace.
-
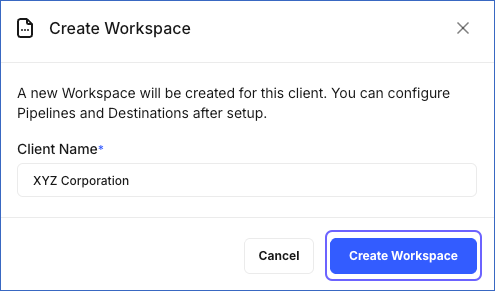
In the Create Workspace pop-up window, specify the Client Name for whom you want to create the Workspace, and click Create Workspace.
You are redirected to the Workspace Detailed View.
After you create the Workspace, you can invite users and create and manage Pipelines and Destinations in it.
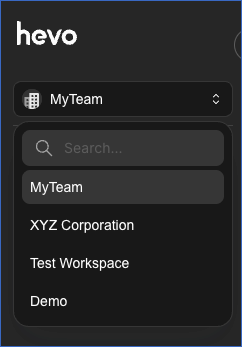
Note: You can switch between Workspaces by selecting the client name from the drop-down in the Navigation Bar.