Inviting and Moderating Team Members
Hevo allows you to invite, search for, and remove team members only if you are the Team Administrator or Team Collaborator in your workspace. There is no limit on the number of users that you can invite to your workspace. However, one user can belong to only one workspace. Therefore, the invited member must be removed from their current workspace, if any, to join yours.
Inviting a Team Member
Note: You must be assigned the Team Administrator or Team Collaborator role in Hevo to perform the following steps.
-
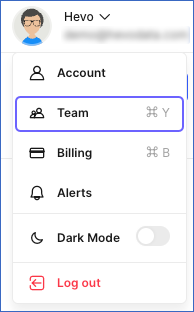
Click the drop-down next to your username in the User Information Panel.

-
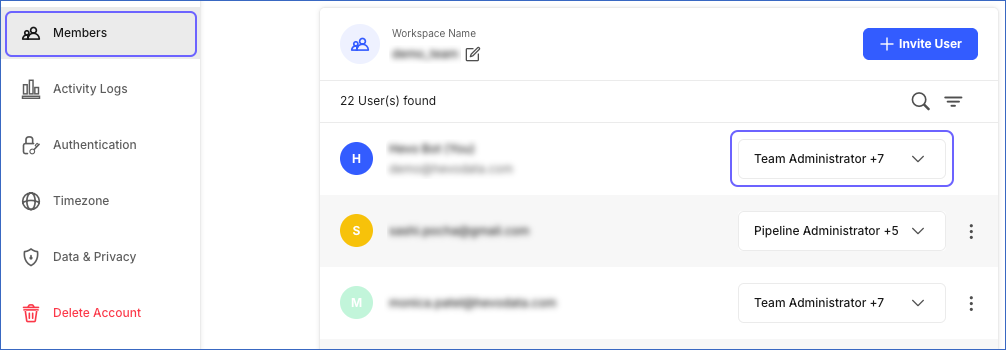
Click Team. The Team Members page opens in the Members tab by default.

-
In the top right corner of the page, click + Invite User.

-
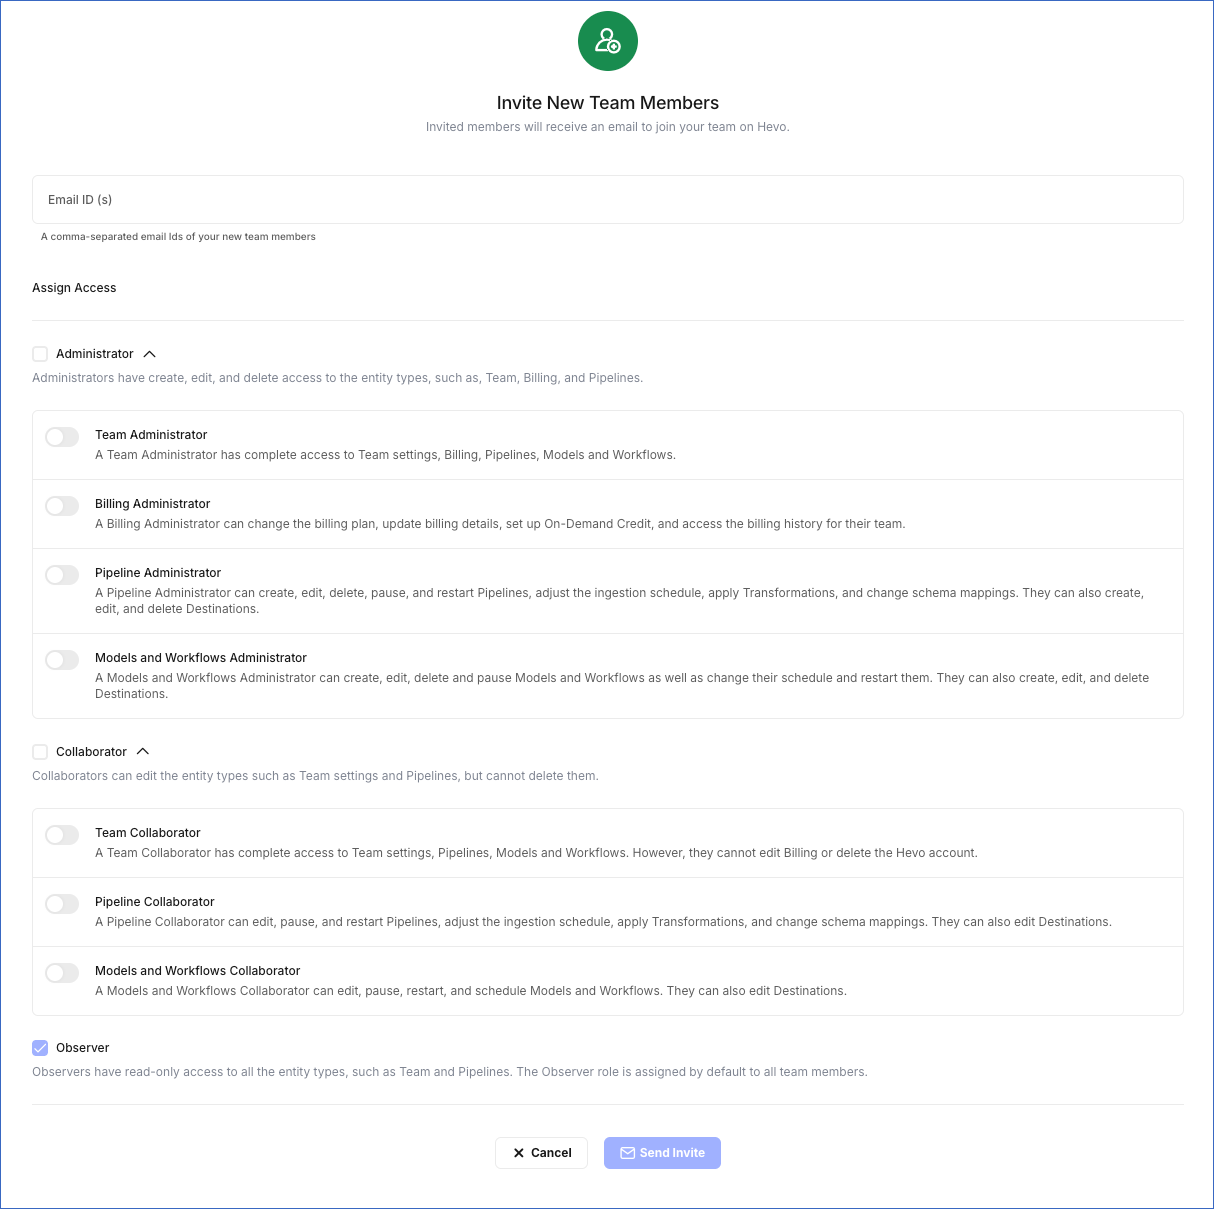
In the Invite New Team Members page, do the following:

-
Specify the Email ID(s) of the user(s) you want to invite.
-
In the Assign Access section, select the role that you want to assign to the user(s).
Note: By default, every new member is assigned the Observer role.
-
Click Send Invite.
The email ID is added to the members’ list and the invited user receives an email with the steps to create the account to join your workspace.
-
Finding a Team Member
-
Click the drop-down next to your username in the User Information Panel.

-
Click Team. The Team Members page opens in the Members tab by default.
-
In the page, click the Search (
 ) icon and search for the team member.
Removing a Team Member
Note:
-
You must be assigned the Team Administrator or Team Collaborator role in Hevo to perform the following steps.
-
Only the user who created the Pipeline can re-authenticate it. If that user has been removed, create a new Pipeline with the desired user account and include all the Source objects replicated by the existing Pipeline. Alternatively, you can contact Hevo Support to help re-authenticate the existing Pipeline.
-
Click the drop-down next to your username in the User Information Panel.

-
Click Team. The Team Members page opens in the Members tab by default.
-
In the Team Members page, click the More icon (
 ) corresponding to the member’s email ID and click Delete.
-
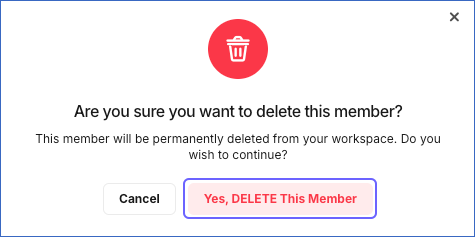
In the confirmation dialog that appears, click Yes, DELETE This Member.
